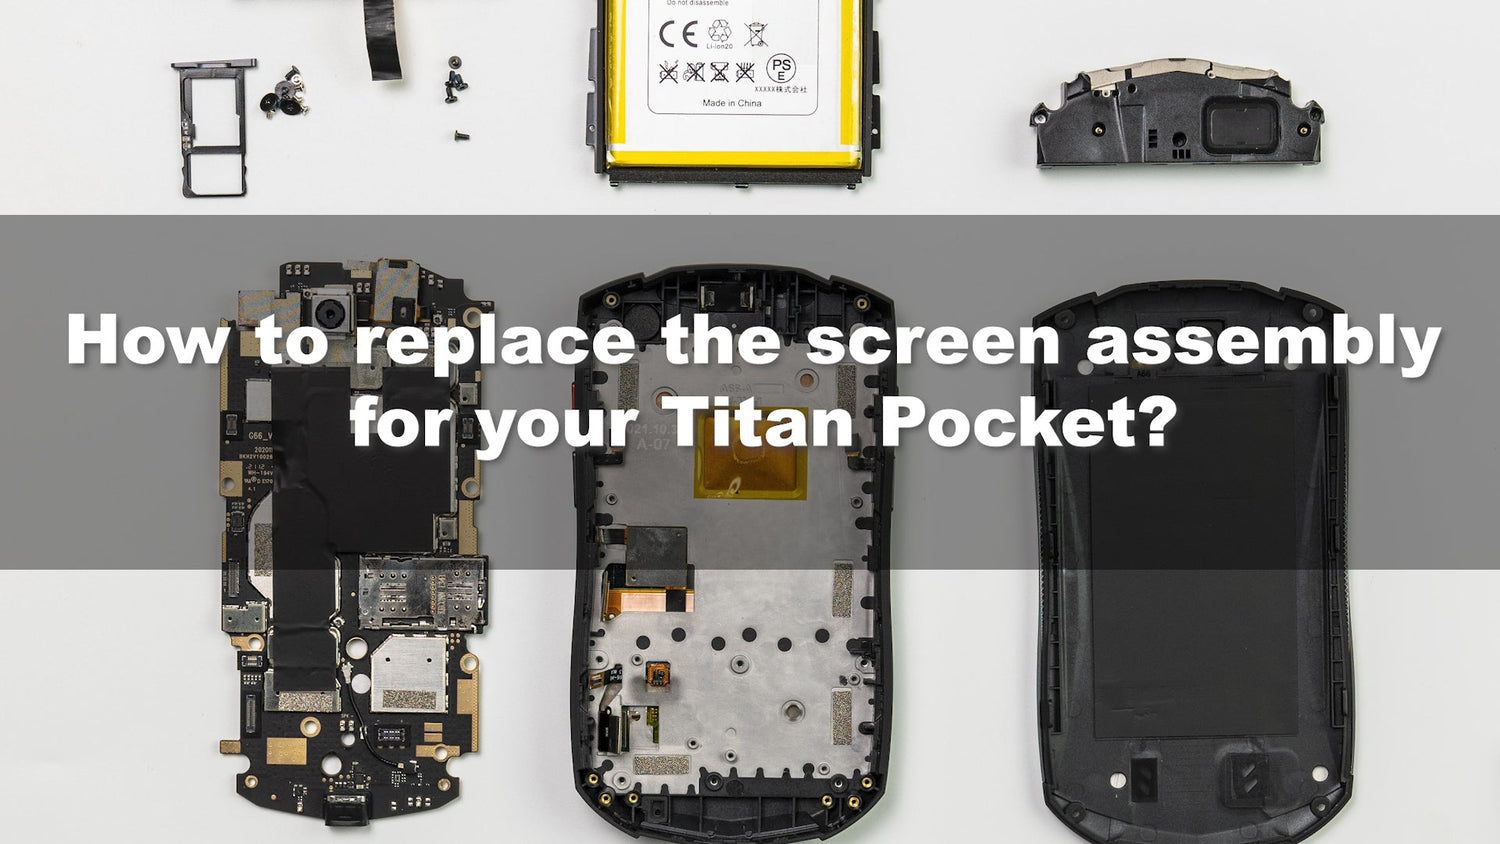

This tutorial will go through the process of replacing the screen of Unihertz Titan Pocket smartphone.
It is important that you read the entire guide and make sure you can complete all the steps before you start to replace the screen of your Unihertz Titan Pocket smartphone. Otherwise, finding a local trained repair specialist to conduct the repair is recommended.
How to Replace the Screen for Unihertz Titan Pocket
How to Replace the Screen for Unihertz Titan Pocket Step by Step
 |
Step 1Remove the four screws from the rear panel and then remove the rear panel. |
 |
Step 2Remove the three screws from the speaker assembly and then remove the speaker assembly. |
 |
Step 3Pry up the interface cables between the battery and the motherboard and then remove the battery. |
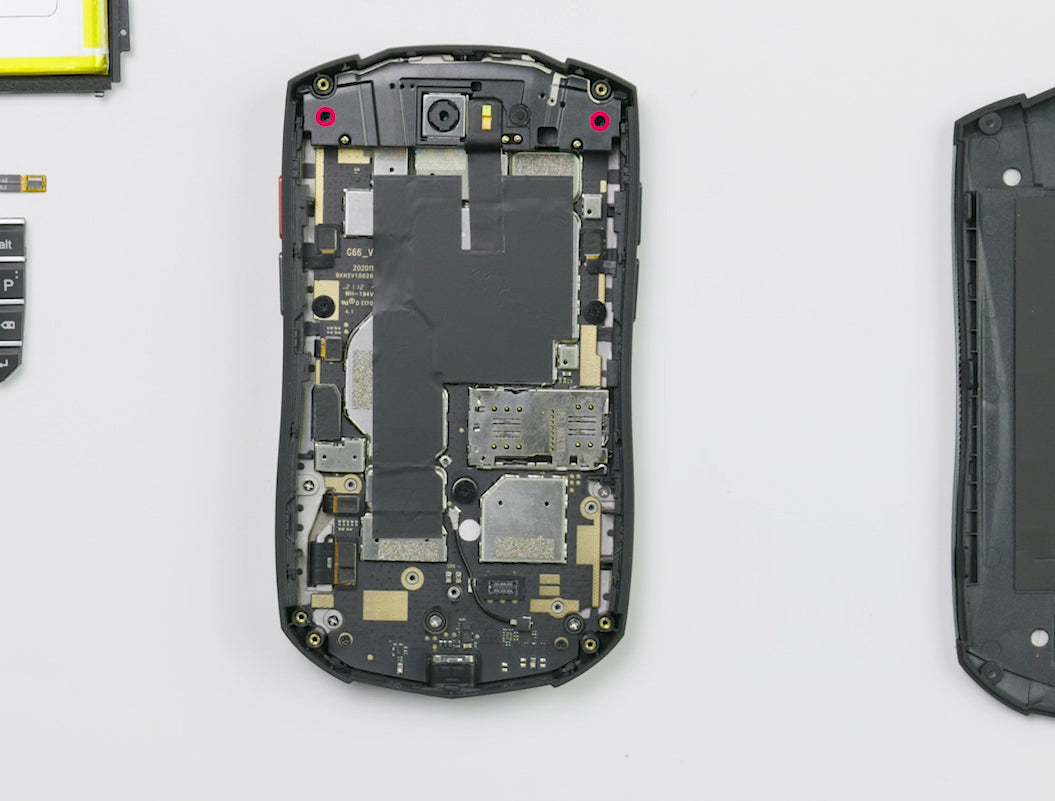 |
Step 4Remove the two screws from the antenna module. |
 |
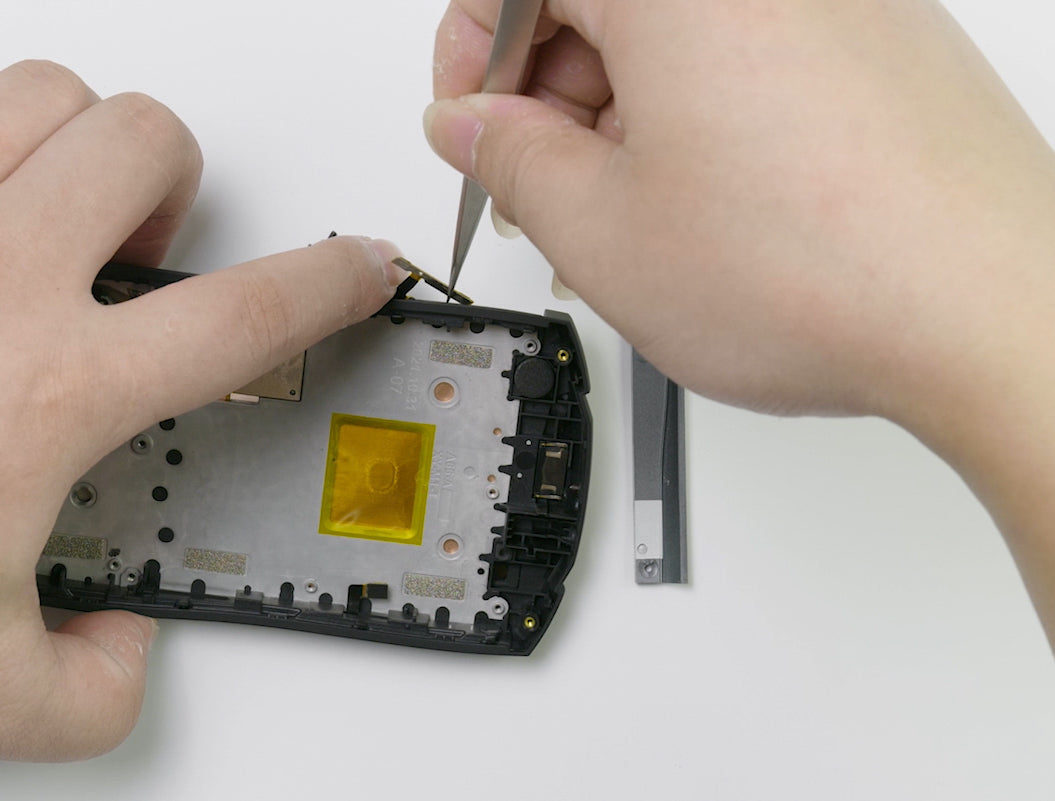
Step 5Tear off the cooling copper foil connecting the antenna module to the motherboard. |
 |
Step 6Remove the antenna module. |
 |
Step 7Remove the ten screws from the motherboard. |
 |
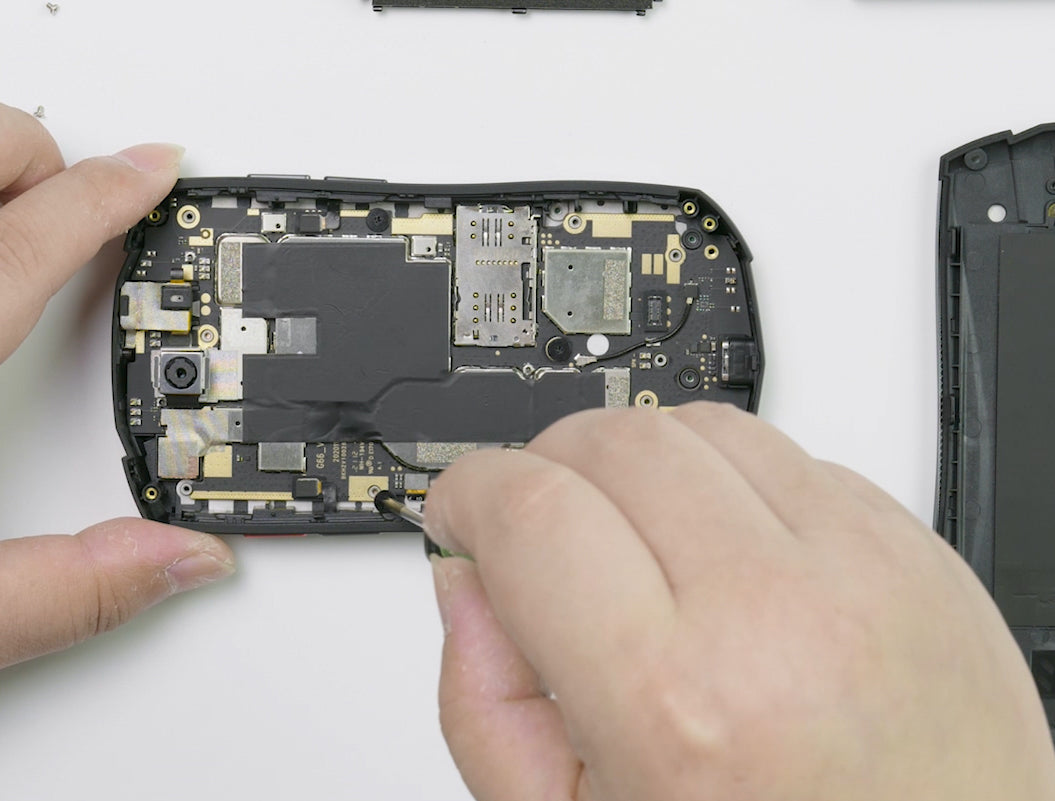
Step 8Pry up the six cable interfaces on the motherboard and then remove the SIM card tray. |
 |
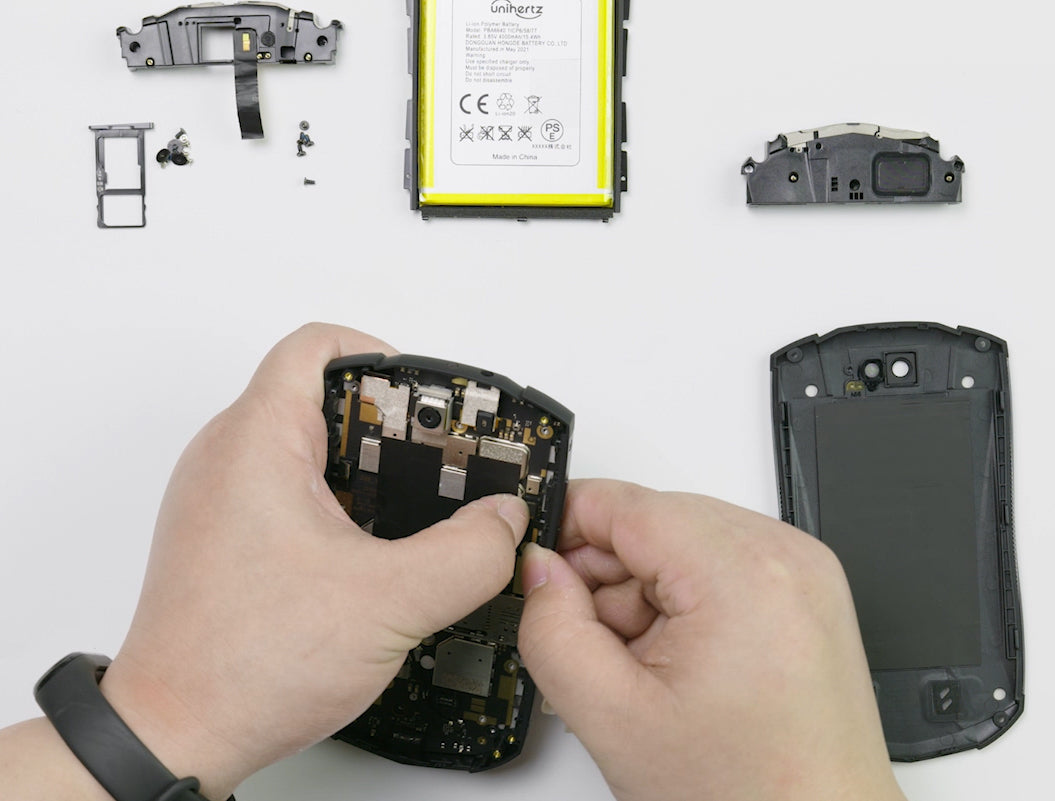
Step 9Pry up the motherboard gently and remove it. |
 |
Step 10Use a crowbar to stretch into the marked notch and push the keyboard assembly. |
 |
Step 11Install the keyboard assembly on the replacement screen assembly(make the cable go through the marked notch). |
 |
Step 12Check if the two rubber rings on the replacement screen assembly are loose. |
 |
Step 13Remove the side edge bezel from the original screen assembly, remove the volume button FPC, the power button FPC, and the PTT button FPC. |
 |
Step 14Install the tree button FPCs and the side edge bezel to the replacement screen assembly. |
 |
Step 15Remove the protective foam from the camera on the replacement screen assembly gently. |
 |
Step 16Install the motherboard. (Note: remove the original rubber ring if it’s on the back of the motherboard.) |
 |
Step 17Plug in the six cable interfaces on the motherboard. |
 |
Step 18Install the 10 screws on the motherboard. |
 |
Step 19Install the antenna module, re-attach the cooling copper foil between the antenna module and the motherboard, and install the two screws on the antenna module. |
 |
Step 20Install the battery and plug in the cable interfaces between the battery and the motherboard. |
 |
Step 21Install the speaker assembly and tighten the three screws on it. |
 |
Step 22Install the rear panel and tighten the four screws on it. |
 |
Step 23Install the SIM card tray. |