
This tutorial will go through the process of replacing the speaker of Unihertz Titan smartphone.
It is important that you read the entire guide and make sure you can complete all the steps before you start to replace the speaker of your Unihertz Titan smartphone. Otherwise, finding a local trained repair specialist to conduct the repair is recommended.
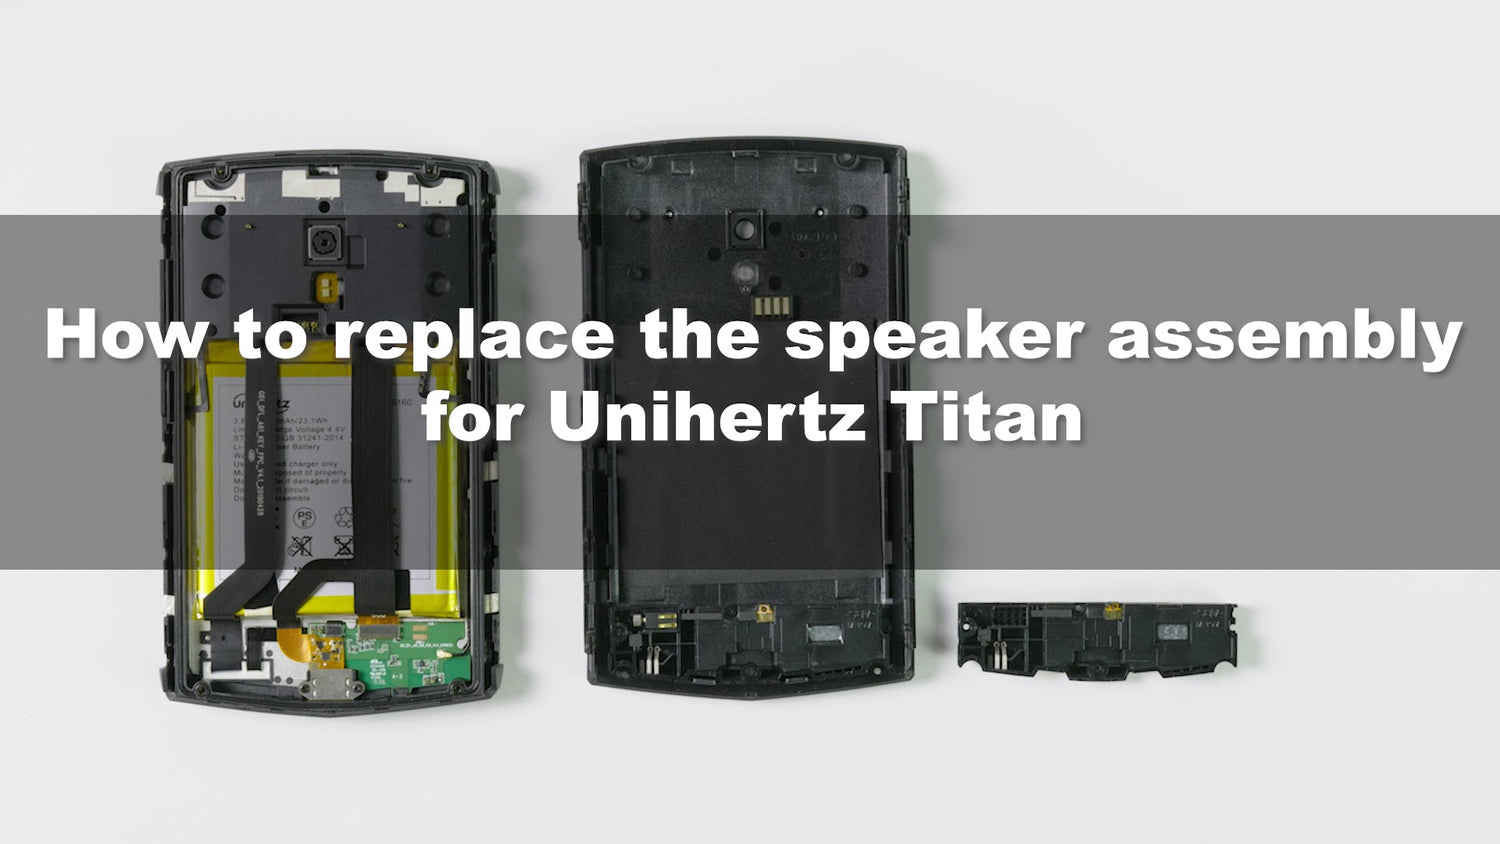
How to Replace the Speaker Assembly for Unihertz Titan Tutorial
How to Replace the Speaker Assembly for Unihertz Titan Step by Step
 |
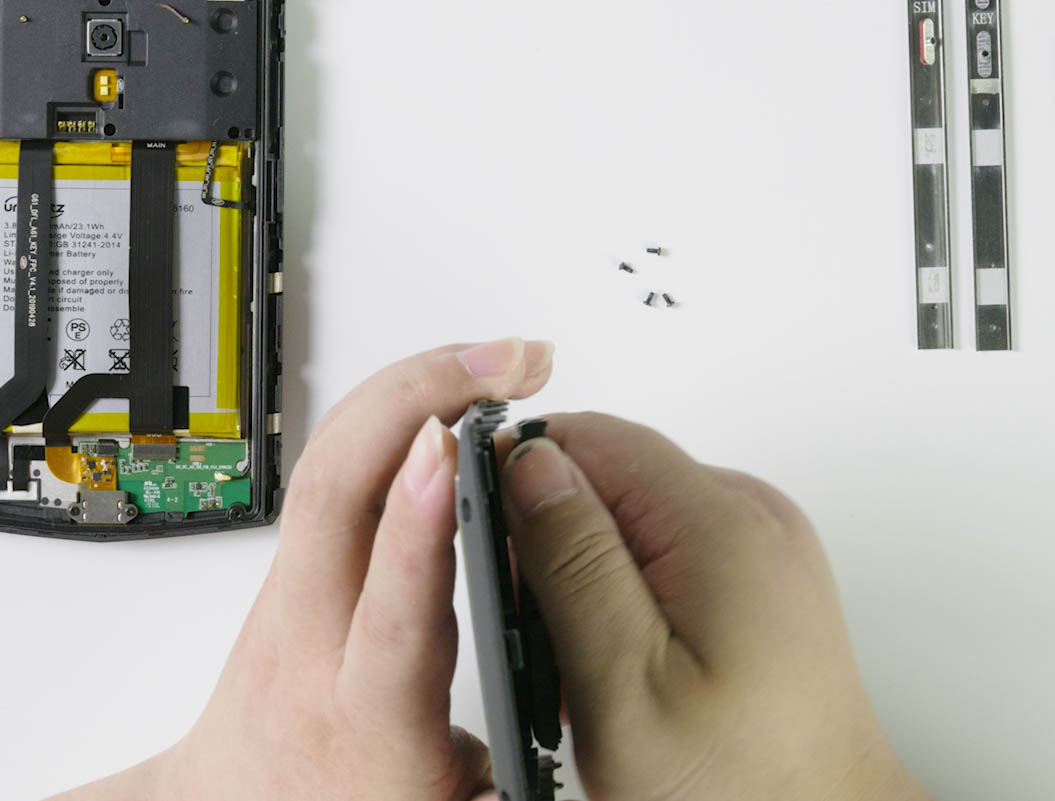
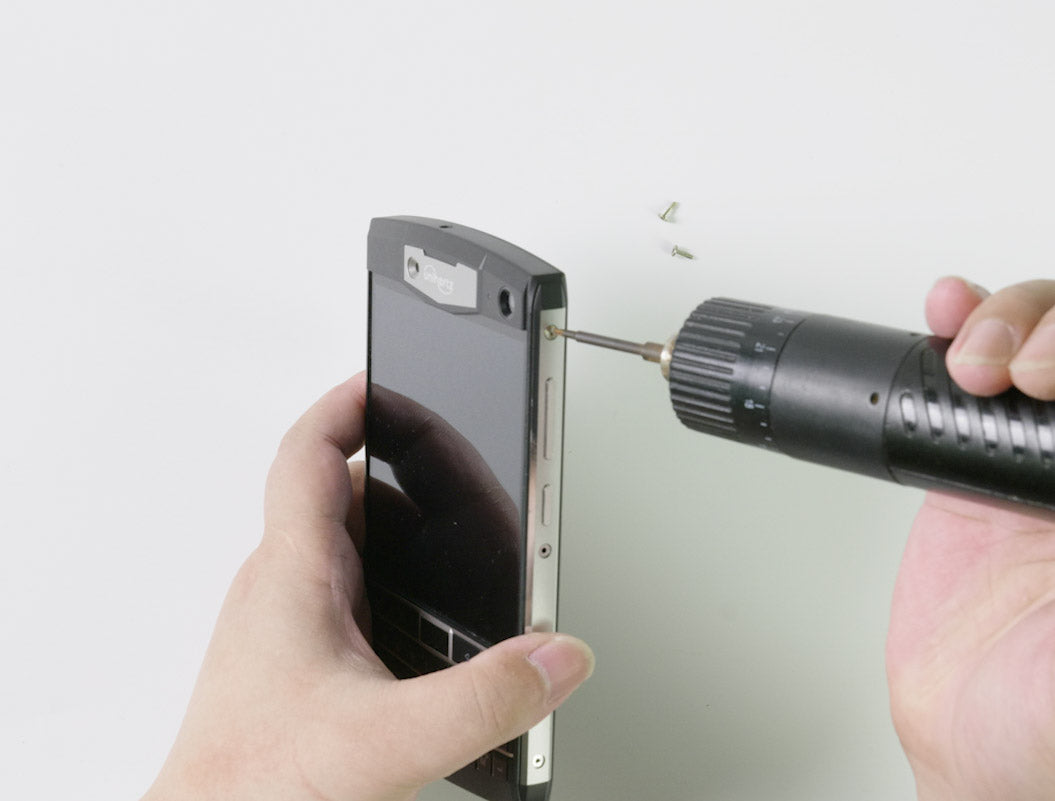
Step 1Remove the three screws from the right edge bezel, remove the right edge bezel(Be careful not to drop the buttons) |
 |
Step 2Remove the three screws from the left edge bezel, remove the SIM card tray, and remove the left edge bezel(Be careful not to drop the buttons) |
 |
Step 3Remove the six screws on the right side of the device body |
 |
Step 4Remove the six screws on the left side of the device body |
 |
Step 5Remove the four screws that fix the rear panel |
 |
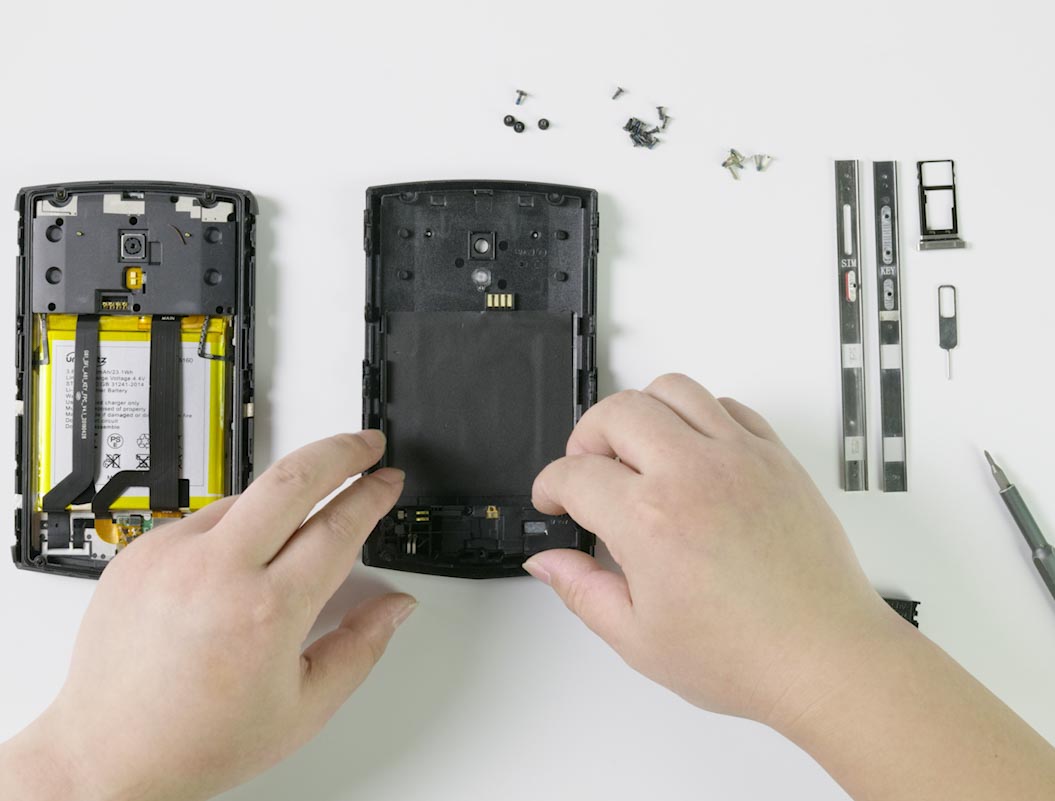
Step 6Remove the rear panel gently |
 |
Step 7Find the speaker assembly |
 |
Step 8Remove the four screws that fix the speaker assembly |
 |
Step 9Remove the speaker assembly gently |
 |
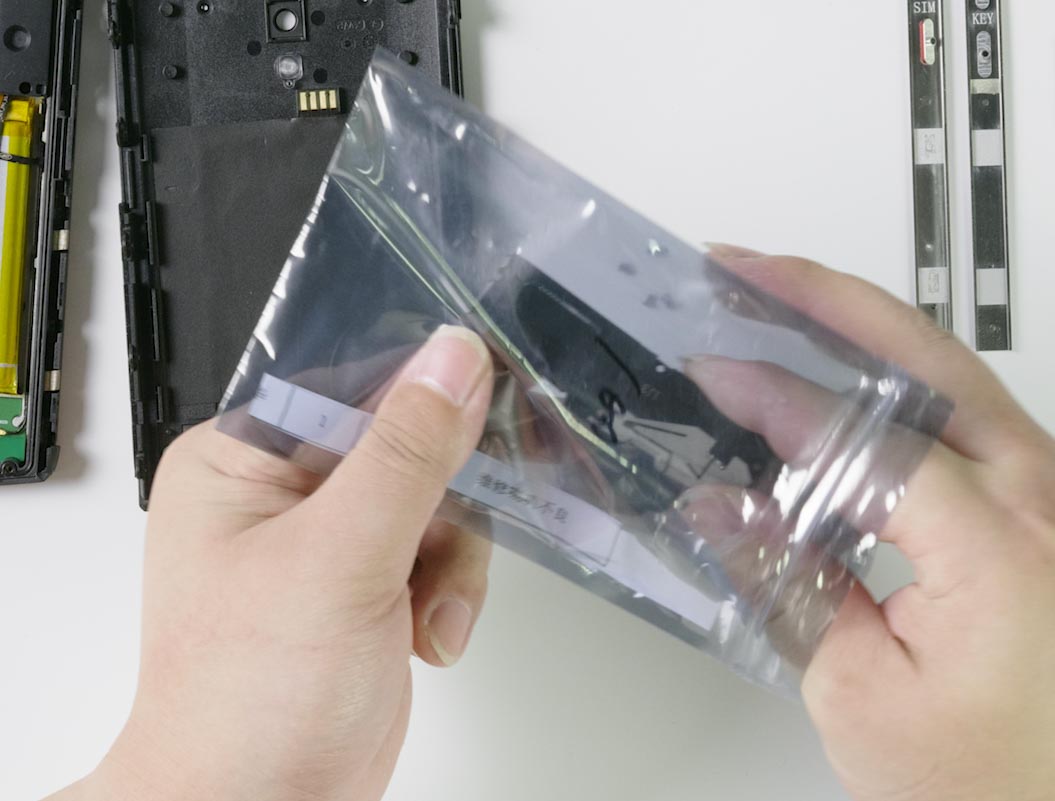
Step 10Remove the new speaker assembly for replacement from the bag |
 |
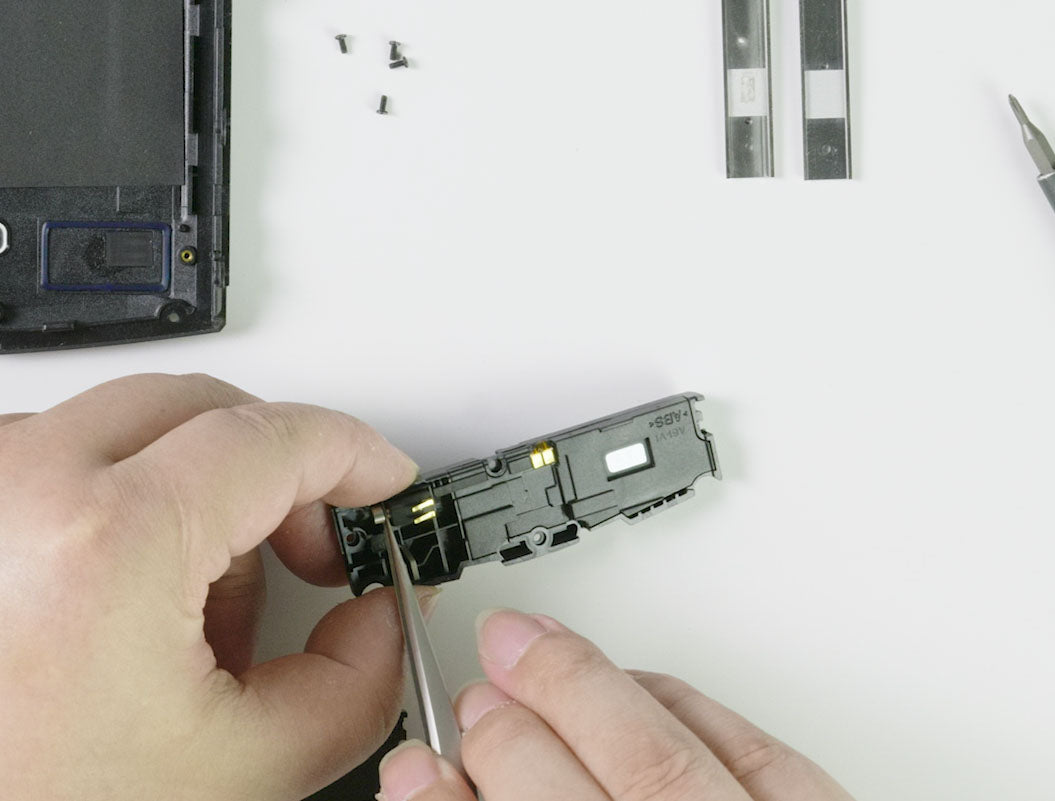
Step 11Note: Please use tweezers to remove the vibrator from the original speaker assembly and install it on the replacement speaker assembly |
 |
Step 12Install the new speaker assembly to the rear panel |
 |
Step 13Tighten the four screws used to fix the speaker assembly |
 |
Step 14Install the rear panel, then tighten the twelve screws on both sides of the device body |
 |
Step 15Install both the edge bezels and tighten the six screws used to fix them |
 |
Step 16Install the SIM card tray |