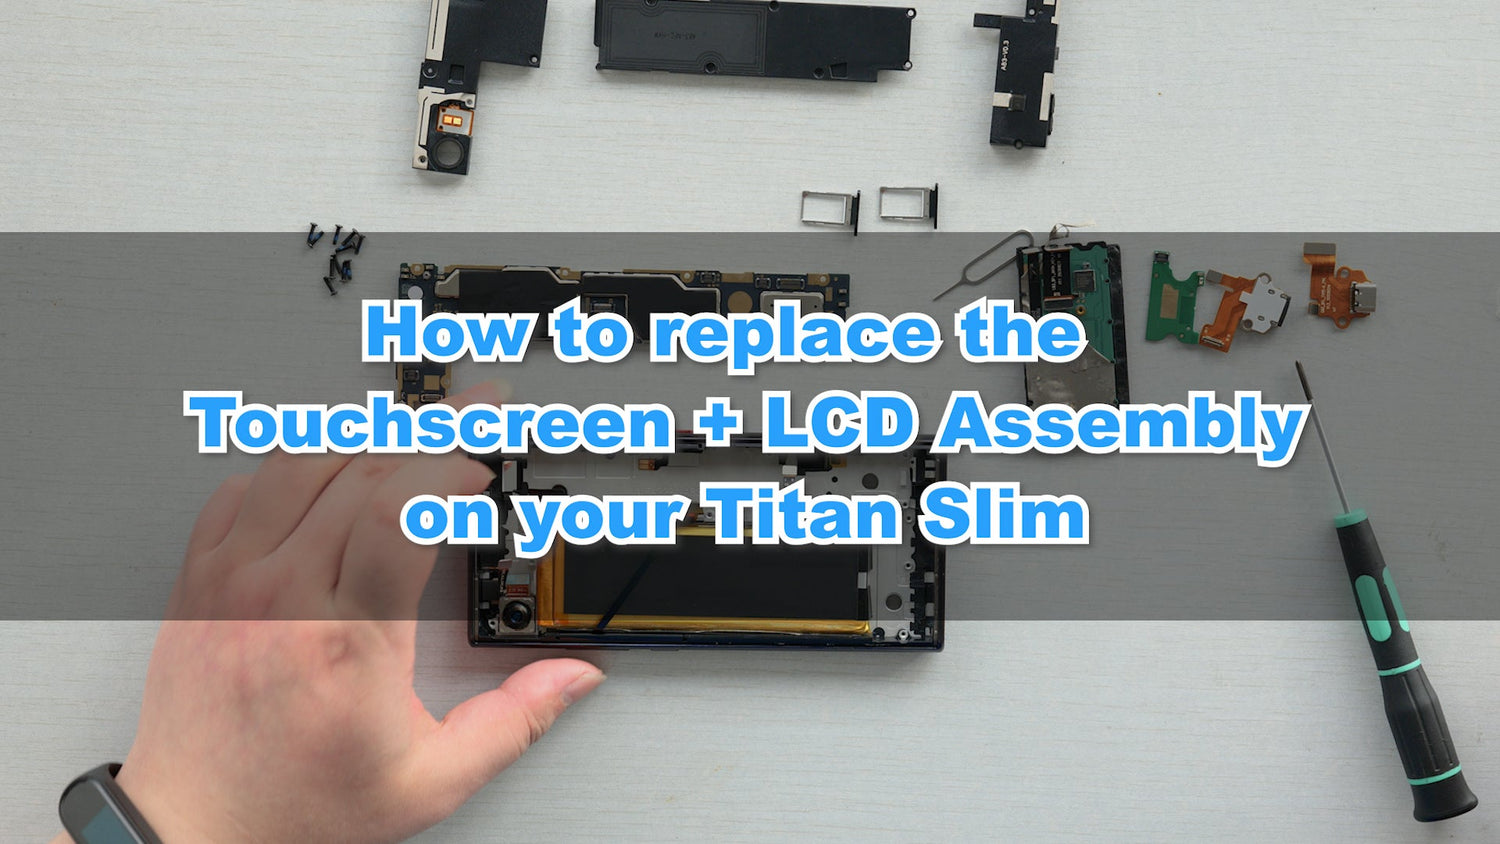
This tutorial will go through the process of replacing the touchscreen and LCD assembly of Unihertz Titan Slim smartphone.
It is important that you read the entire guide and make sure you can complete all the steps before you start to replace the touchscreen and LCD assembly of your Unihertz Titan Slim smartphone. Otherwise, finding a local trained repair specialist to conduct the repair is recommended.
How to Replace the Touchscreen and LCD Assembly for Unihertz Titan Slim
How to Replace the Touchscreen and LCD Assembly for Unihertz Titan Slim Step by Step
 |
Step 1Put the back shell of the mobile phone on the heating platform to heat You can also use a heat gun to heat along the edge of the rear shell |
 |
Step 2Wait until the double-sided tape on the back cover is softened, use a suction cup tool and a crowbar to pry off the back cover (be careful not to damage the glass on the back cover) |
 |
Step 3Remove the back shell Clean up the residual double-sided tape |
 |
Step 4Remove 11 screws |
 |
Step 5Remove the WIFI/BT antenna bracket, NFC antenna bracket, and main antenna bracket |
 |
Step 6Pry open the cable interface on the antenna board Remove the antenna board |
 |
Step 7Pry open the cable interface on type-c_FPC Remove type-c_FPC |
 |
Step 8Pry open the 9 cable connectors on the motherboard |
 |
Step 9Remove the two SIM card trays |
 |
Step 10Remove the motherboard |
 |
Step 11Remove the fixing screws of the keyboard |
 |
Step 12Open the keyboard from the gap (note: the keyboard and the front panel are connected by double-sided tape) |
 |
Step 13Remove the rear camera, distance sensor and earpiece |
 |
Step 14Remove the side button_FPC |
 |
Step 15Tear off the battery's easy-to-pull glue |
 |
Step 16Remove the battery and side button_FPC |
 |
Step 17Remove the microphone sealing ring and SIM card holder ejector rod |
 |
Step 18Take out the new Touchscreen + LCD Assembly Paste easy-pull glue on the battery |
 |
Step 19Install side key_FPC |
 |
Step 20Install and fix the battery |
 |
Step 21Pass the cable through the gap in the front panel and install the keyboard |
 |
Step 22Install the fixing screws of the keyboard |
 |
Step 23Install the microphone fixing rubber ring |
 |
Step 24Install the handset (note that the two contacts of the handset are down) |
 |
Step 25Install the distance sensor and SIM card holder ejector |
 |
Step 26Install type-c_FPC |
 |
Step 27Install the antenna board Connect the cable interface on the antenna board |
 |
Step 28After installing the camera and main board |
 |
Step 29Connect the 10 cable ports on the motherboard |
 |
Step 30Install the main antenna bracket, NFC antenna bracket, WIFI/BT antenna bracket |
 |
Step 31Install 11 screws |
 |
Step 32Install the rear case |


