
This tutorial will go through the process of replacing the screen of Unihertz Atom L/XL smartphone.
It is important that you read the entire guide and make sure you can complete all the steps before you start to replace the screen of your Unihertz Atom L/XL smartphone. Otherwise, finding a local trained repair specialist to conduct the repair is recommended.
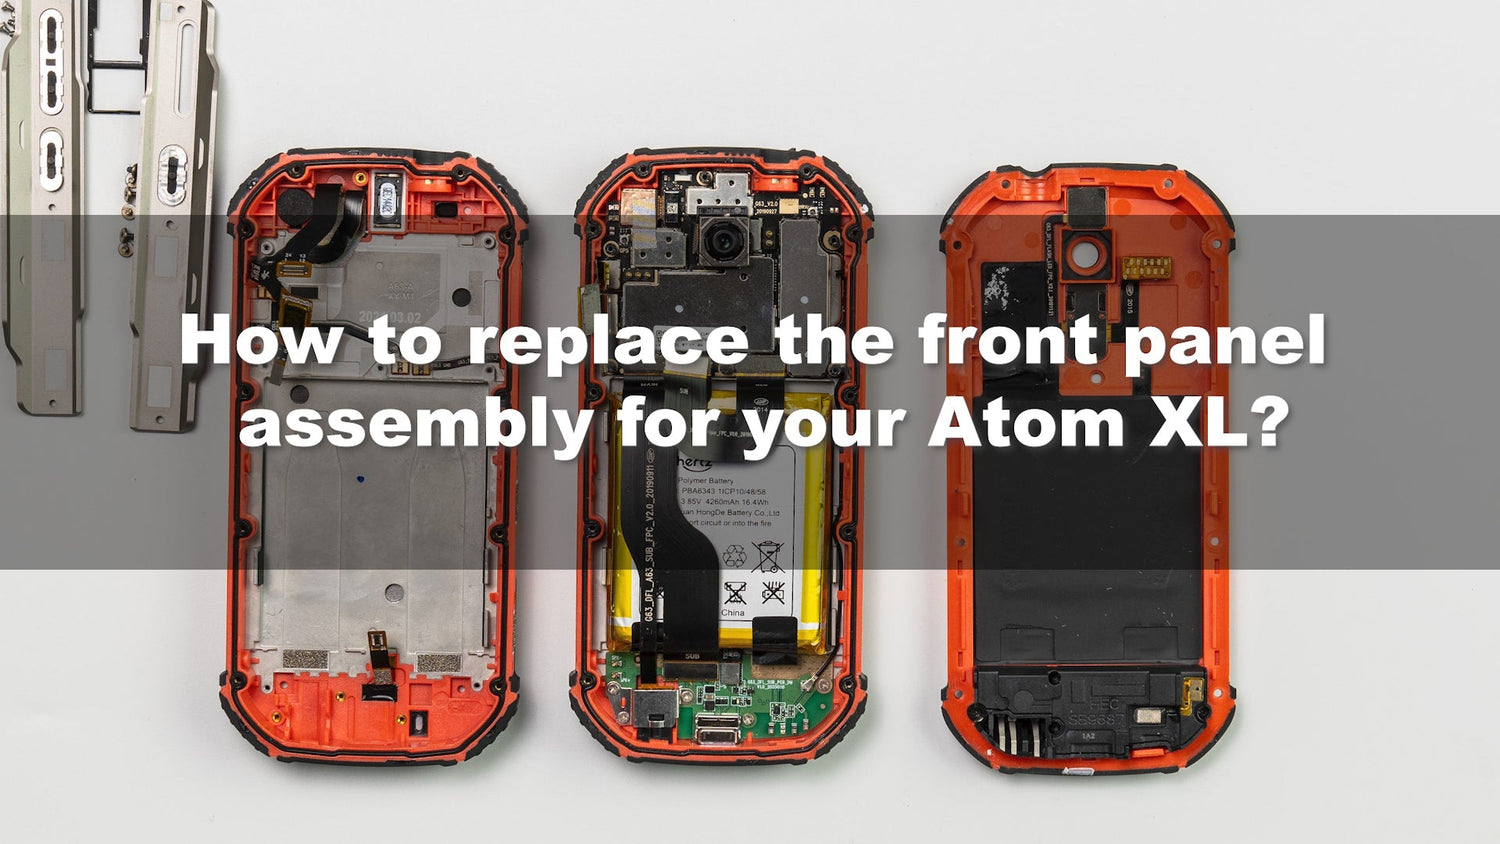
How to Replace the Screen for Unihertz Atom L/XL
How to Replace the Screen for Unihertz Atom XL Step by Step
 |
Step 1Remove the 6 screws from the side edge bezel, remove the side edge bezel and take out the SIM card tray gently. |
 |
Step 2Remove the ten screws from the rear panel. |
 |
Step 3Remove the rear panel assembly. |
 |
Step 4Remove the four screws on the antenna module. |
 |
Step 5Remove the antenna module. |
 |
Step 6Remove the seven screws on the dmr-006 Intercom module. |
 |
Step 7Remove the five cable interfaces on the dmr-006 Intercom module. |
 |
Step 8Remove the dmr-006 Intercom module. |
 |
Step 9Remove the two brackets. |
 |
Step 10Remove the six screws on the motherboard. |
 |
Step 11Remove the motherboard. (Note: the motherboard is connected with the front panel by a cable, turn the motherboard over and remove the cable interface.) |
 |
Step 12Tear off the protective film of the battery adhesive strip from the black part and gently pull it outward. |
 |
Step 13Remove the original battery. |
 |
Step 14Remove the five screws and the fixing bracket on the digital mic. |
 |
Step 15Remove a connector on the digital mic. |
 |
Step 16Remove the digital mic. (Note: be careful not to break the cable on the side.) |
 |
Step 17Take out the replacement front panel assembly. (Note: pay attention to check whether the black waterproof accessories at the SIM card slot are in good condition.) |
 |
Step 18Remove the distance sensor assembly from the original front panel assembly. (Note: please remove the sealing ring beside it together.) |
 |
Step 19Install the distance sensor assembly and seal to the replacement front panel assembly. |
 |
Step 20Move the lower sealing ring from the original front panel assembly to the replacement front panel assembly. |
 |
Step 21Take out the camera protection foam on the replacement front panel assembly. |
 |
Step 22First plug the cable interface on the back of the motherboard and then install the motherboard. |
 |
Step 23Install the five screws on the motherboard.(Note: the screws marked will be installed later.) |
 |
Step 24Install the digital mic, arrange the side cables and plug them in firmly. |
 |
Step 25Install the fixing bracket and five screws on the digital mic. |
 |
Step 26Install the remaining motherboard screw. |
 |
Step 27Affix the battery adhesive strip to the marked position on the back of the battery and tear off the protective film from it after sticking. |
 |
Step 28Fasten the battery cable interface and fix the battery. |
 |
Step 29Install the cable interface above the battery. |
 |
Step 30Install two brackets. |
 |
Step 31Install the dmr-006 Intercom module and fasten the cable interface. |
 |
Step 32Install the seven screws on the dmr-006 Intercom module. |
 |
Step 33Install the antenna assembly and install the four screws on the antenna assembly. |
 |
Step 34Install the rear panel assembly. |
 |
Step 35Tighten the ten screws on the rear panel assembly. |
 |
Step 36Install the SIM card tray, install the side edge bezel, and tighten the six screws on it. |