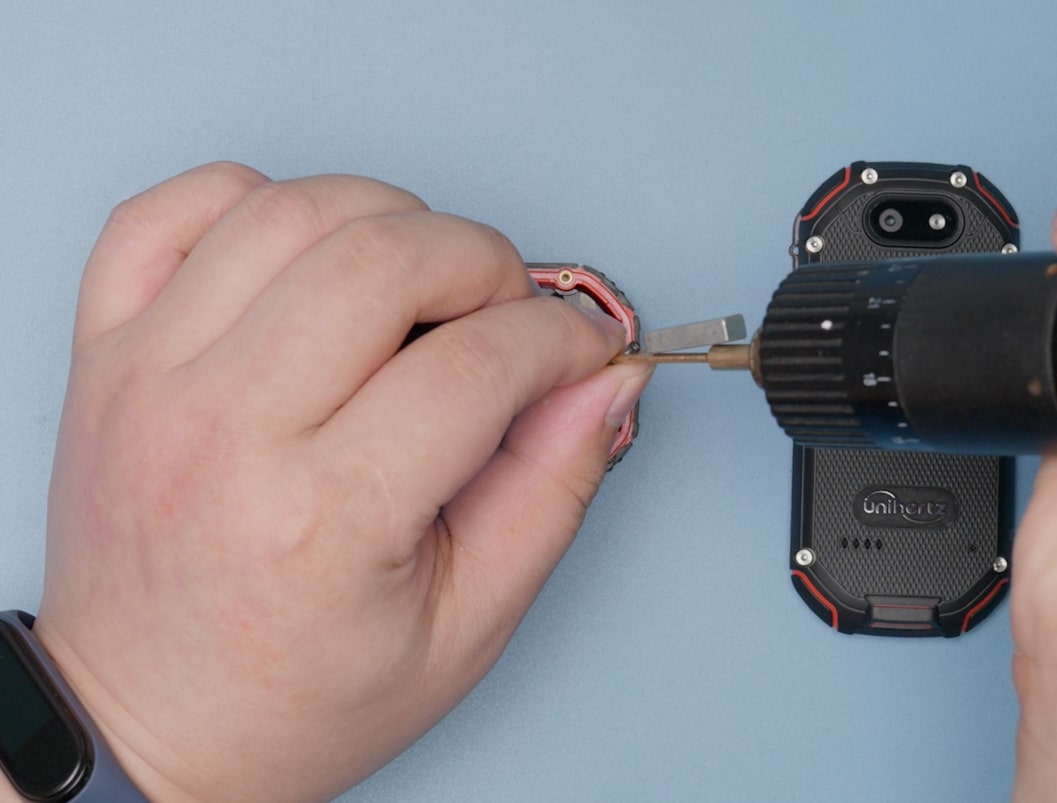
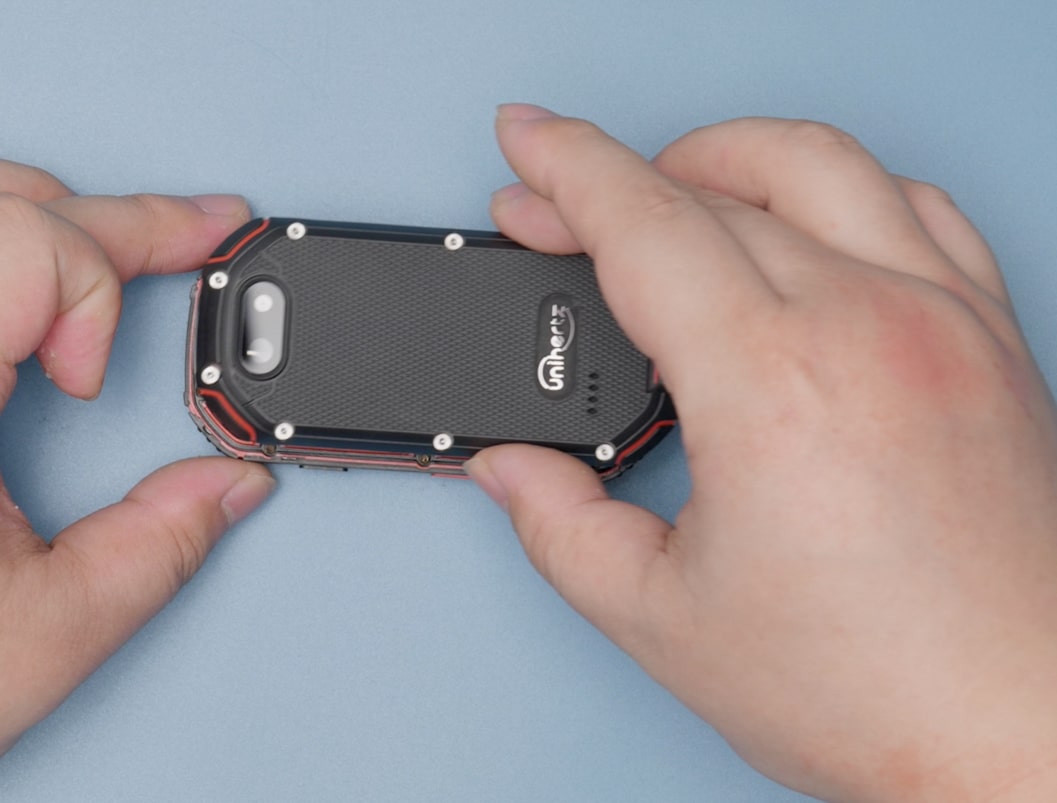
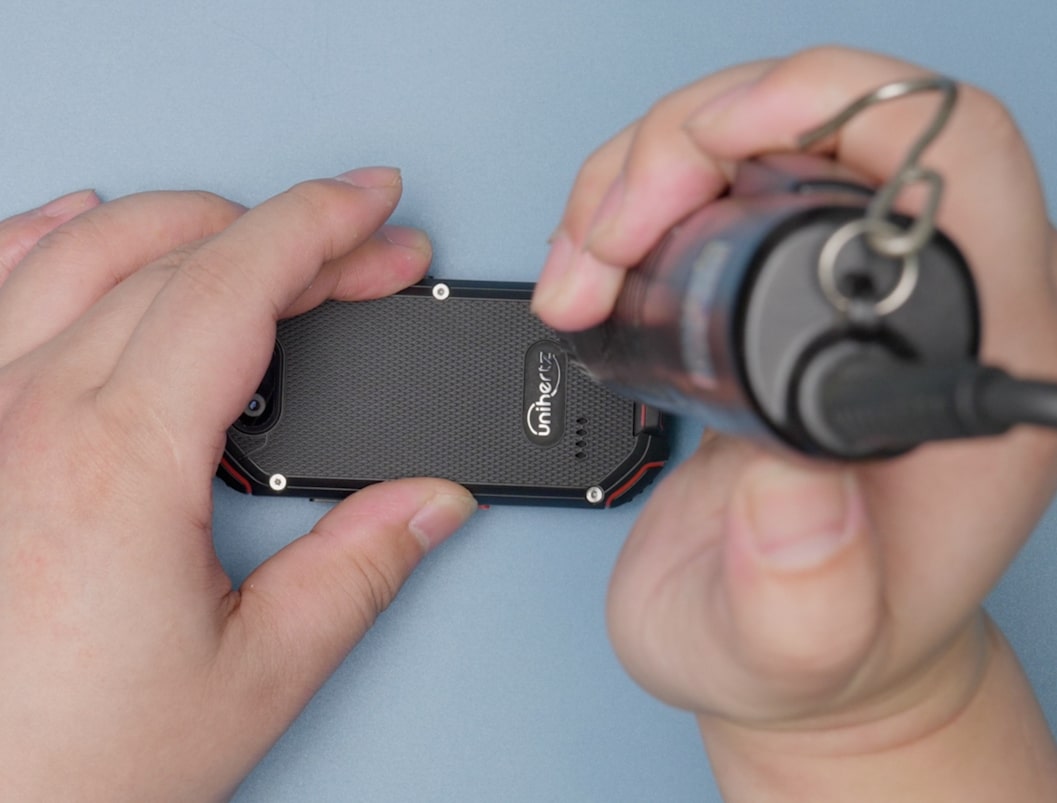
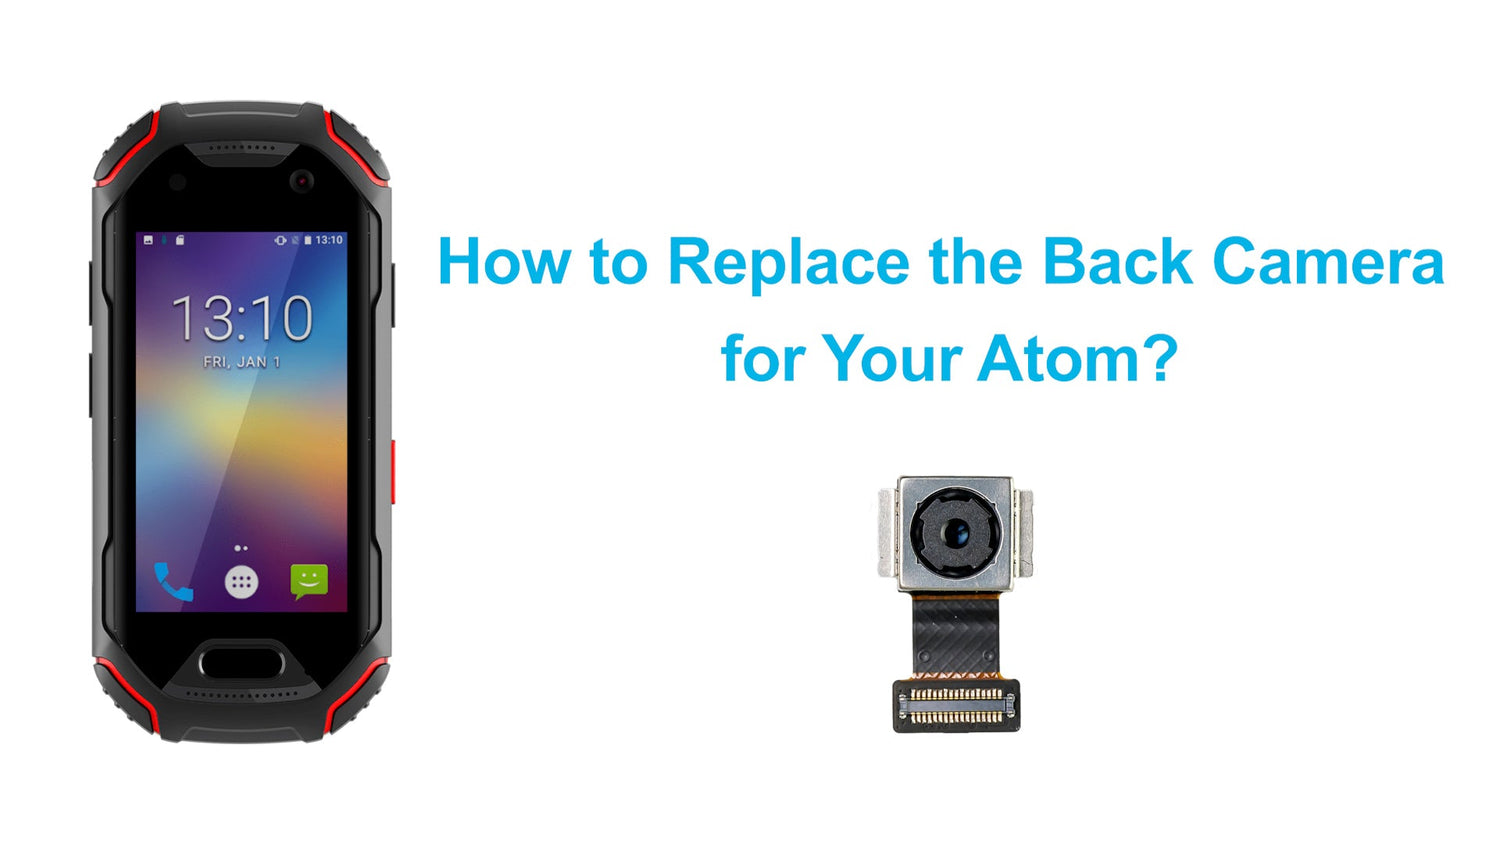
This tutorial will go through the process of replacing the camera assembly of Unihertz Atom smartphone.
It is important that you read the entire guide and make sure you can complete all the steps before you start to replace the camera assembly of your Unihertz Atom smartphone. Otherwise, finding a local trained repair specialist to conduct the repair is recommended.
How to Replace the Camera Assembly for Unihertz Atom
How to Replace the Camera Assembly for Unihertz Atom Step by Step
![]() |
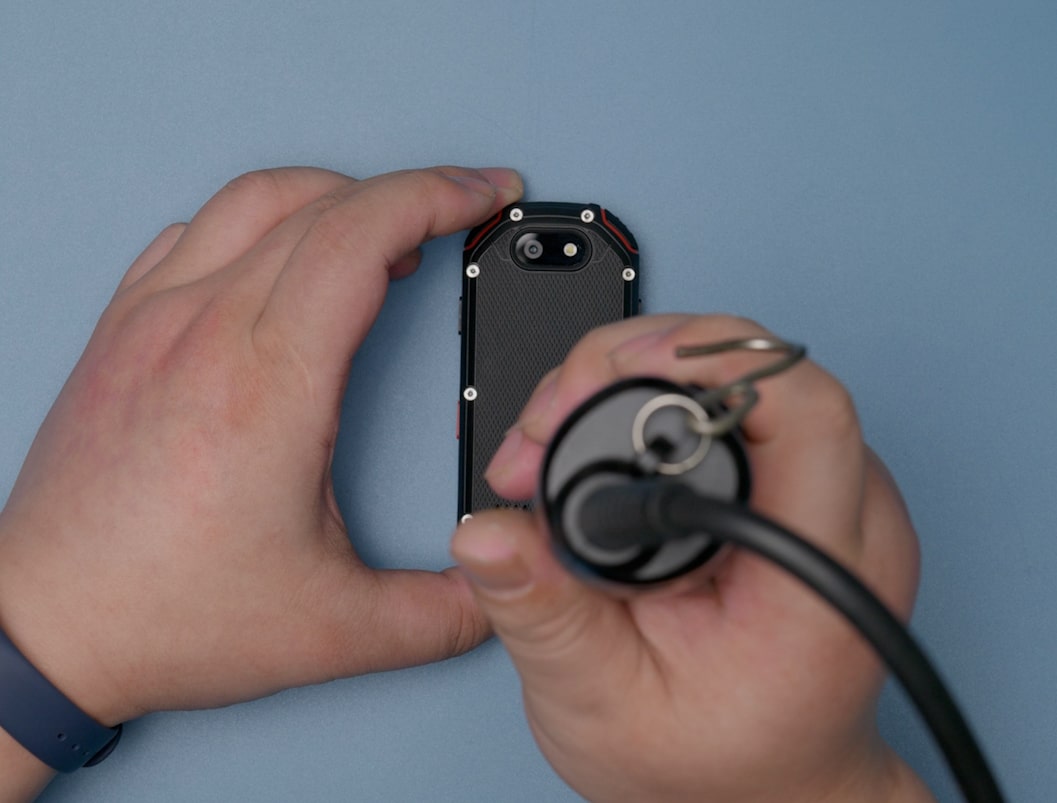
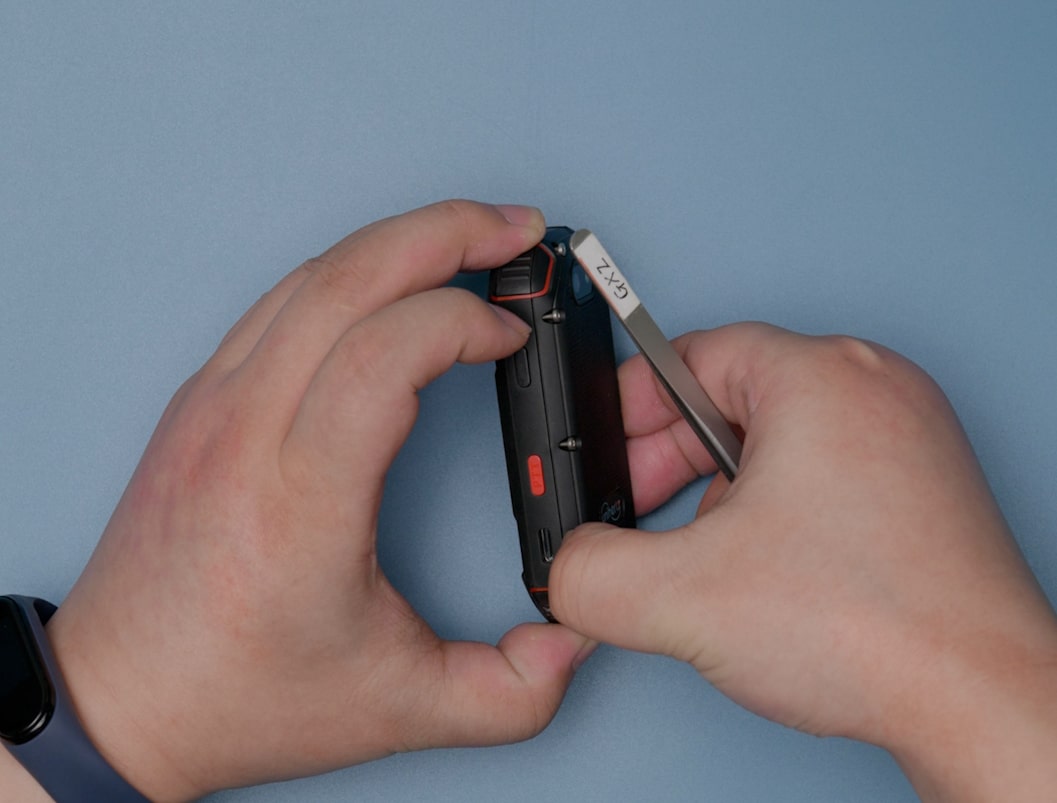
Step 1Remove the 8 screws on the rear case and remove the rear case |
![]() |
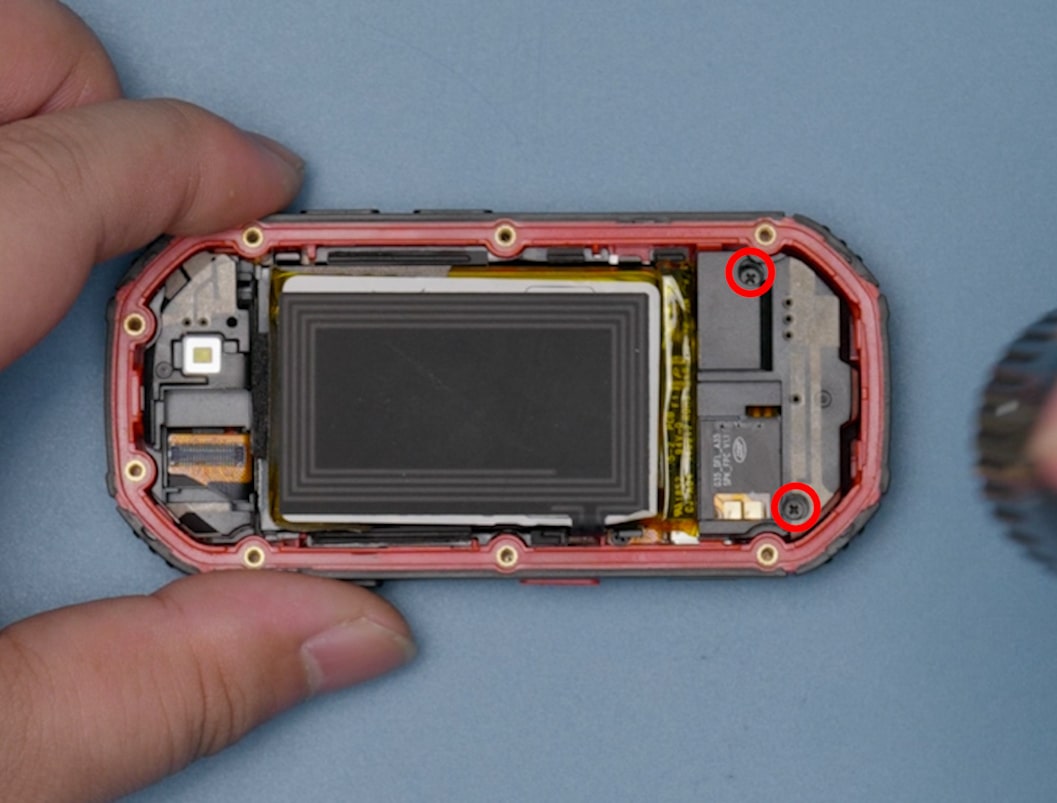
Step 2Remove the 2 screws on the speaker assembly |
![]() |
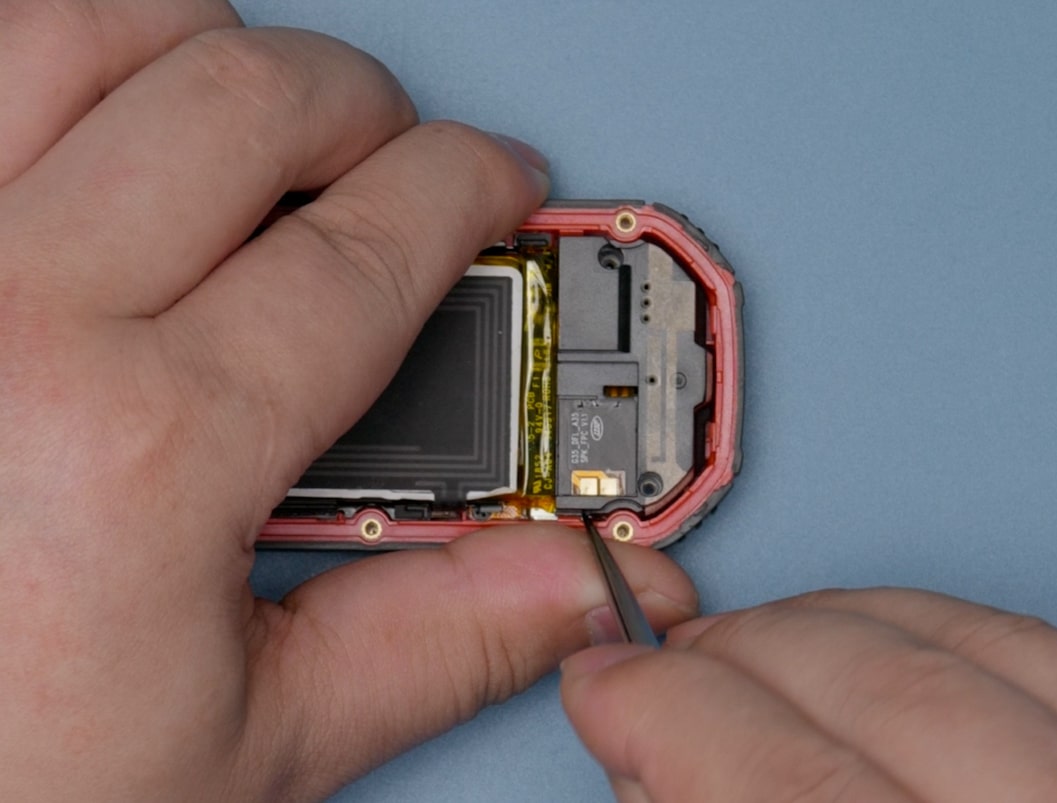
Step 3Remove the speaker assembly |
![]() |
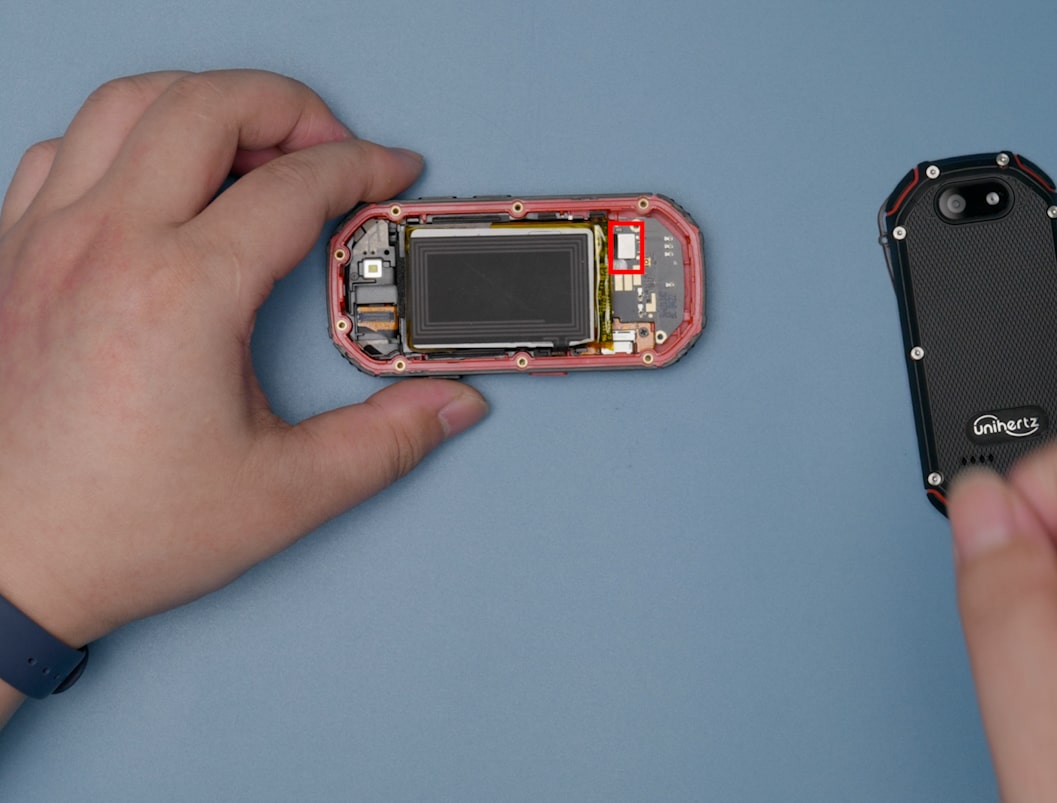
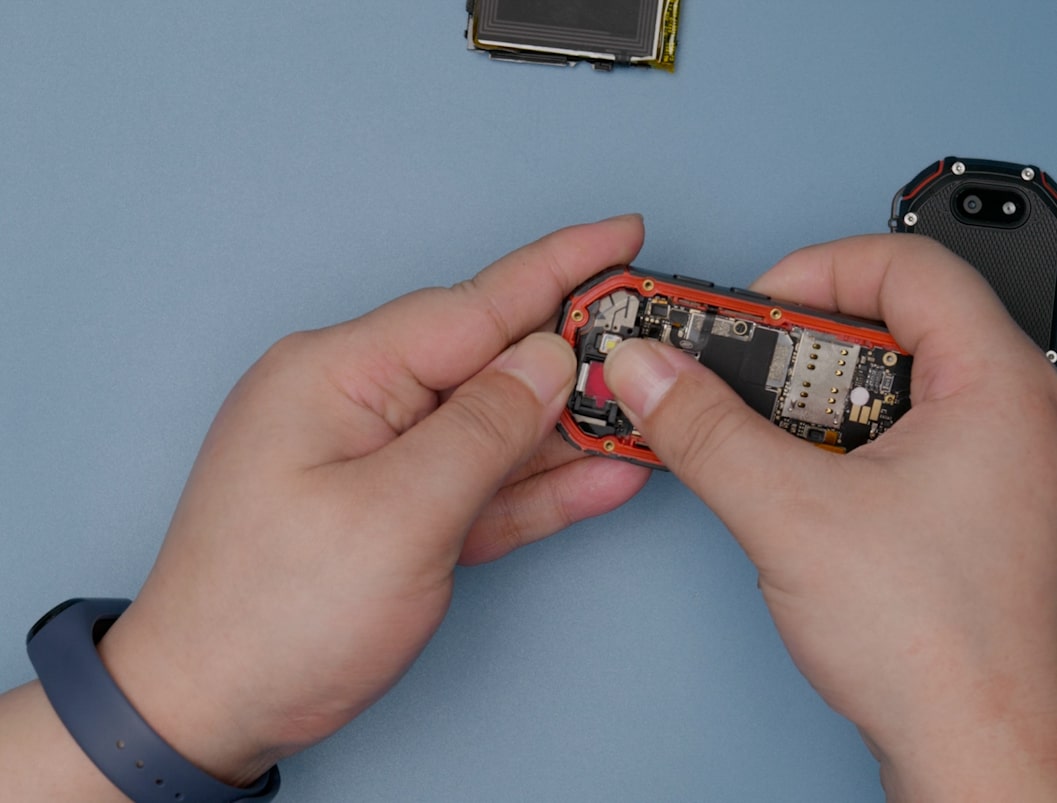
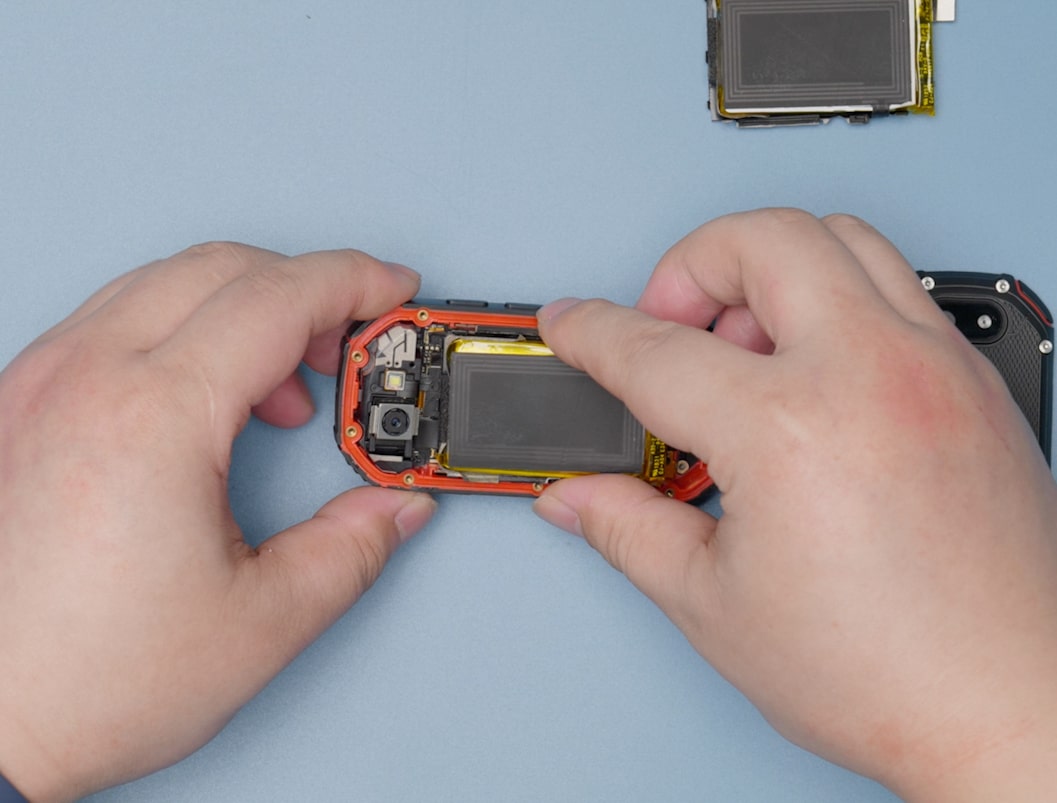
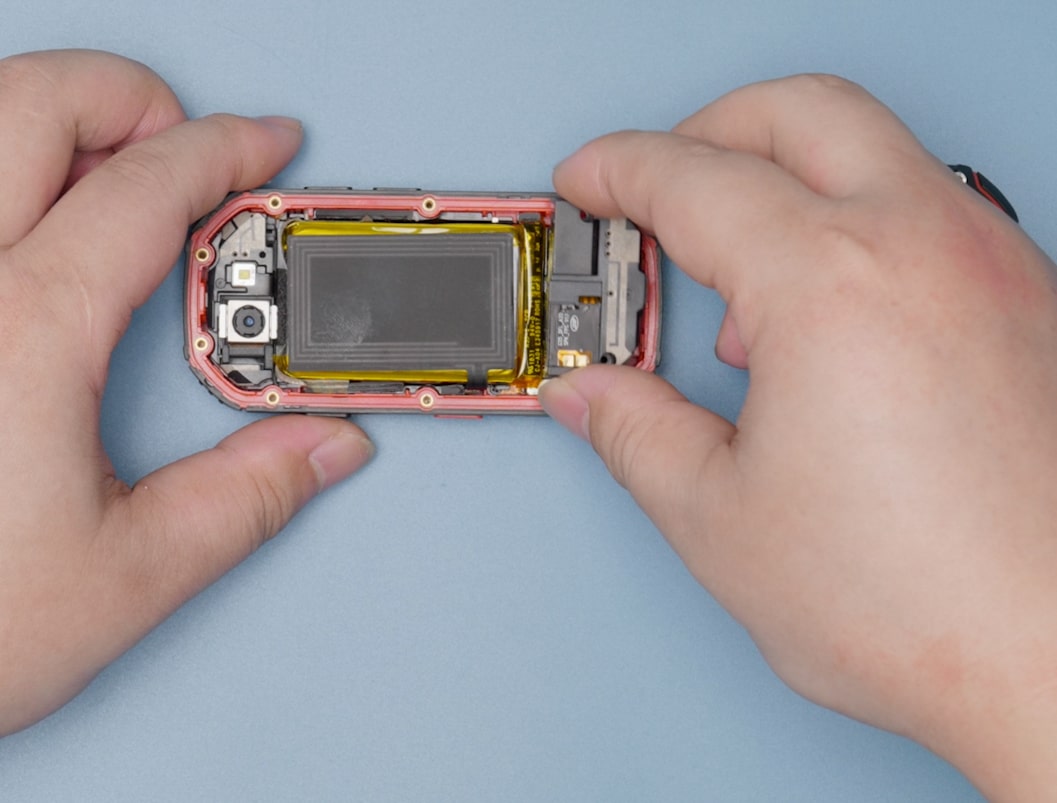
Step 4Pry open the cable interface connecting the battery and the motherboard remove the battery |
![]() |
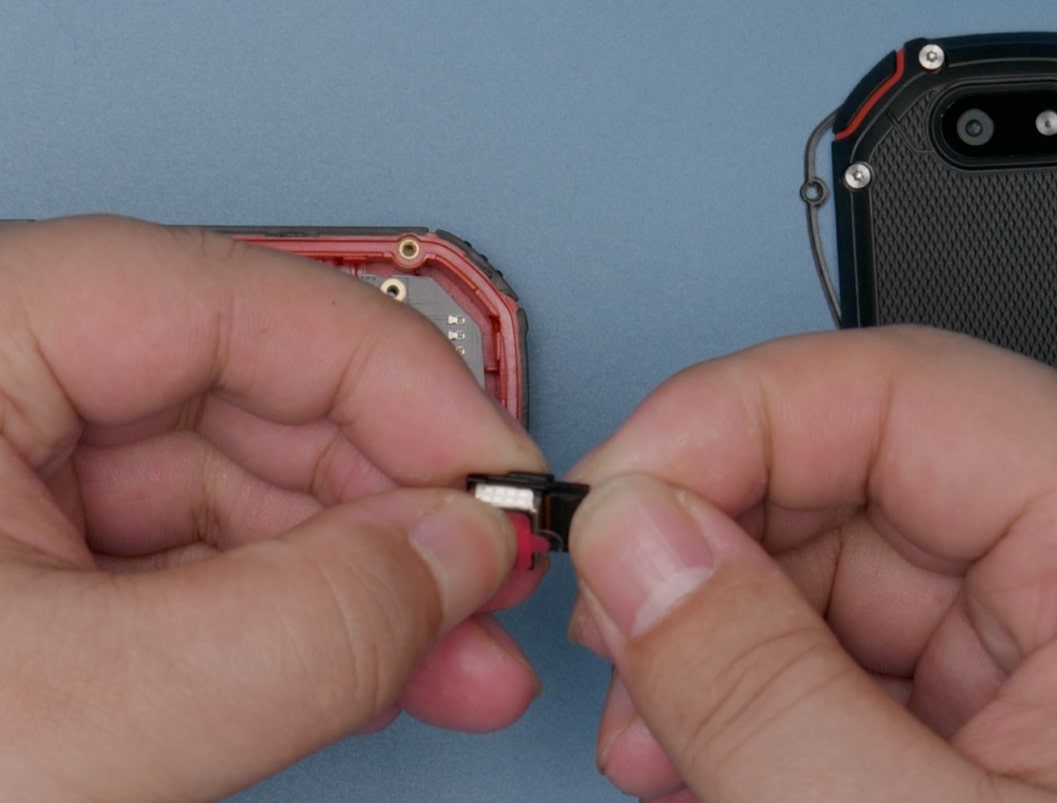
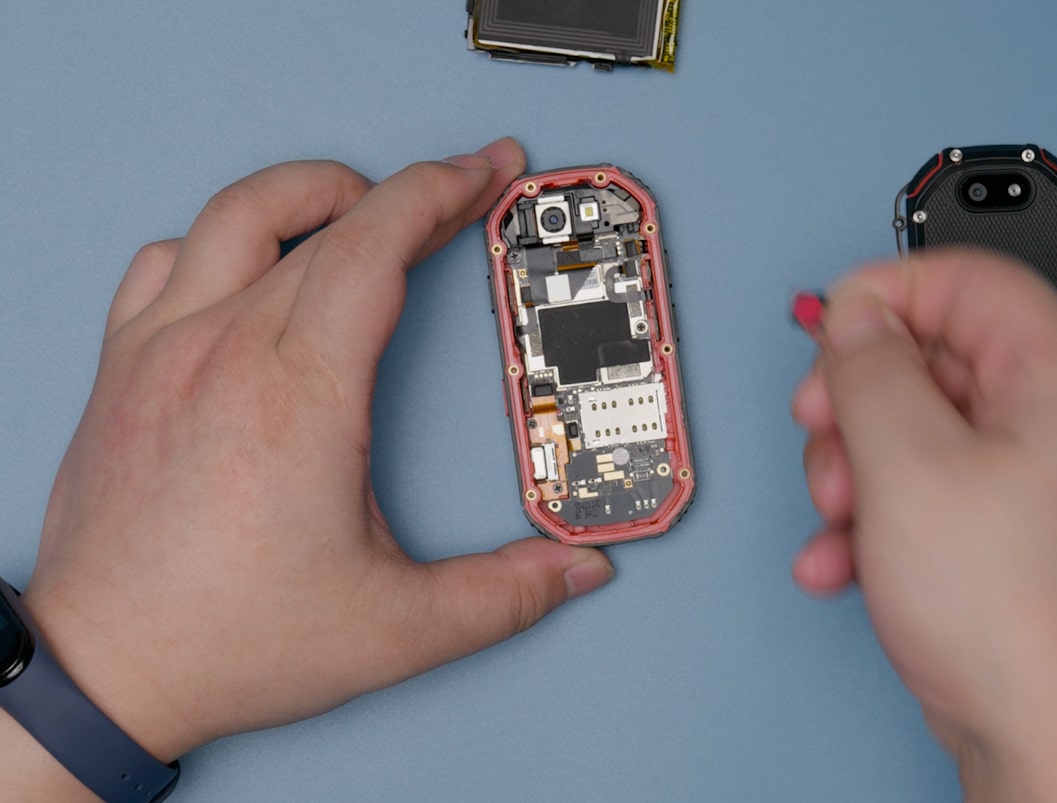
Step 5Remove the SIM card tray |
![]() |
Step 6Remove the two screws on the type-c_FPC remove type-c_FPC |
![]() |
Step 7Remove the screws on the camera assembly Pry open the cable interface at the connection between the camera assembly and the motherboard |
![]() |
Step 8Remove the camera assembly |
![]() |
Step 9Remove the 2 screws on the motherboard Pry open the 4 cable connectors on the motherboard |
![]() |
Step 10Remove the motherboard (be careful that there are cables connected to the back of the motherboard) Pry open the cable connector on the back of the motherboard |
![]() |
Step 11Remove the side button FPC |
![]() |
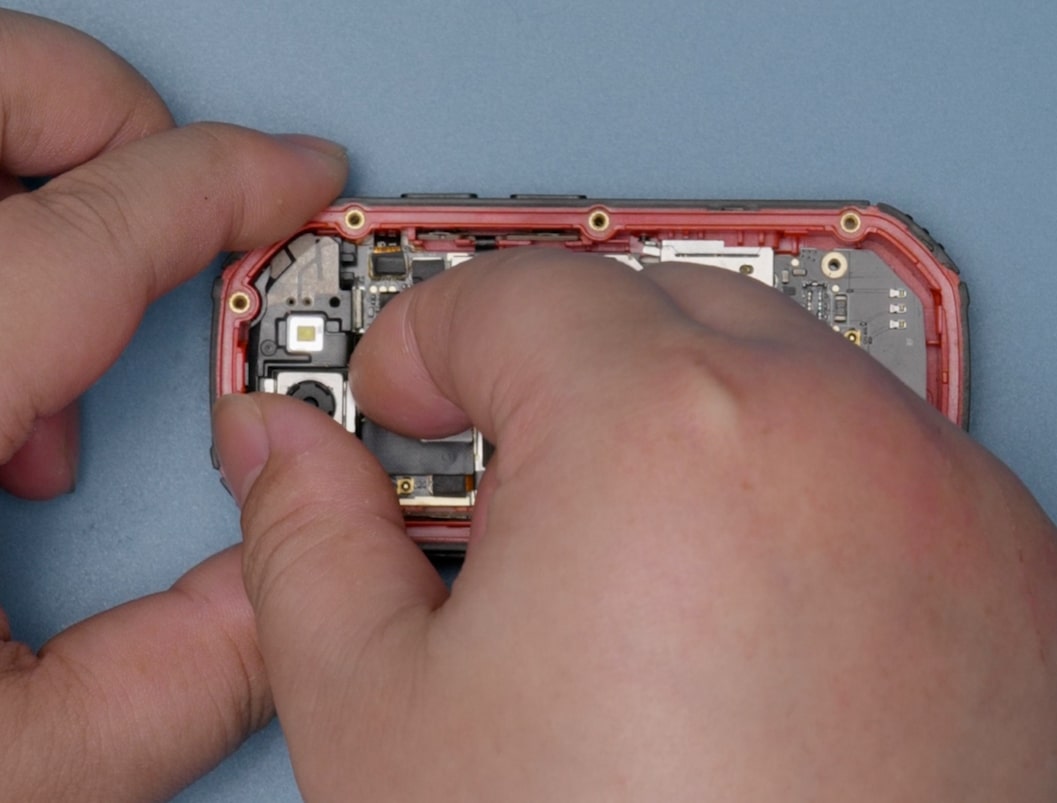
Step 12Remove the front camera |
![]() |
Step 13Install a new front camera |
![]() |
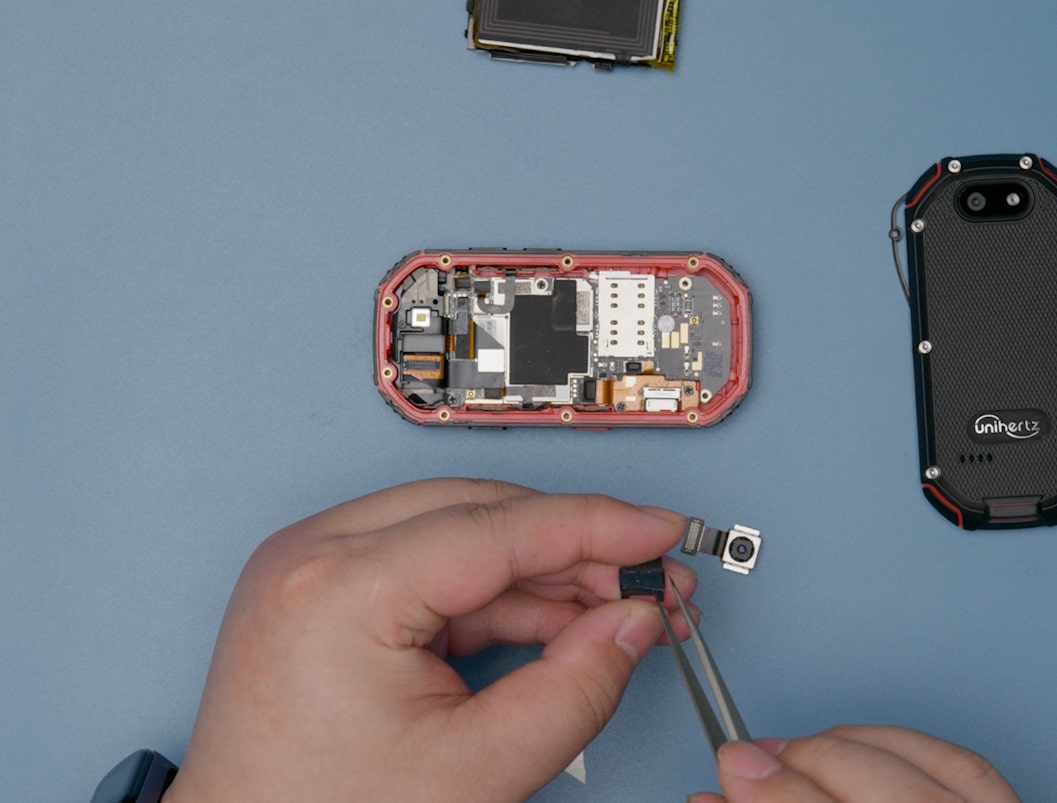
Step 14Remove the rear camera from the camera assembly |
![]() |
Step 15Install the rear camera |
![]() |
Step 16Connect the cable interface on the back of the motherboard Install the motherboard |
![]() |
Step 17Install side button FPC |
![]() |
Step 18Install the 2 screws on the motherboard Install the 4 cable connectors on the motherboard |
![]() |
Step 19Install the camera assembly |
![]() |
Step 20Connect the cable interface between the camera assembly and the motherboard Install the screws on the camera assembly |
![]() |
Step 21Install the battery Install the battery and the cable interface connected to the motherboard |
![]() |
Step 22Install the speaker assembly |
![]() |
Step 23Install the 2 screws on the speaker assembly |
![]() |
Step 24Install the back shell |
![]() |
Step 25Install the 8 screws on the rear case |
![]() |
Step 26Install the SIM card tray |
Step 1Remove the 8 screws on the rear case and remove the rear case |
![]() |
Step 2Remove the 2 screws on the speaker assembly |
![]() |
Step 3Remove the speaker assembly |
![]() |
Step 4Pry open the cable interface connecting the battery and the motherboard remove the battery |
![]() |
Step 5Remove the SIM card tray |
![]() |
Step 6Remove the two screws on the type-c_FPC remove type-c_FPC |
![]() |
Step 7Remove the screws on the camera assembly Pry open the cable interface at the connection between the camera assembly and the motherboard |
![]() |
Step 8Remove the camera assembly |
![]() |
Step 9Remove the 2 screws on the motherboard Pry open the 4 cable connectors on the motherboard |
![]() |
Step 10Remove the motherboard (be careful that there are cables connected to the back of the motherboard) Pry open the cable connector on the back of the motherboard |
![]() |
Step 11Remove the side button FPC |
![]() |
Step 12Remove the front camera |
![]() |
Step 13Install a new front camera |
![]() |
Step 14Remove the rear camera from the camera assembly |
![]() |
Step 15Install the rear camera |
![]() |
Step 16Remove the battery and side button_FPC |
![]() |
Step 17Install side button FPC |
![]() |
Step 18Install the 2 screws on the motherboard Install the 4 cable connectors on the motherboard |
![]() |
Step 19Install the camera assembly |
![]() |
Step 20Connect the cable interface between the camera assembly and the motherboard Install the screws on the camera assembly |
![]() |
Step 21Install the battery Install the battery and the cable interface connected to the motherboard |
![]() |
Step 22Install the speaker assembly |
![]() |
Step 23Install the 2 screws on the speaker assembly |
![]() |
Step 24Install the back shell |
![]() |
Step 25Install the 8 screws on the rear case |
![]() |
Step 26Install the SIM card tray |
img src="https://cdn.shopify.com/s/files/1/0520/5337/7214/files/Atom_.00_05_06_08.Still032.jpg?v=1679541439" alt="Atom Camera Assembly Replacement Step 26" />
|