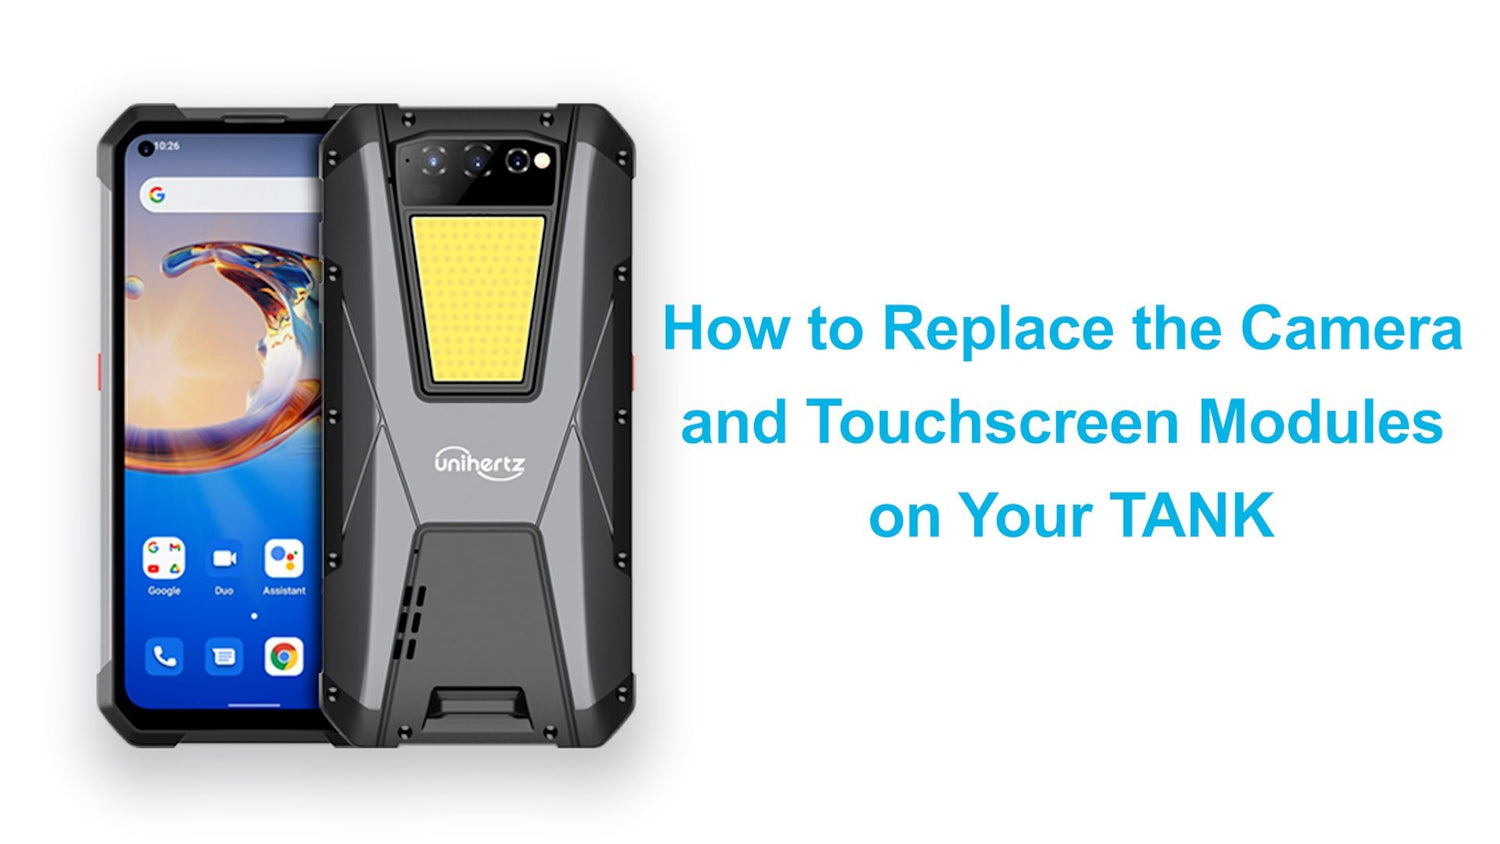

This tutorial will go through the process of replacing the Camera & Touchscreen Modules of Unihertz Tank Smartphone.
It is important that you read the entire guide and make sure you can complete all the steps before you start to replace the Camera & Touchscreen Modules of your Unihertz Tank smartphone. Otherwise, finding a local trained repair specialist to conduct the repair is recommended.
How to Replace the Camera & Touchscreen Modules of Unihertz Tank
How to Replace the Camera & Touchscreen Modules of Unihertz Tank Step by Step
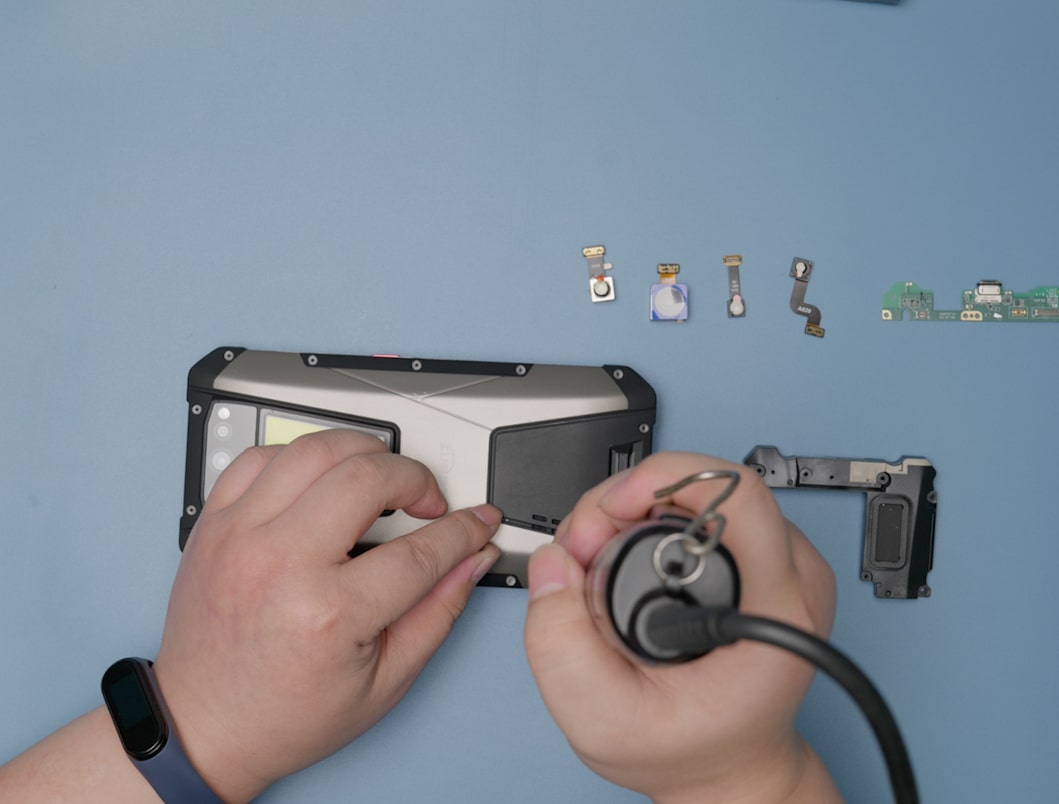 |
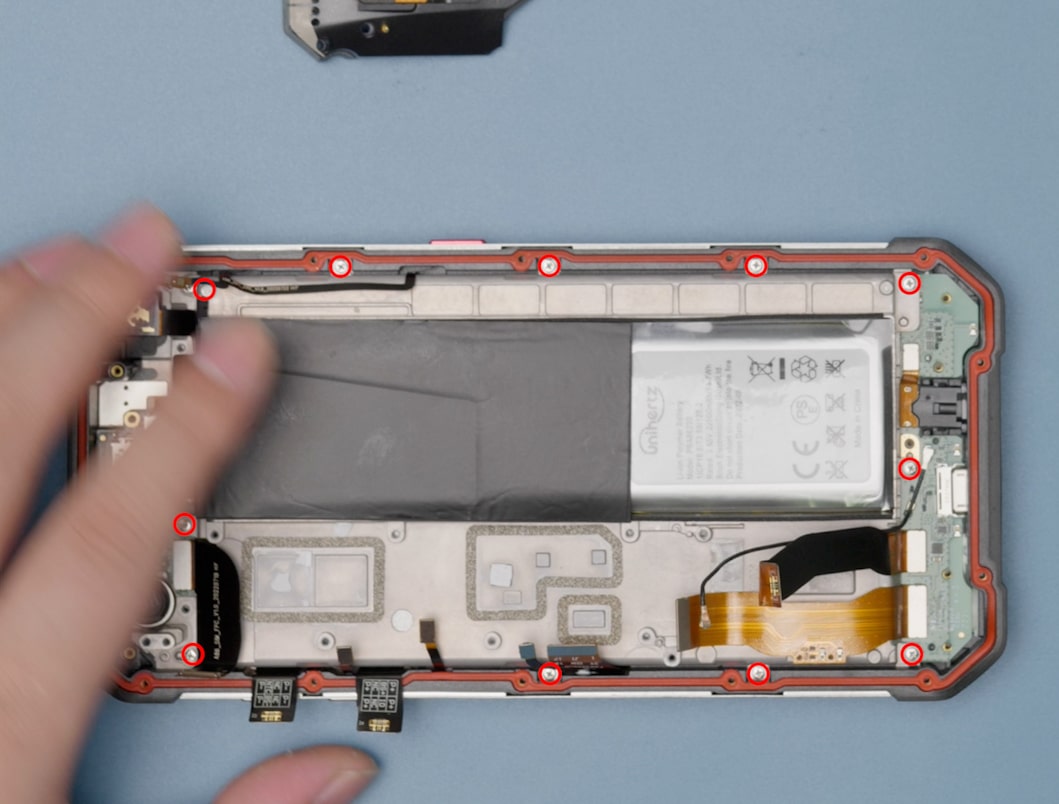
Step 01Remove the 14 screws from the back cover. |
 |
Step 02Take off the back cover. |
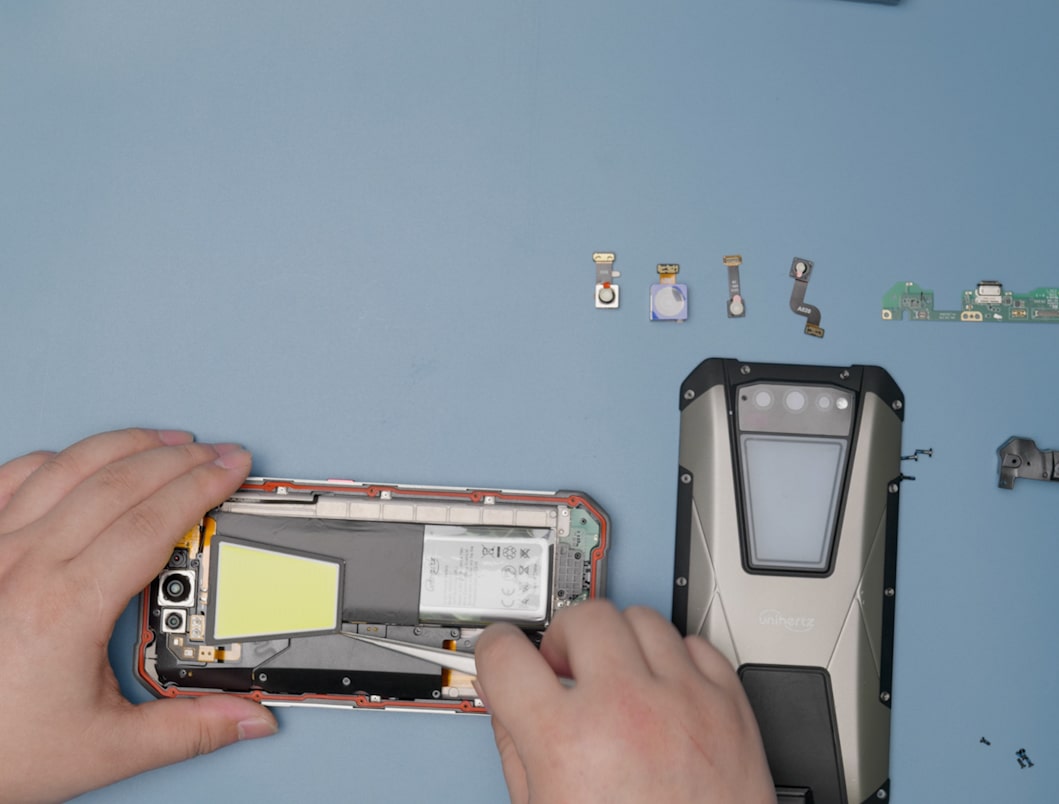 |
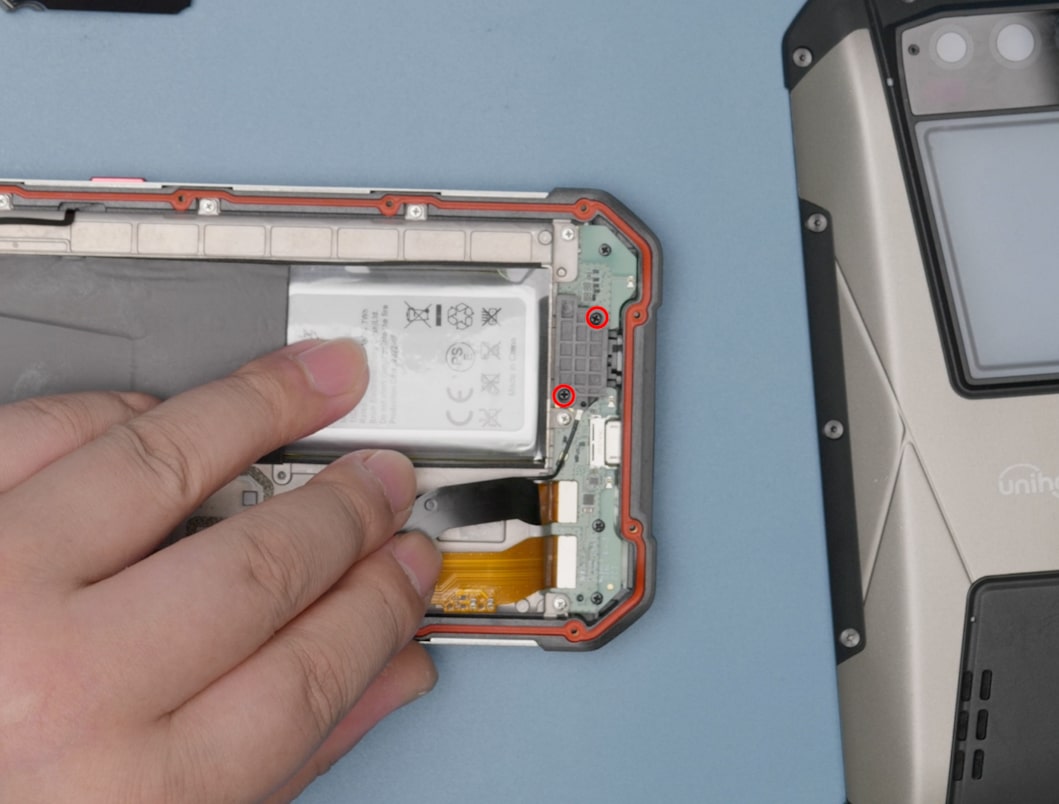
Step 03Remove the 6 screws on Protection Bracket A (There is one screw below the LED light, which is fixed to the battery with double-sided adhesive). |
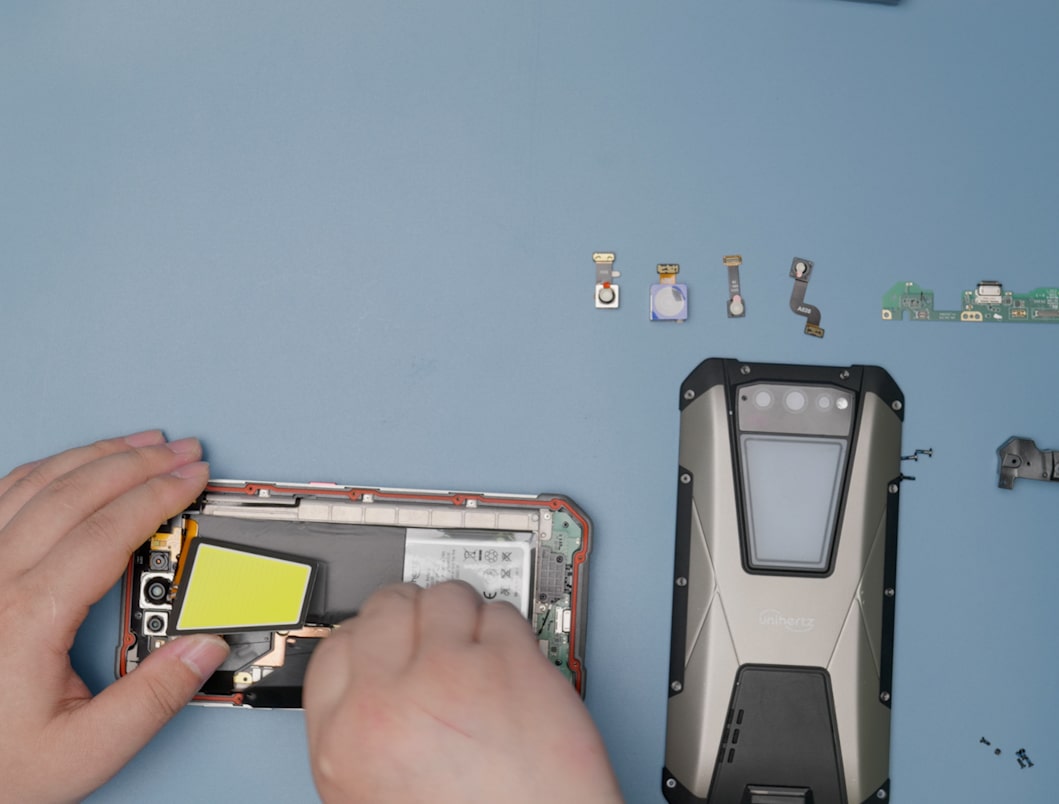 |
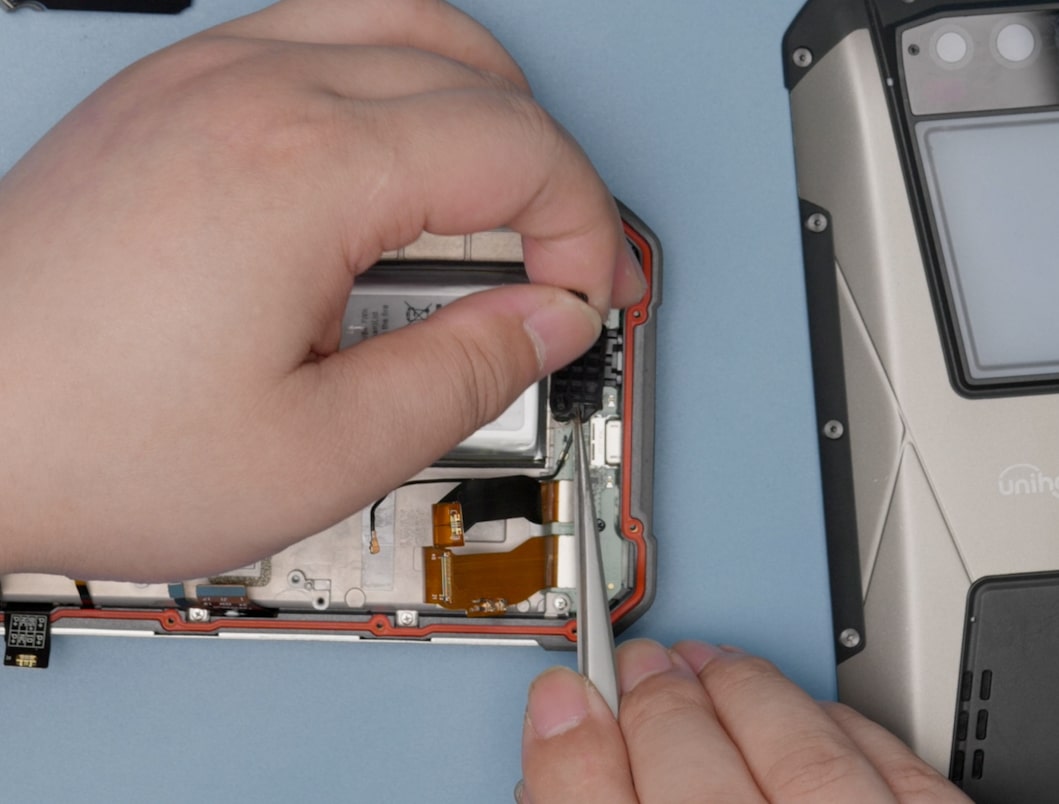
Step 04Remove Protection Bracket A. |
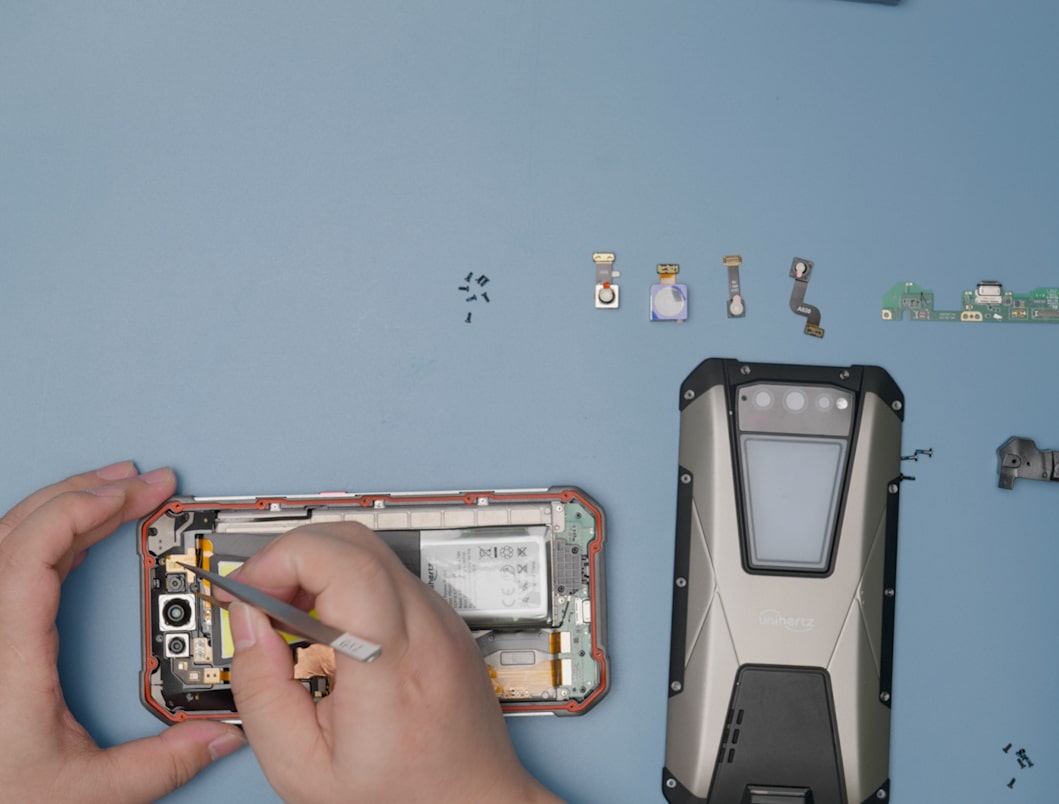 |
Step 05Unscrew the 8 screws on the Camera Bracket (There is one screw below the LED light), and peel off the Back Macro Camera attached to the Camera Bracket with double-sided adhesive. |
 |
Step 06Remove the Camera Bracket. |
 |
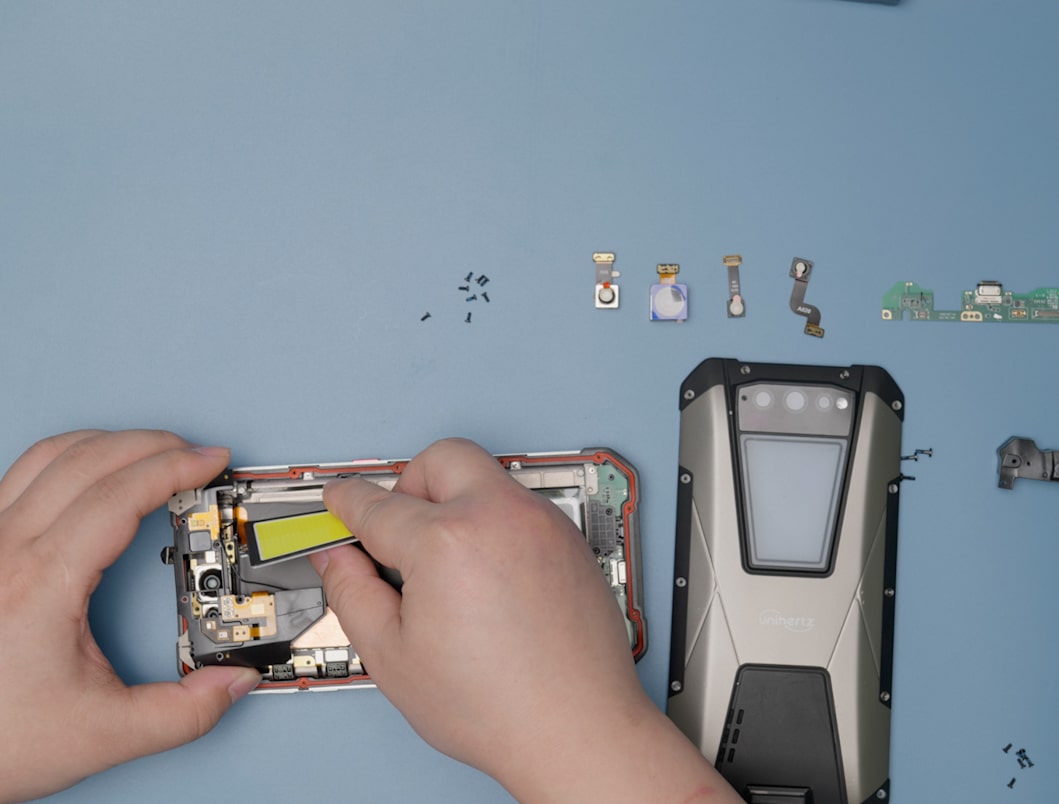
Step 07Disconnect the cable interface between the LED light and the mainboard, and remove the LED light. |
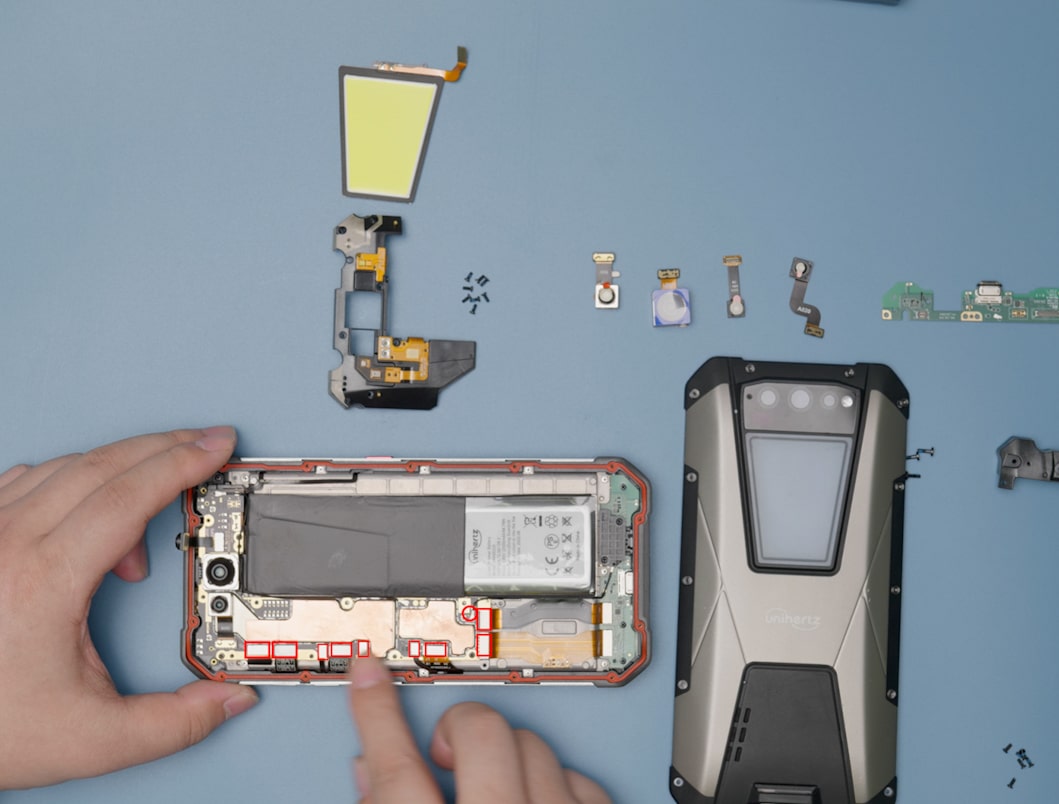 |
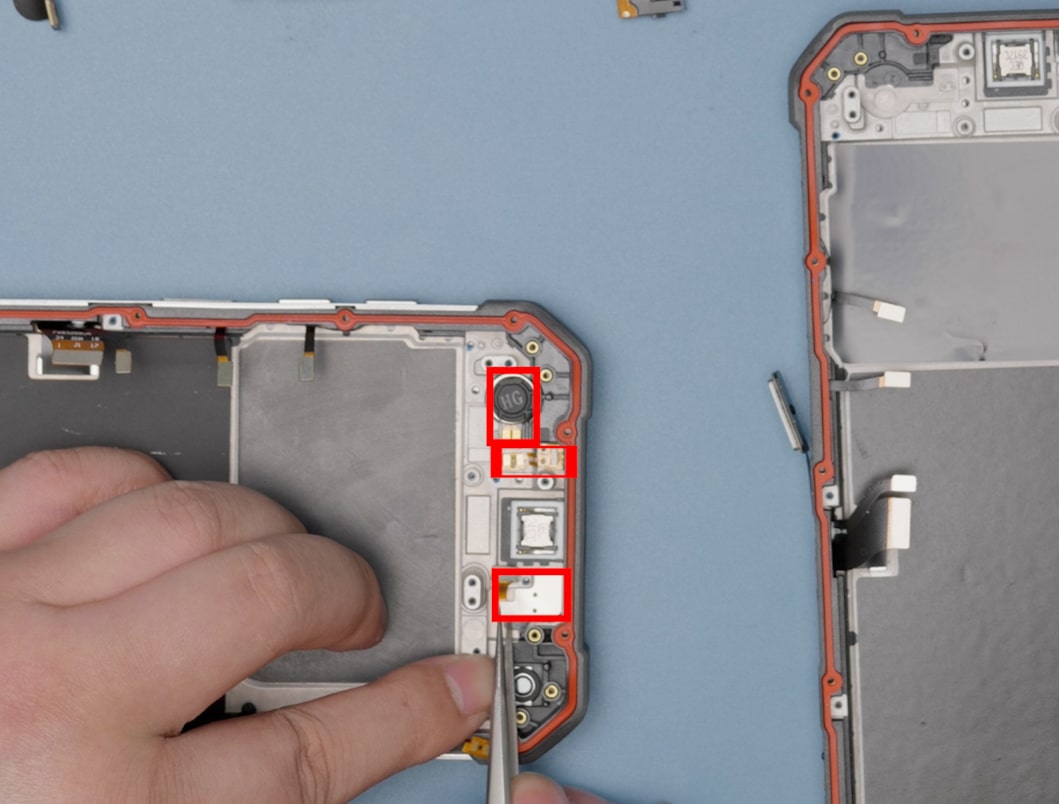
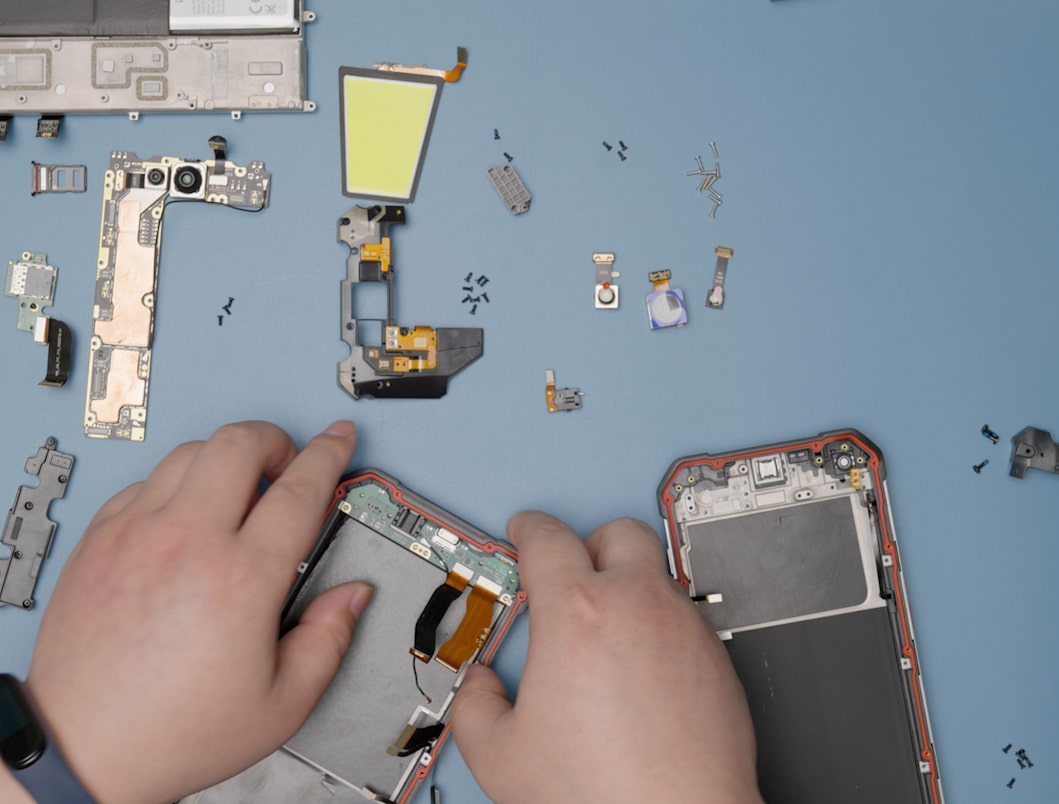
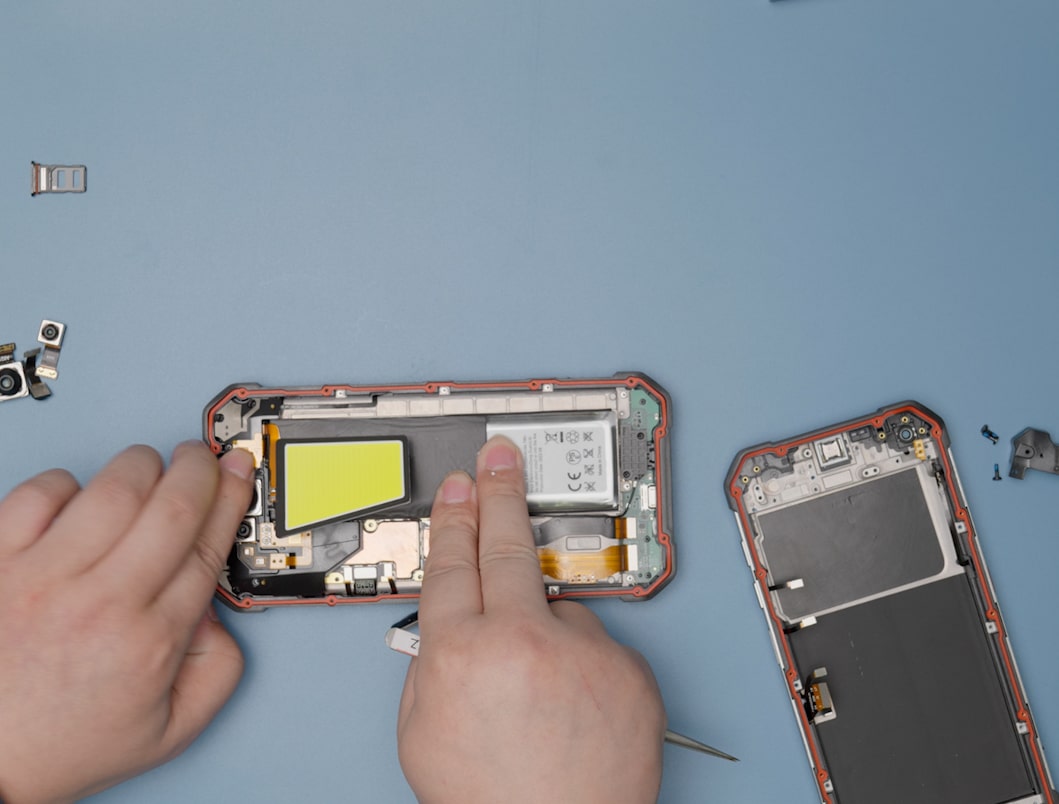
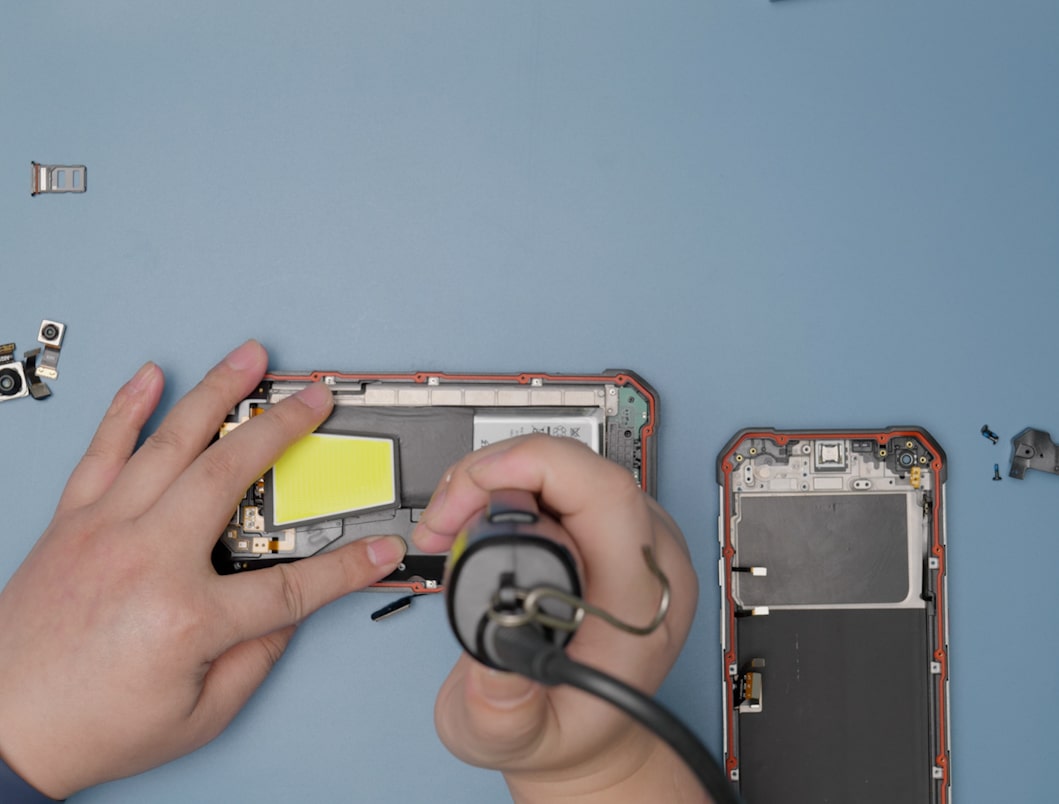
Step 08Disconnect the 10 cable interfaces on the mainboard. |
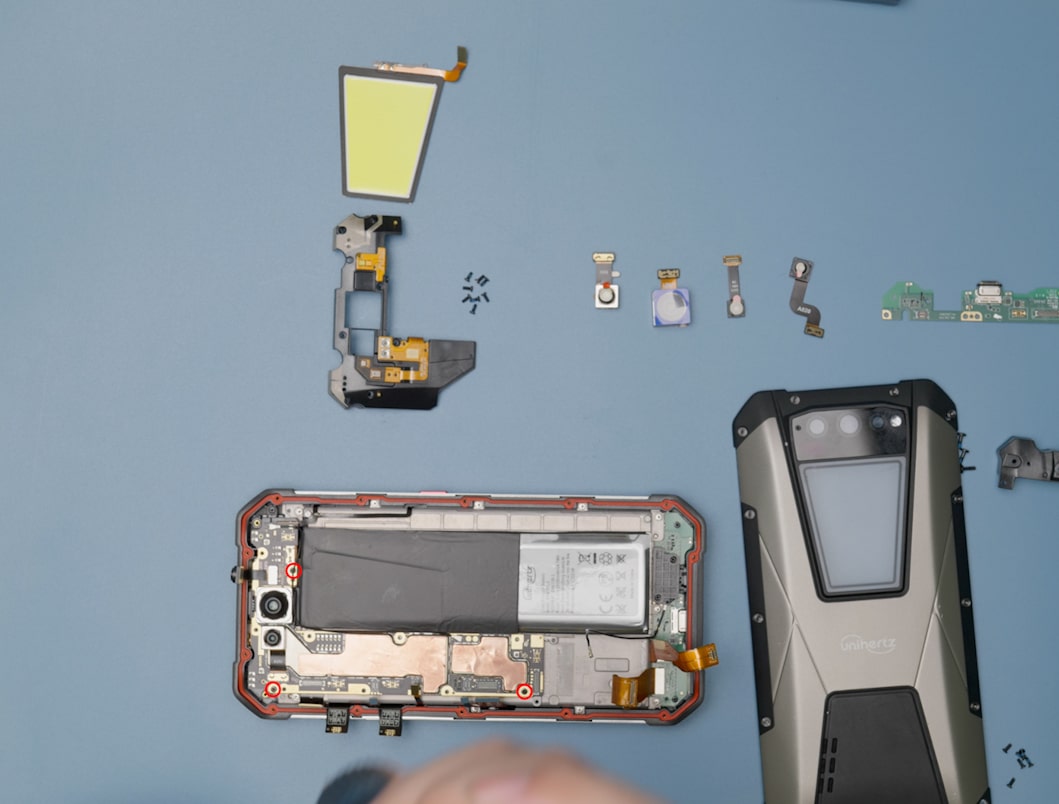 |
Step 09Remove the 3 screws on the mainboard. |
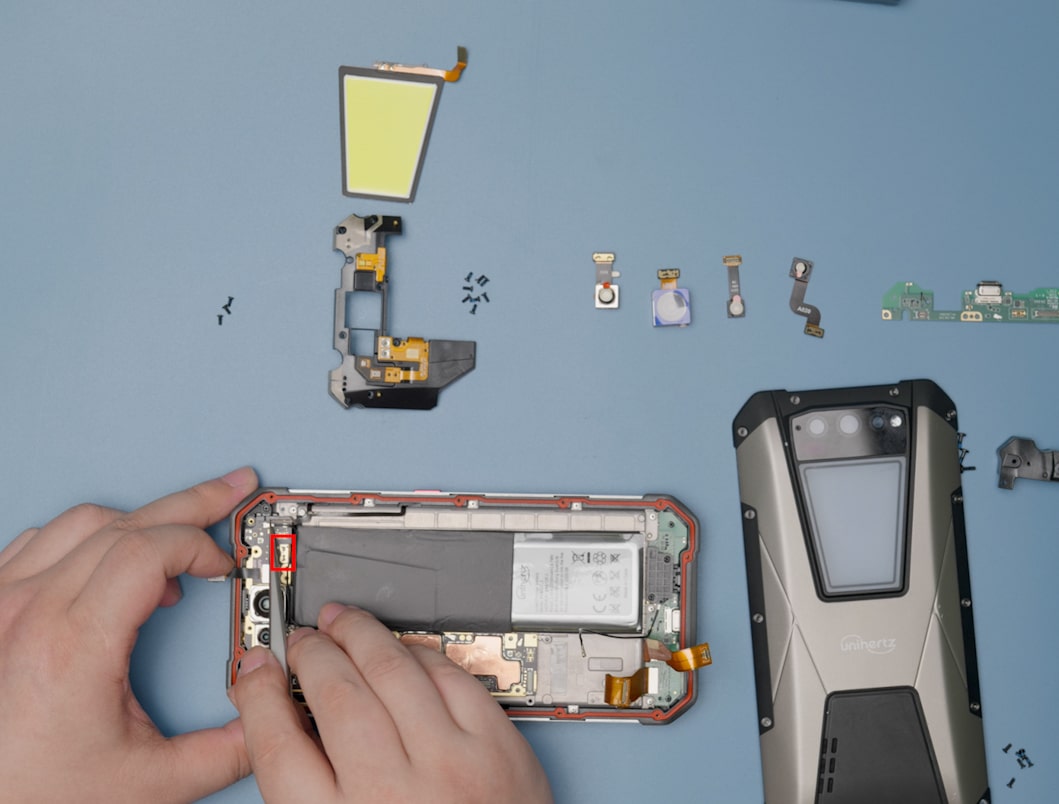 |
Step 10Remove the cable interface on the mainboard. |
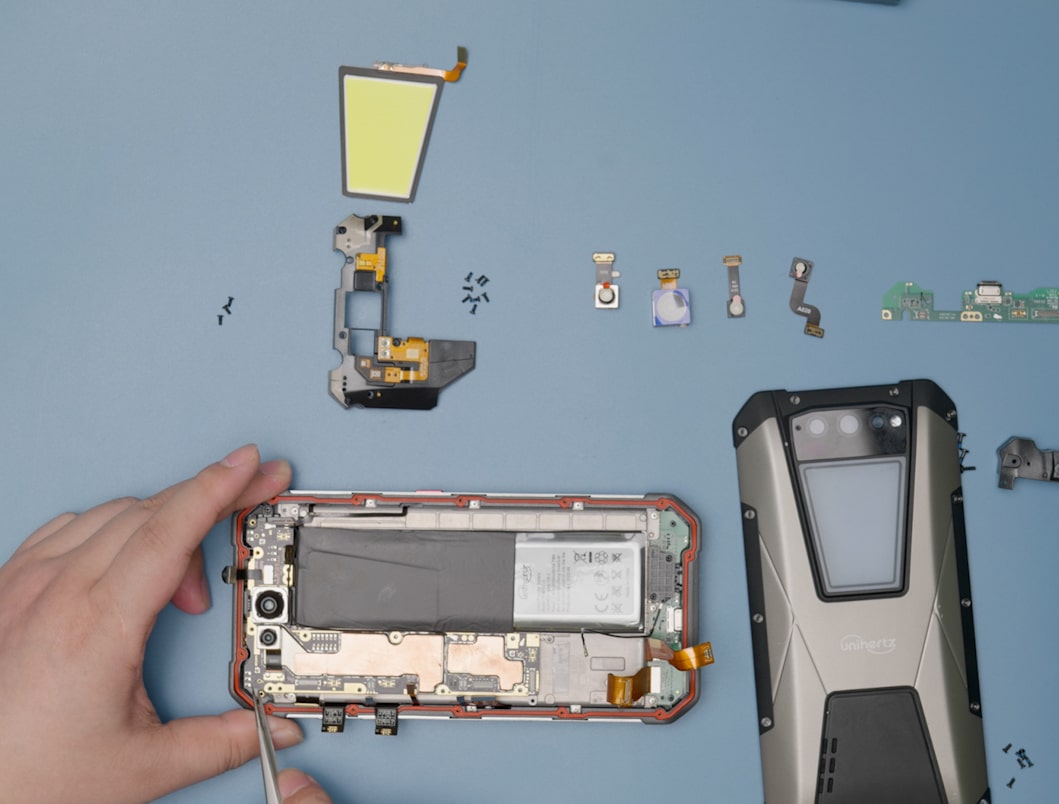 |
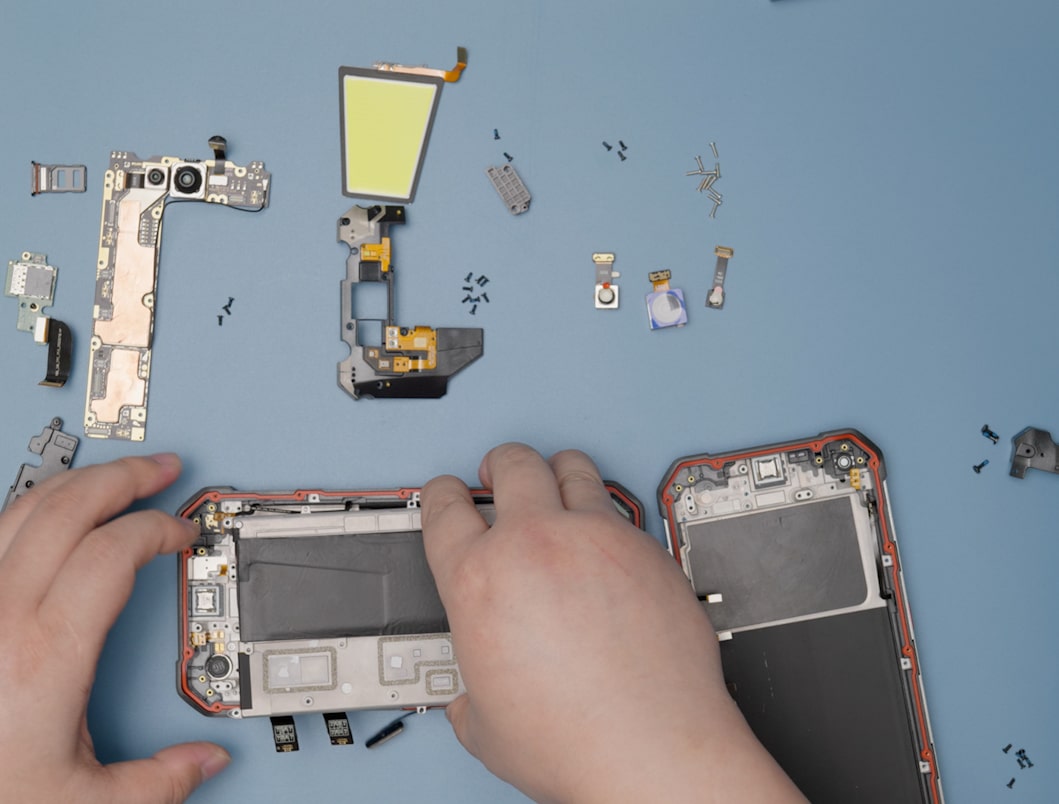
Step 11Take off the mainboard. |
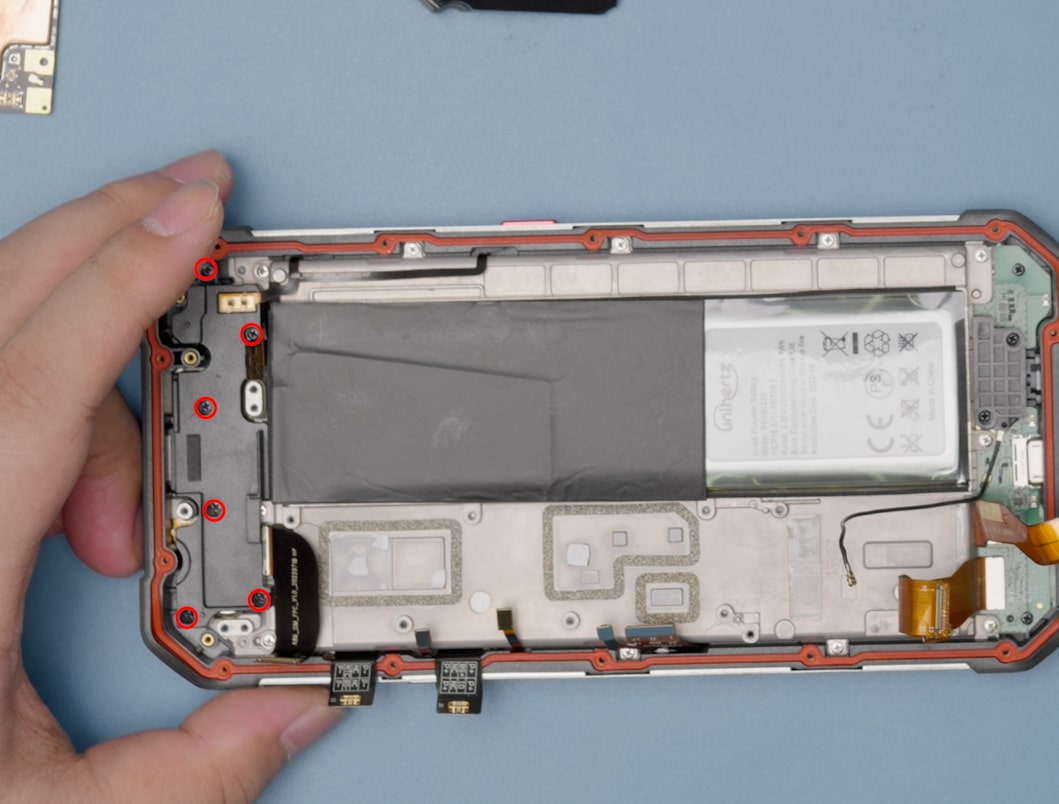 |
Step 12Remove the 6 screws on Protection Bracket B. |
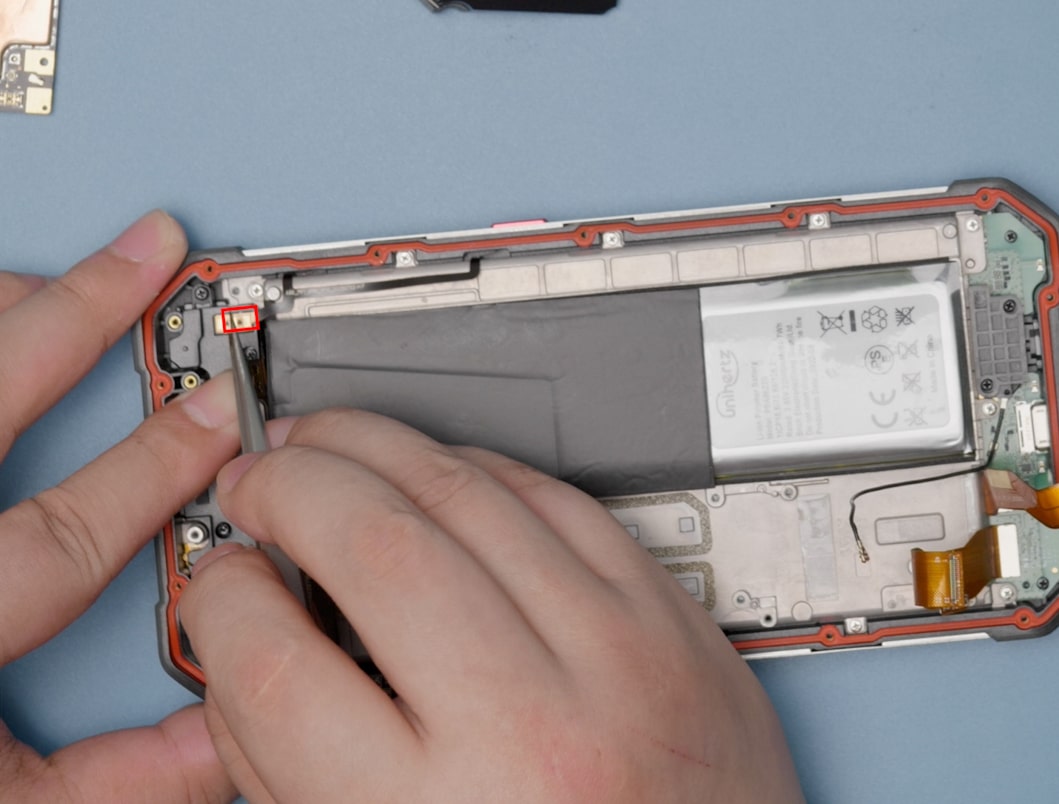 |
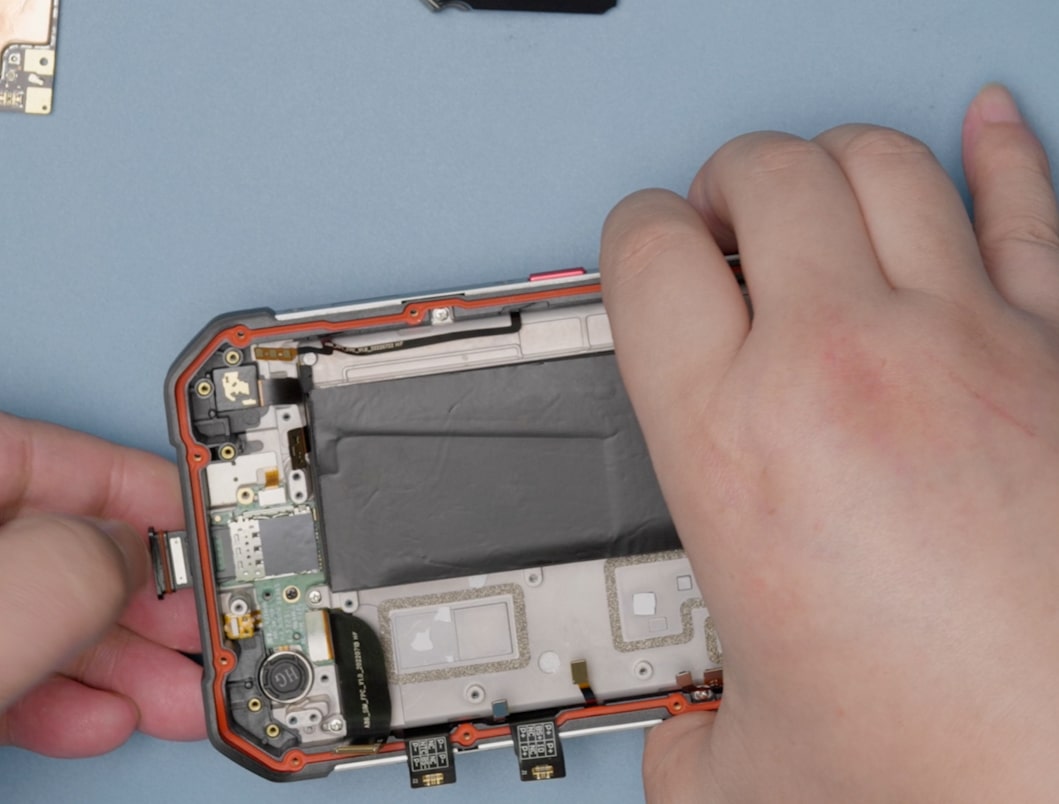
Step 13Disconnect the cable interface on Protection Bracket B and remove the Protection Bracket. |
 |
Step 14Remove the SIM card tray. |
 |
Step 15Remove the 2 screws on Protection Bracket C. |
 |
Step 16Take off Protection Bracket C. |
 |
Step 17Remove the 3 screws on the USB Charging Board. |
 |
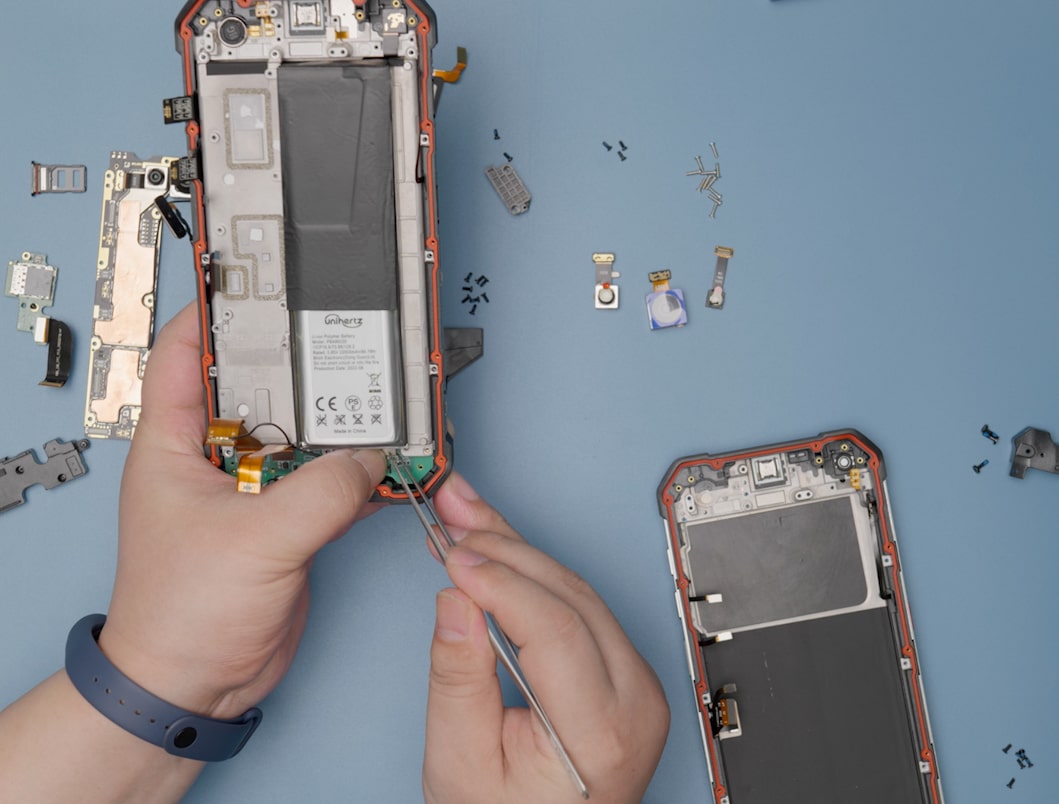
Step 18Remove the 11 screws securing the battery. |
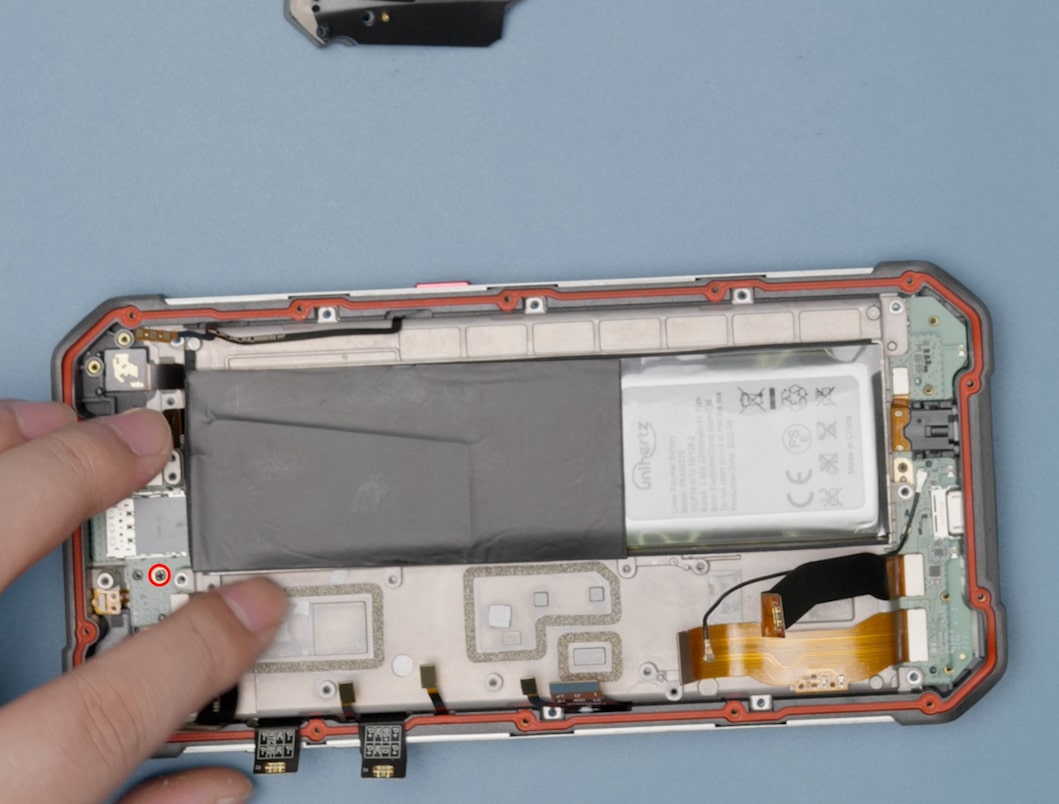 |
Step 19Unscrew the 1 screw on mainboard B. |
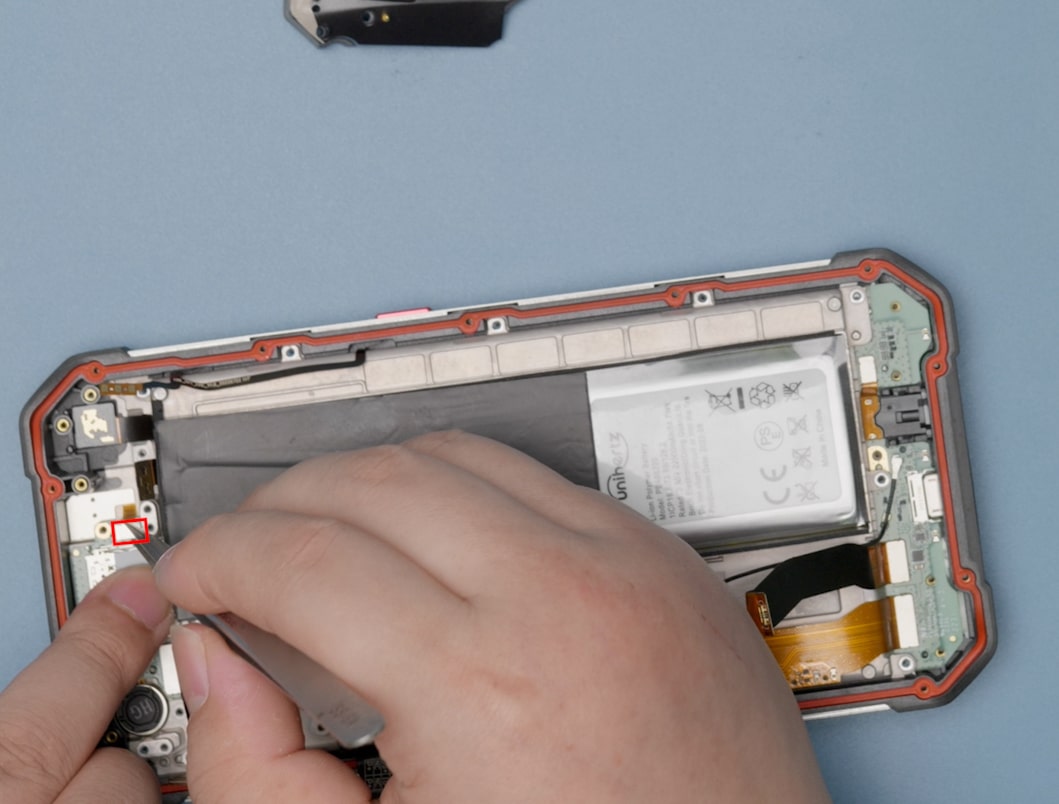 |
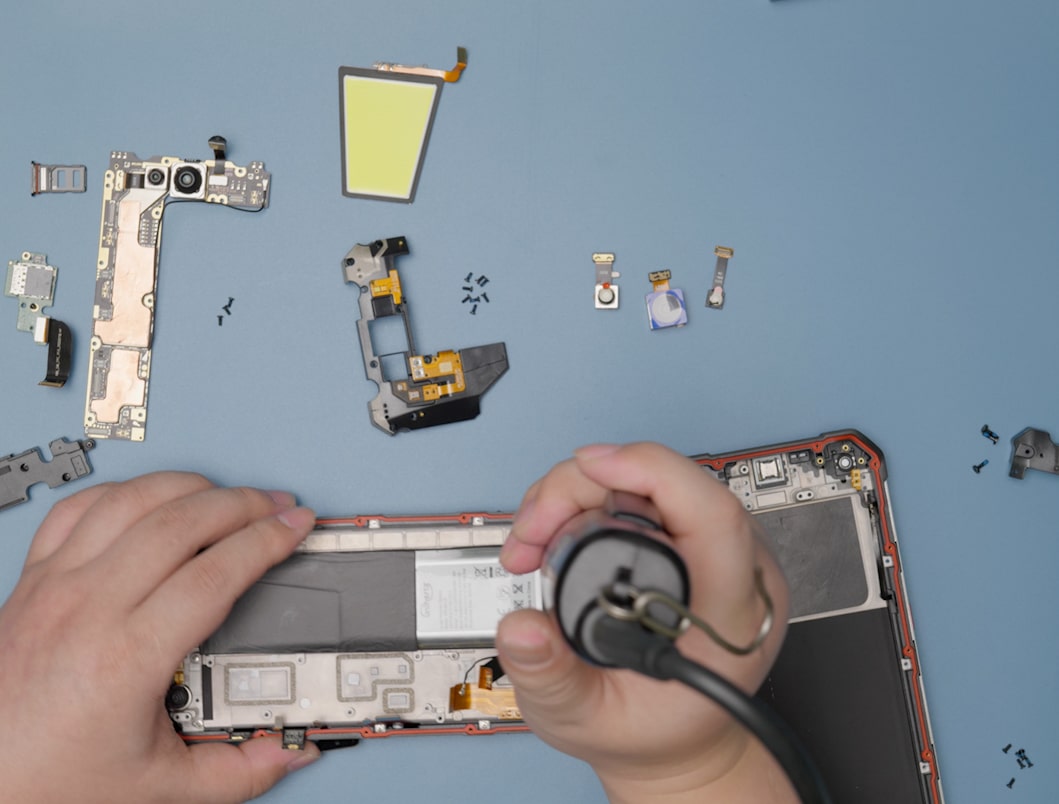
Step 20Disconnect the cable interface on mainboard B. |
 |
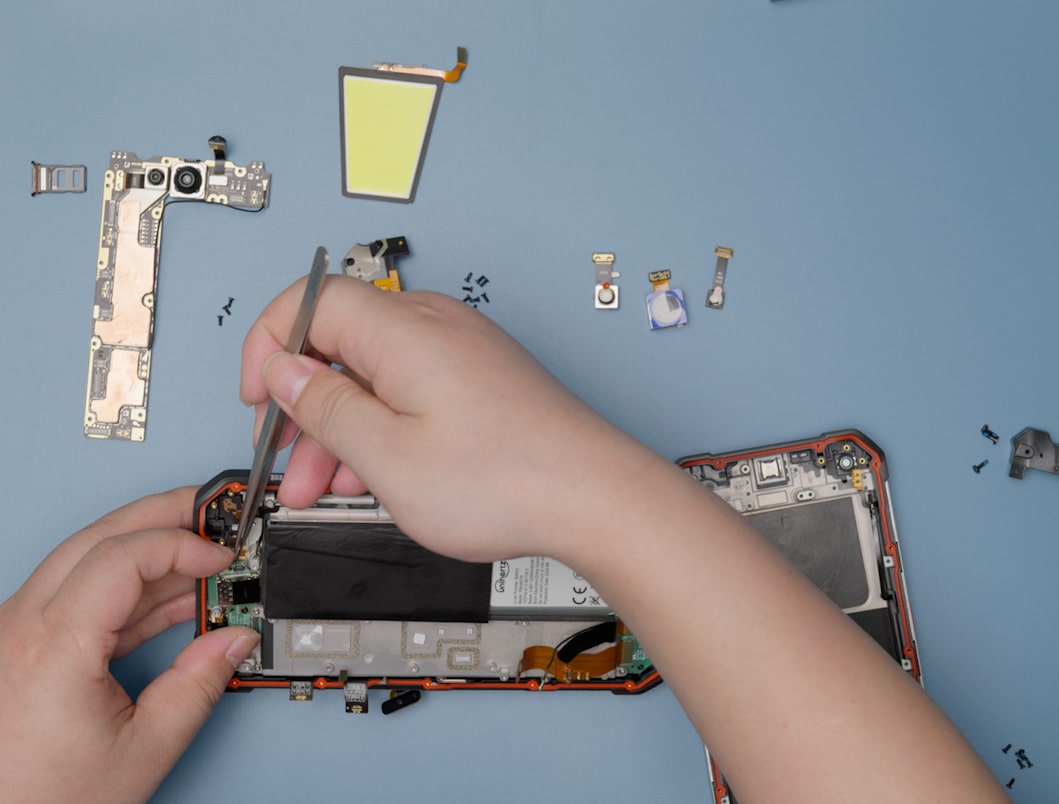
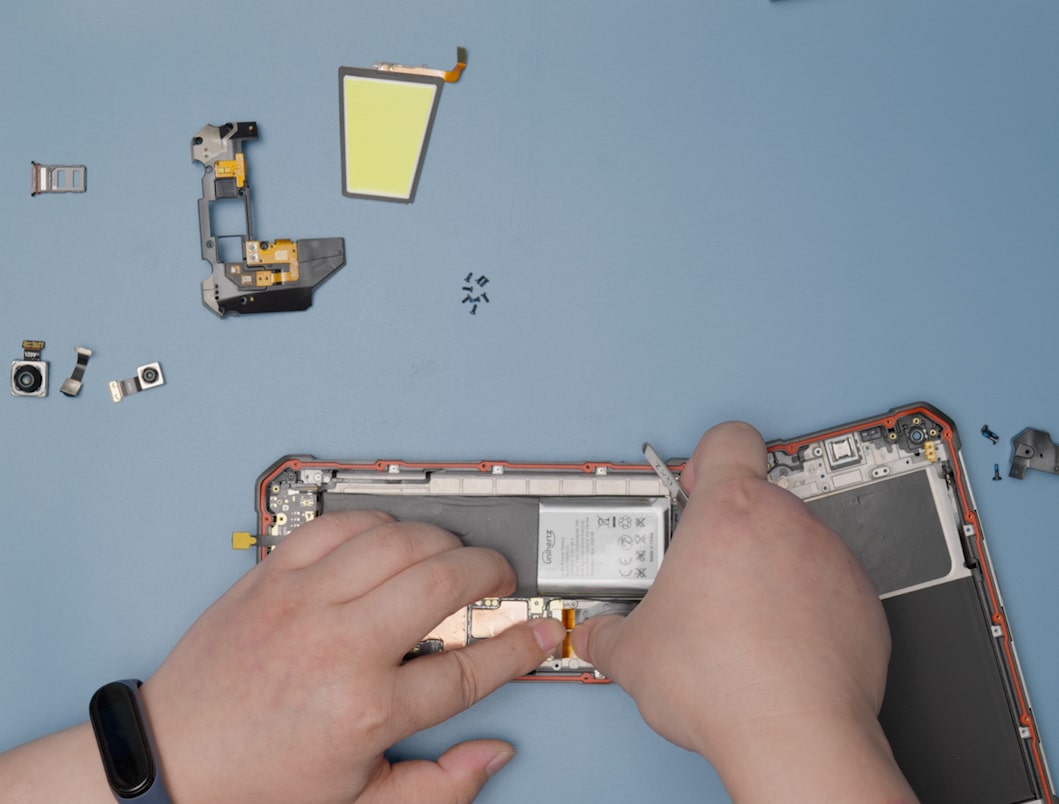
Step 21Take off mainboard B. |
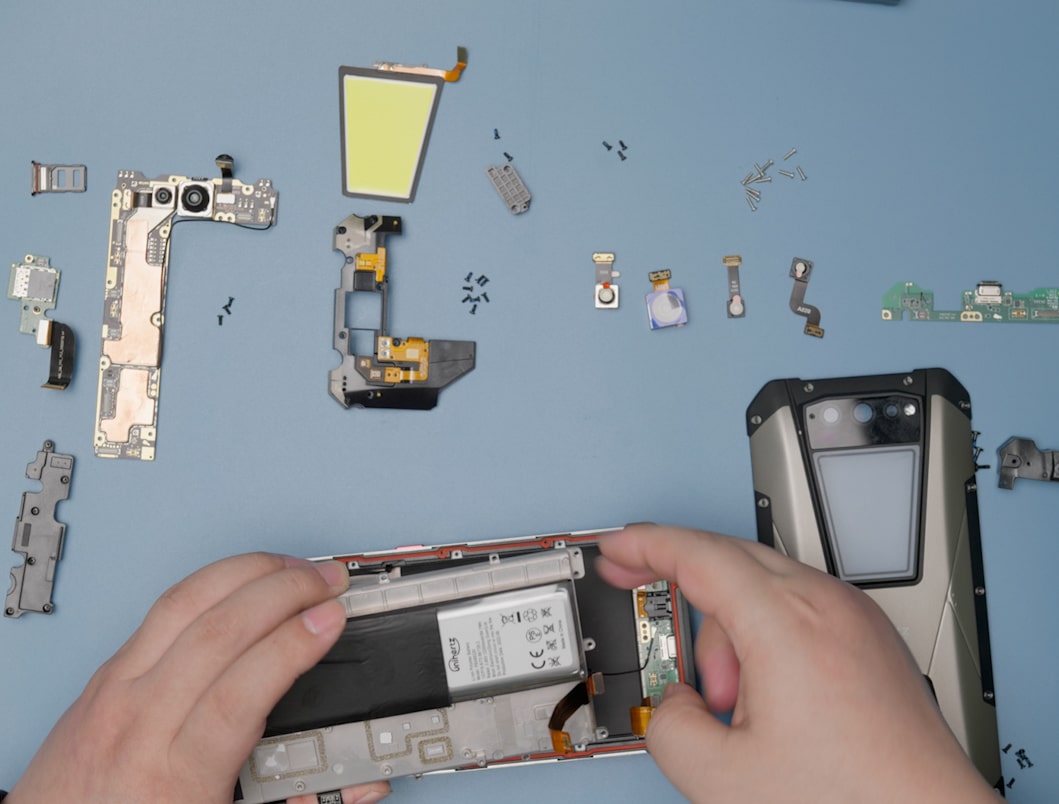 |
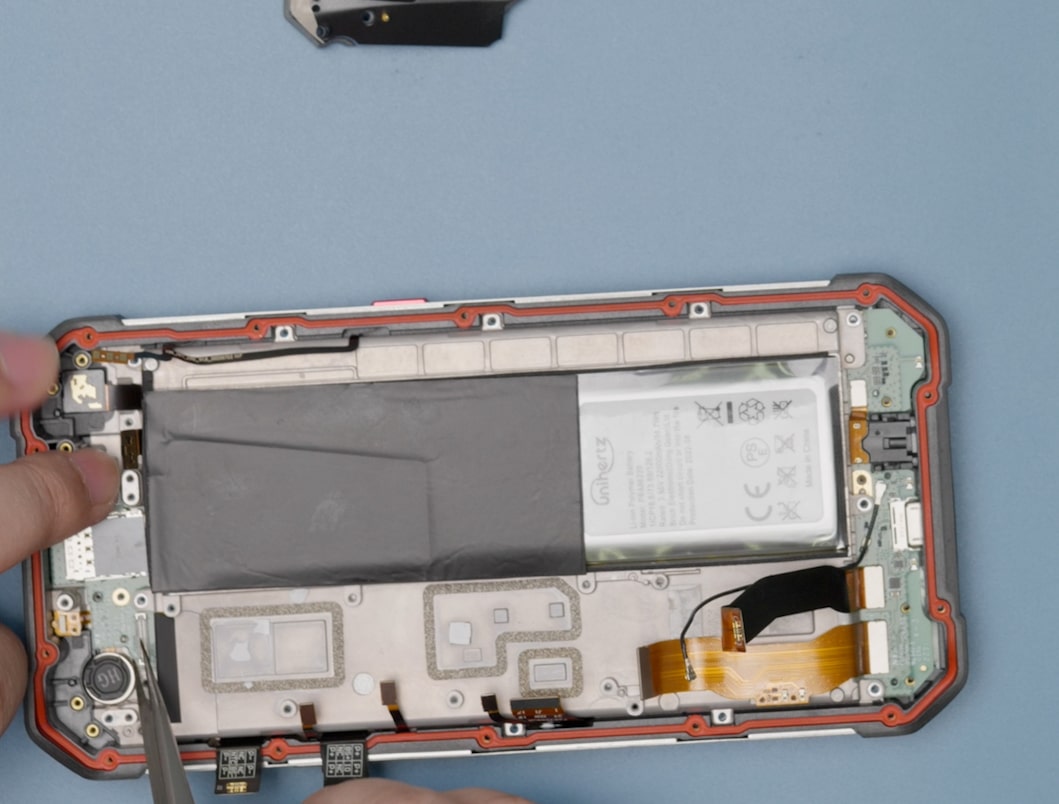
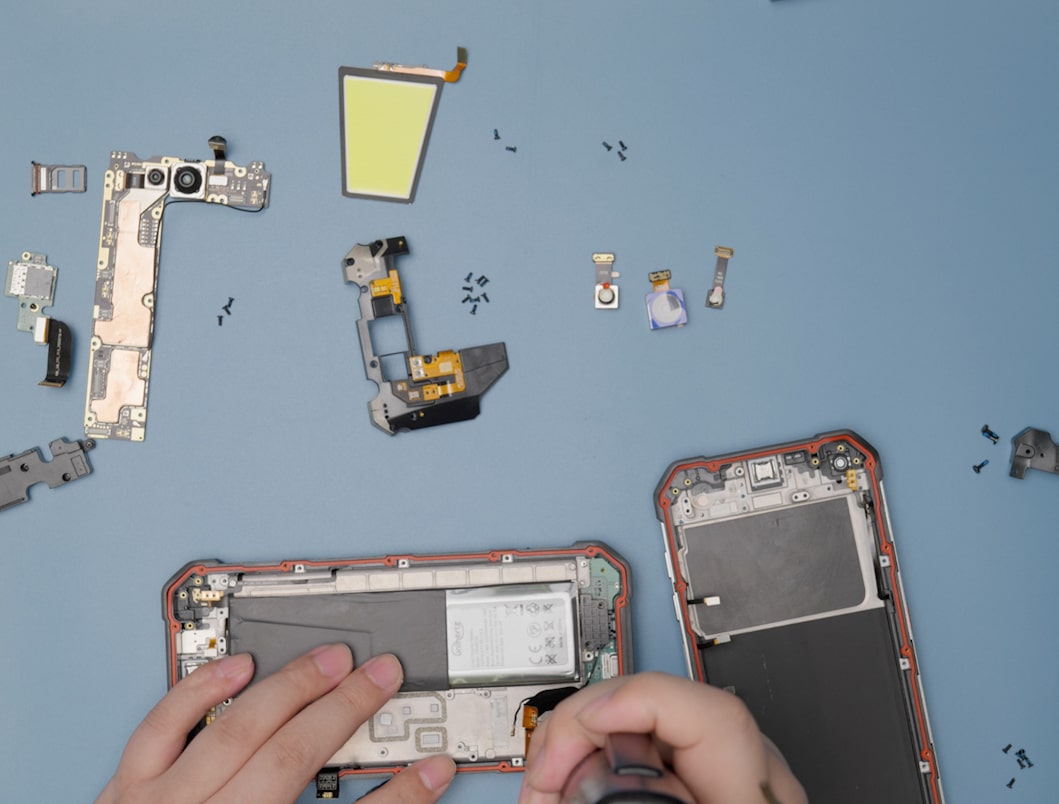
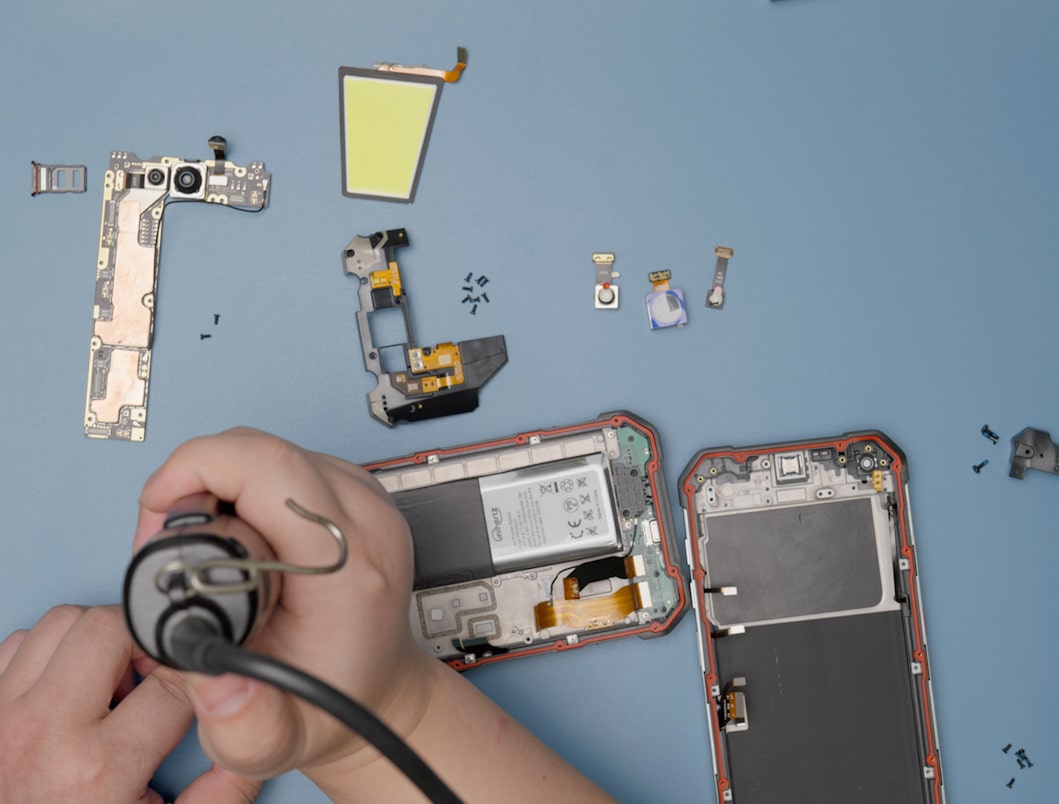
Step 22Take off the battery. |
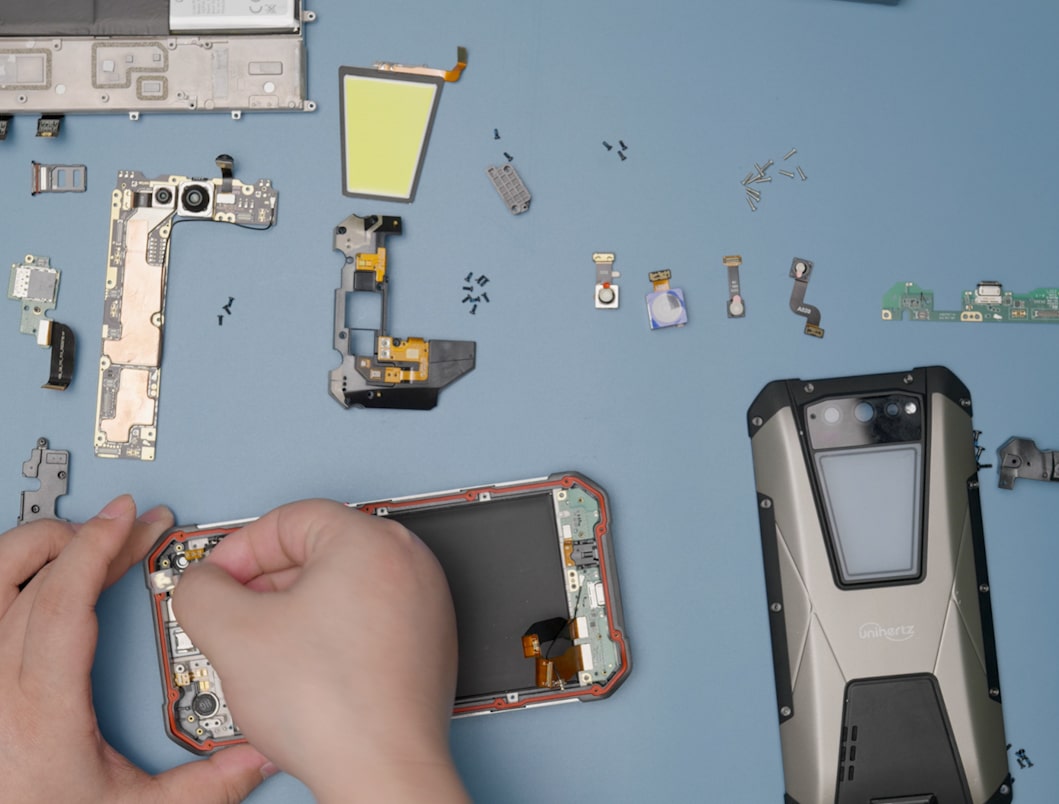 |
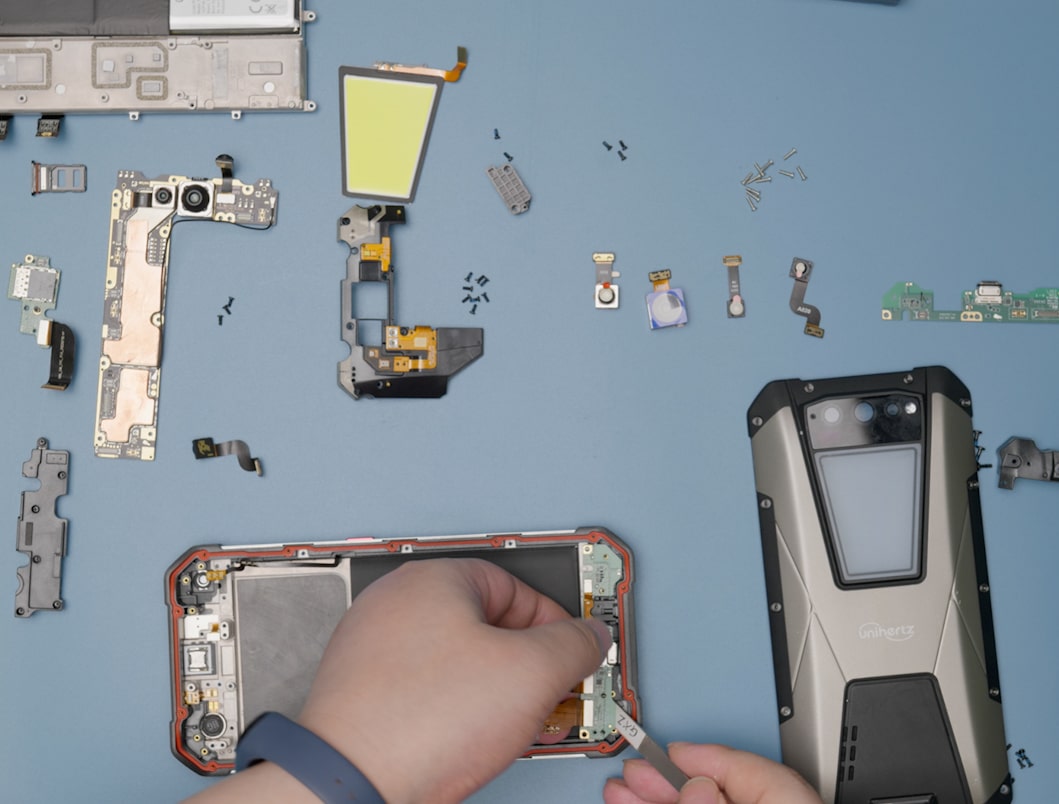
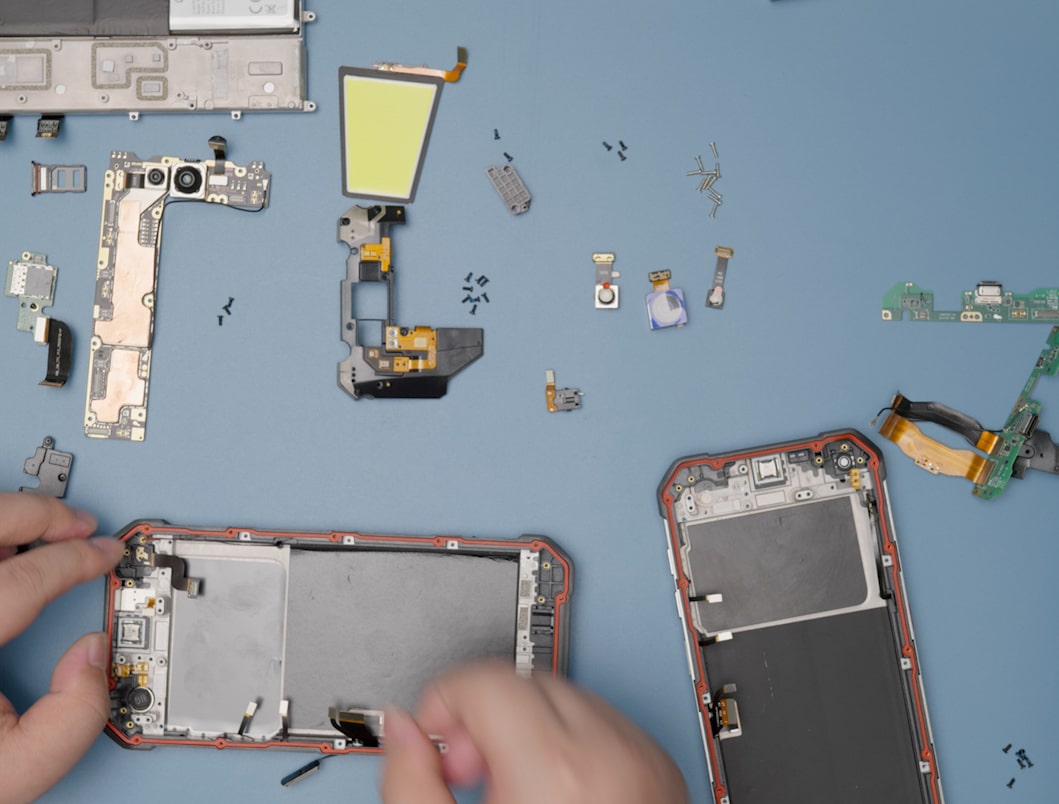
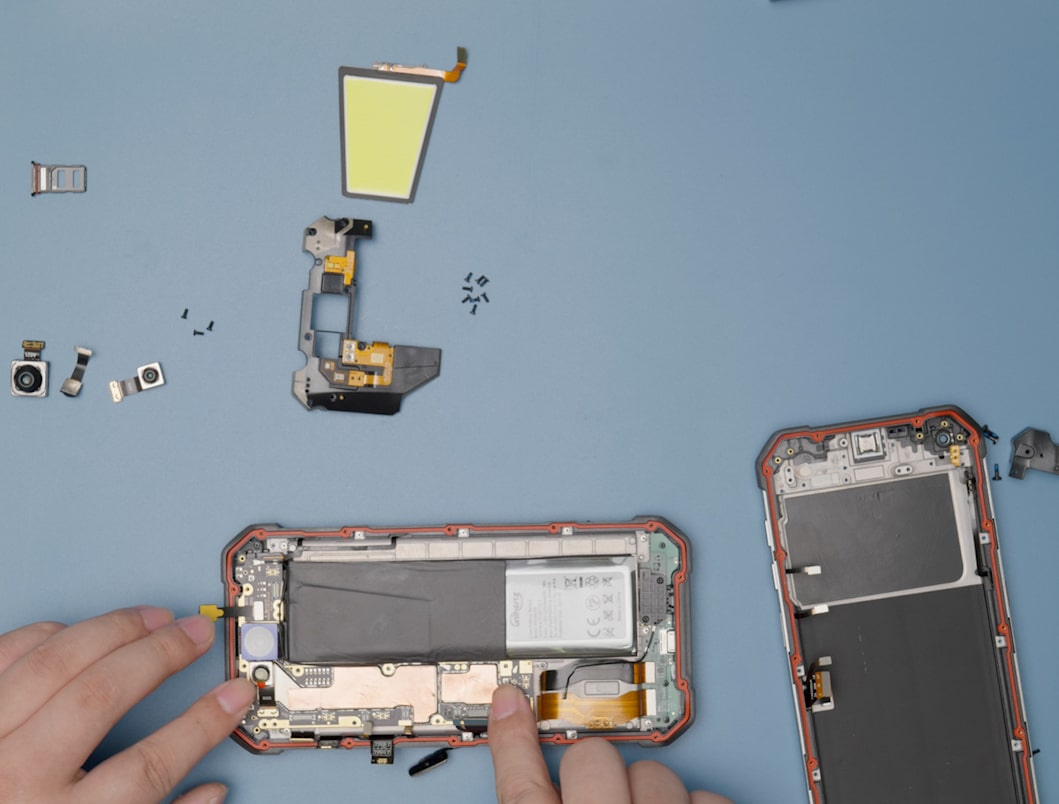
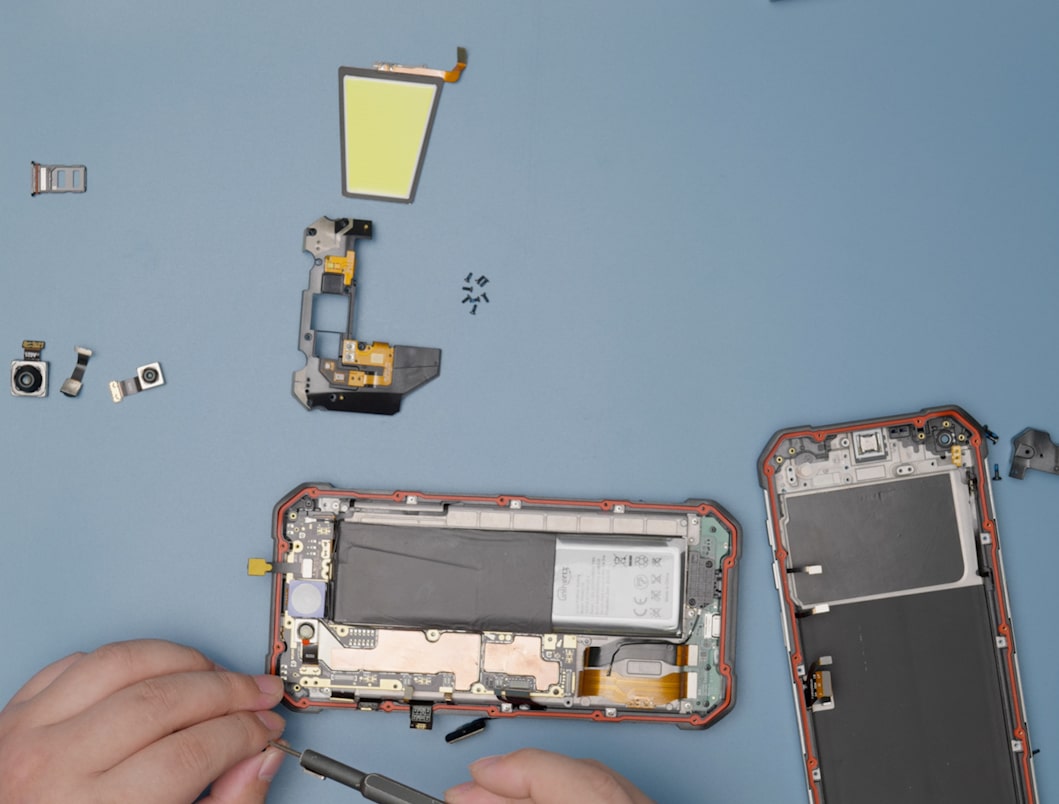
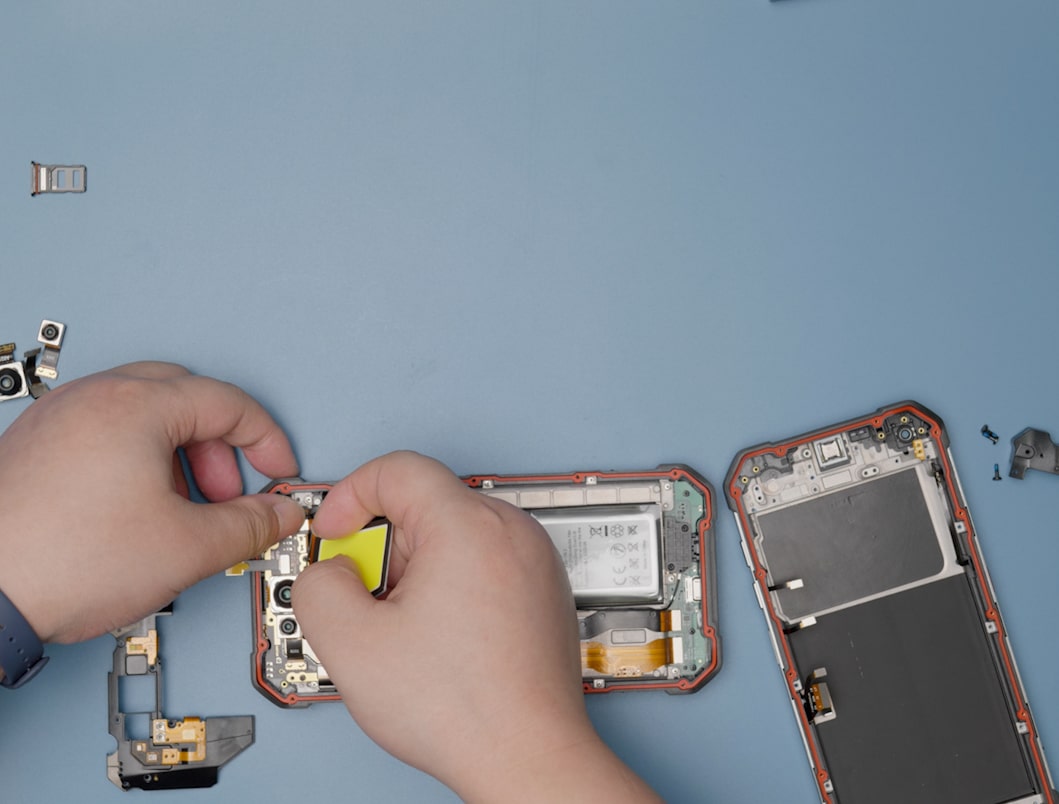
Step 23Remove the Front Camera. |
 |
Step 24emove the USB Charging Board and headphone socket. |
 |
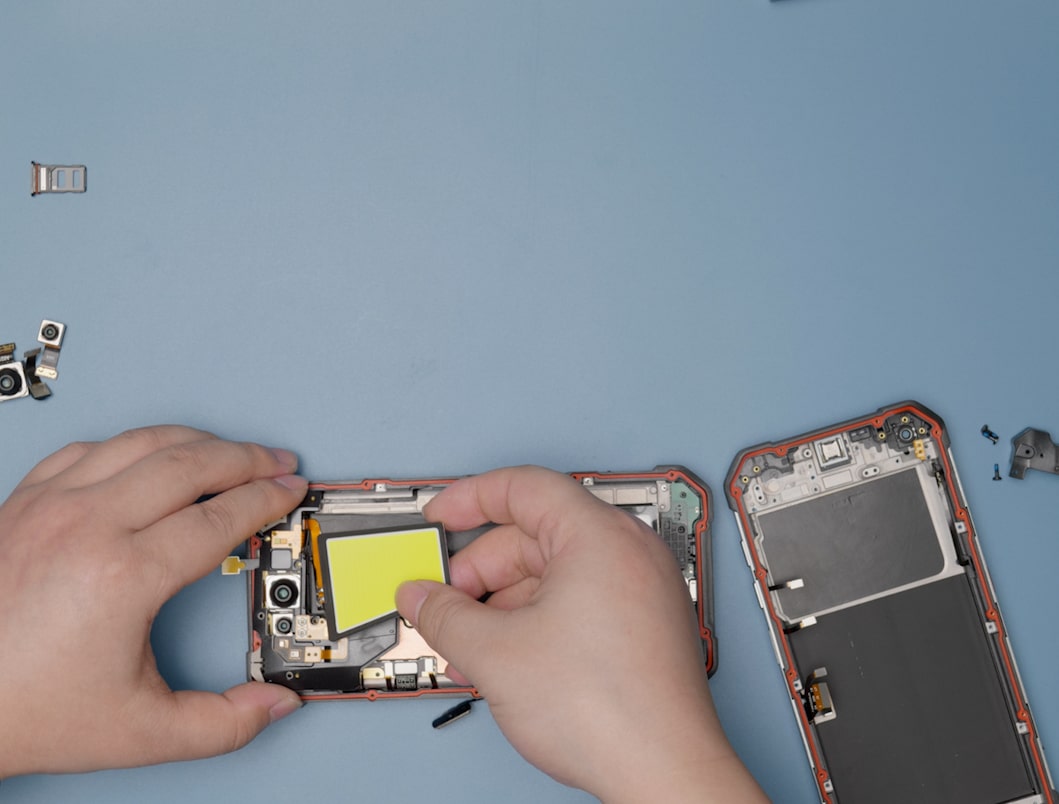
Step 25Transfer the cables and other components from the old screen to the new screen. |
 |
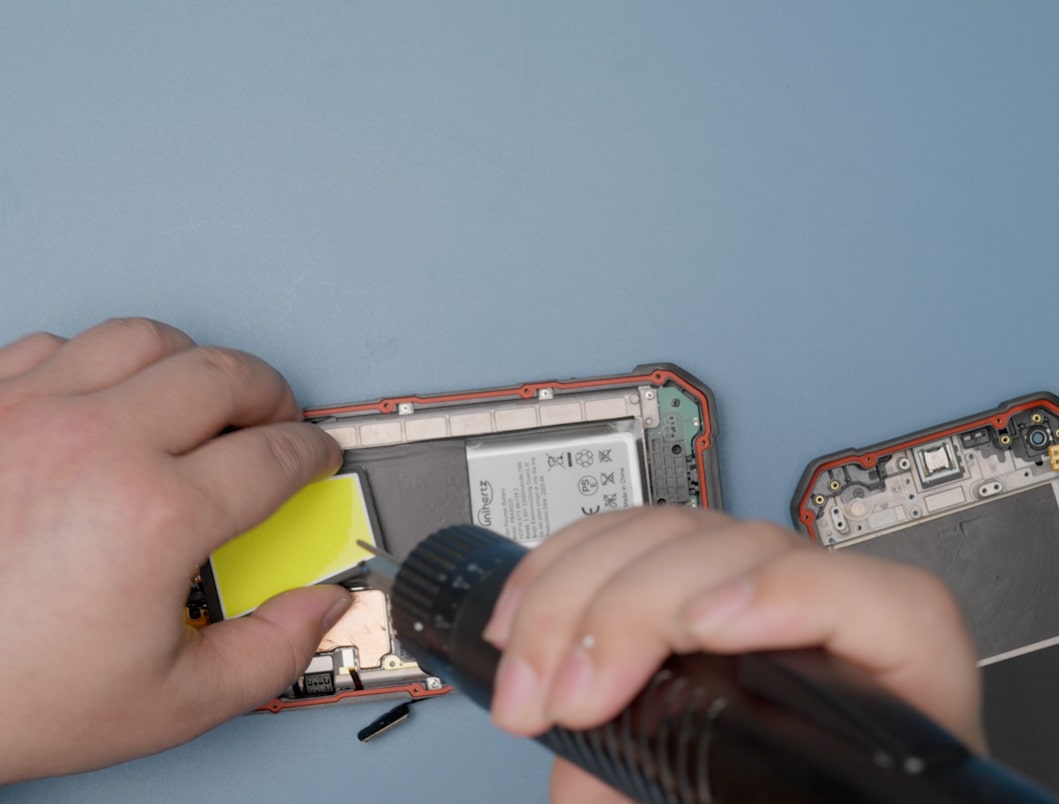
Step 26Install the new Front Camera (Please remove the protective film on the Front Camera). |
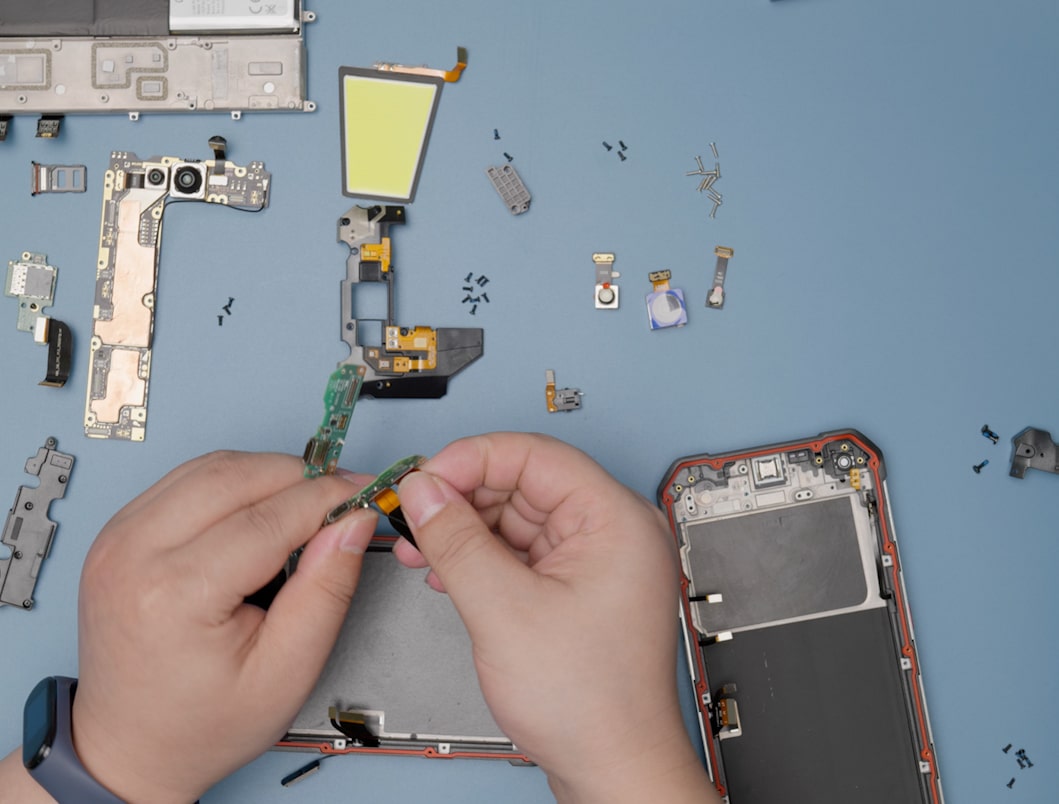 |
Step 27Transfer the cables from the old USB Charging Board to the new USB Charging Board. |
 |
Step 28Install the USB Charging Board and headphone socket. |
 |
Step 29Install the battery. |
 |
Step 30Connect the cable interface between the headphone socket and the USB Charging Board. |
 |
Step 31Install the 11 screws securing the battery in place (Note: If you install the long screw of the battery holder in the wrong place, it may cause the battery to rupture and catch fire). |
 |
Step 32Install the 3 screws on the USB Charging Board and the 2 screws on Protection Bracket C. |
 |
Step 33Install mainboard B and connect the cable interfaces. Tighten the 1 screw securing mainboard B. |
 |
Step 34Install Protection Bracket B and tighten the 6 screws. |
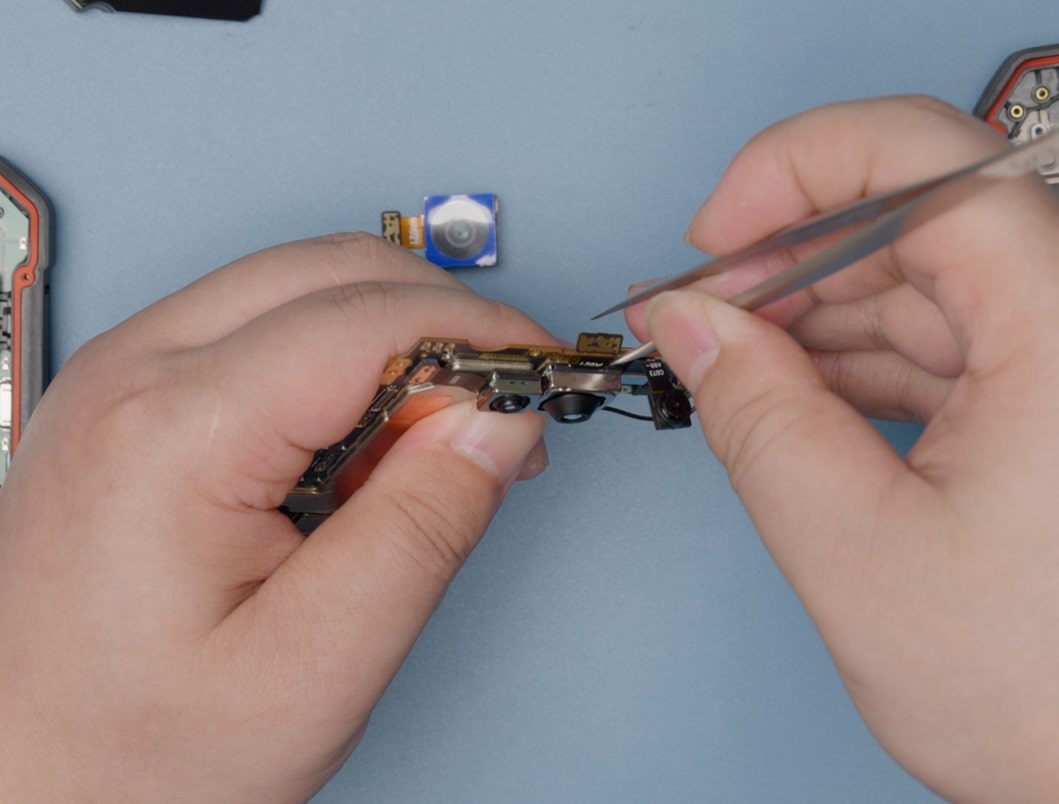 |
Step 35Remove the old Back Main Camera (with double-sided adhesive on the back) from the mainboard and install the new Back Main Camera. |
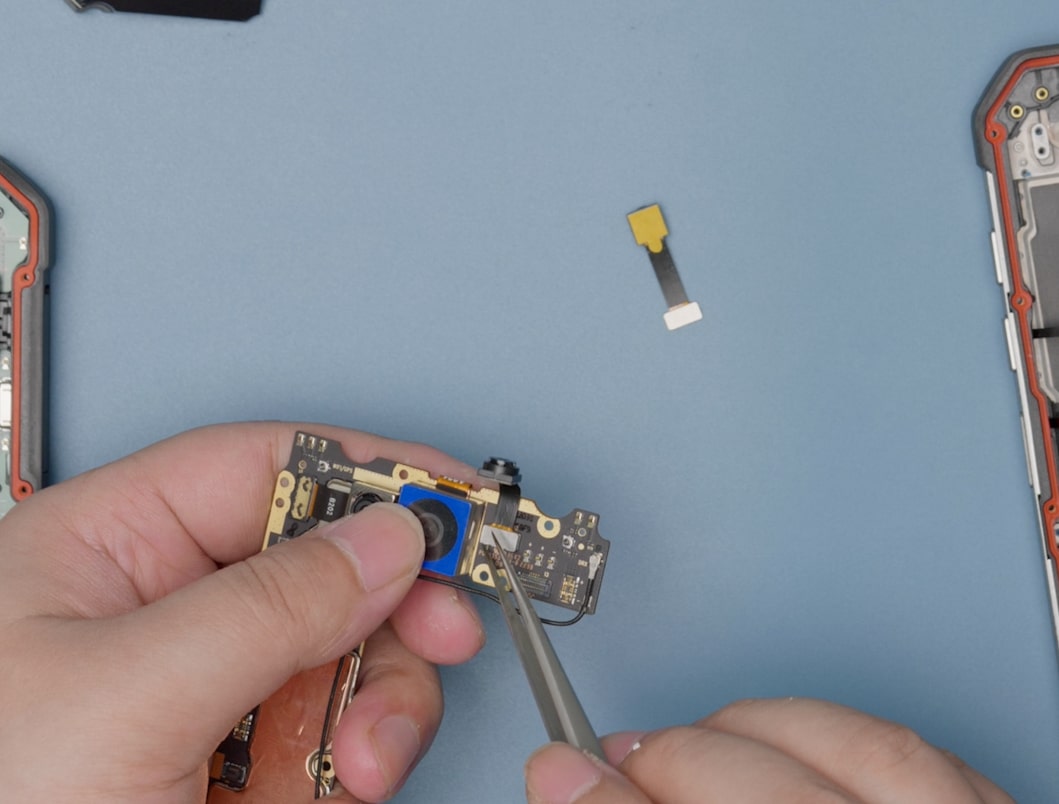 |
Step 36Remove the old Back Macro Camera from the mainboard and install the new Back Macro Camera. |
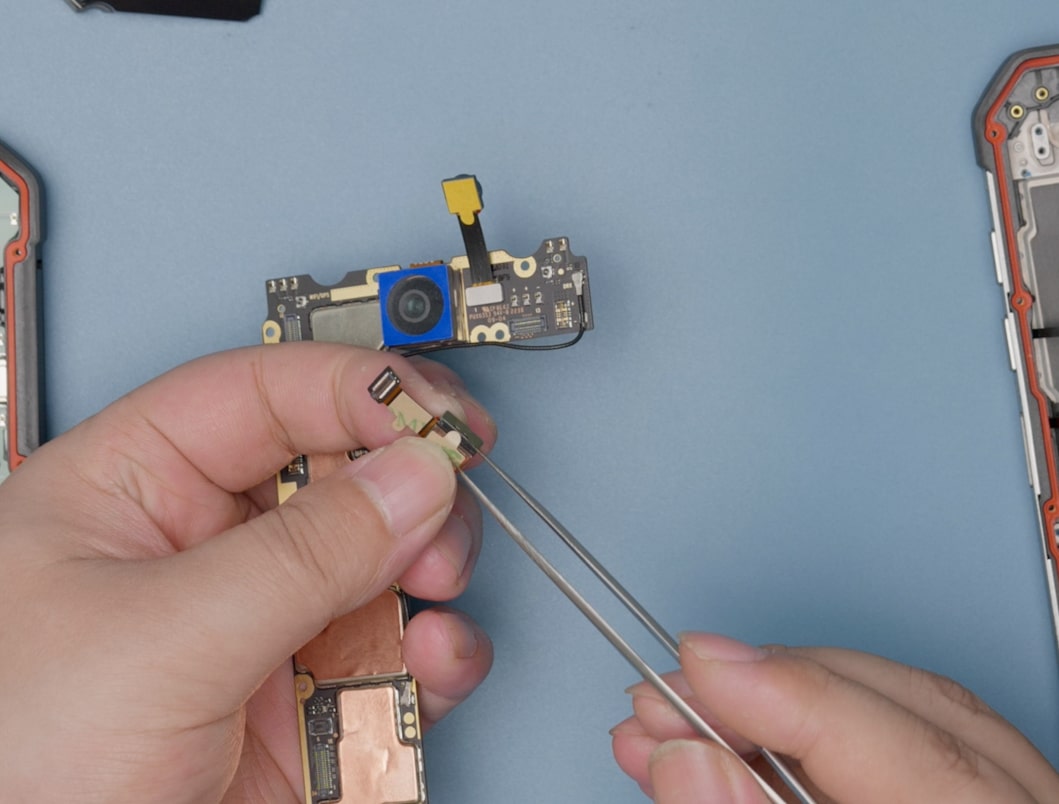 |
Step 37Remove the old Back Night Vision Camera from the mainboard and install the new Back Night Vision Camera. |
 |
Step 38Install the mainboard. |
 |
Step 39Tighten the 3 screws securing the mainboard. |
 |
Step 40Connect the 10 cable interfaces on the mainboard. |
 |
Step 41Peel off the protective film on the rear camera. |
 |
Step 42Install the LED light. |
 |
Step 43Install the Camera Bracket. |
 |
Step 44Install the 8 screws on the Camera Bracket. |
 |
Step 45Secure the Back Macro Camera and make sure to remove the protective film. |
 |
Step 46Install Protection Bracket A and tighten the 6 screws. |
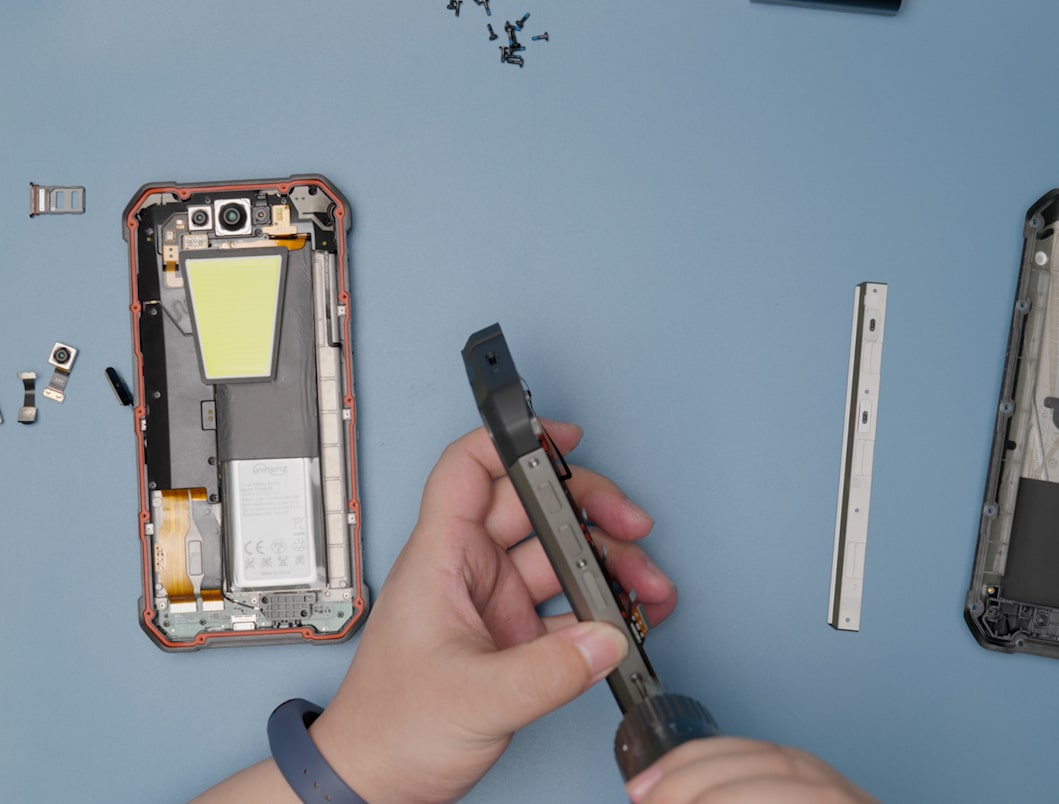 |
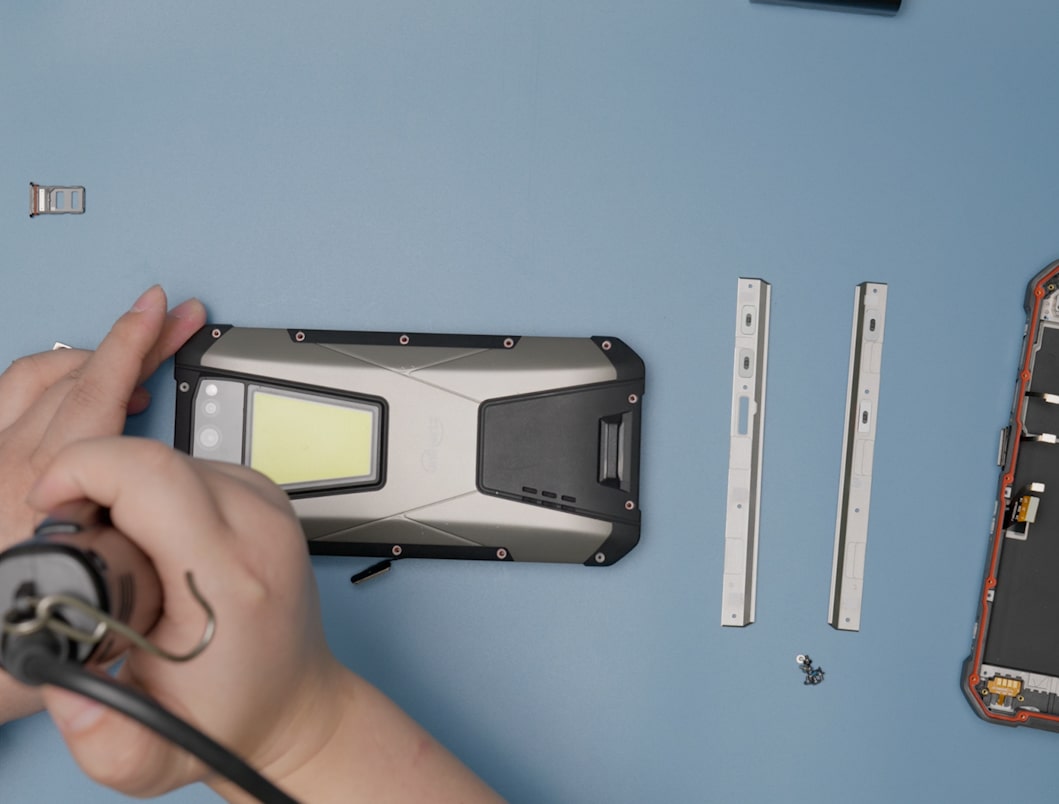
Step 47Transfer the side strips and buttons from the old screen to the new screen. |
 |
Step 48Close the back cover and tighten the 14 screws on the back cover. |