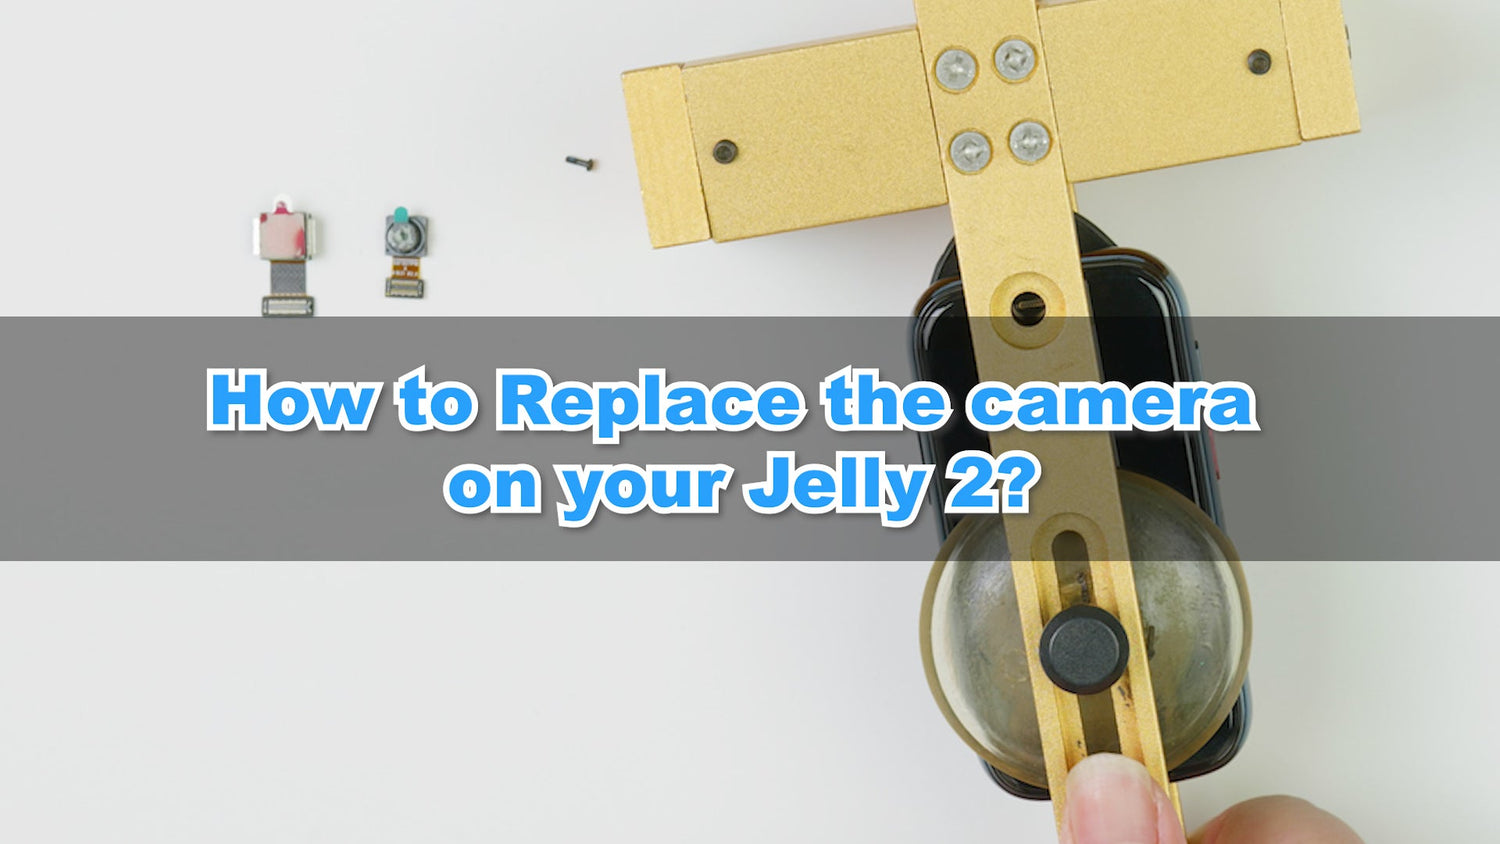

This tutorial will go through the process of replacing the camera of Unihertz Jelly 2 smartphone.
It is important that you read the entire guide and make sure you can complete all the steps before you start to replace the camera of your Unihertz Jelly 2 smartphone. Otherwise, finding a local trained repair specialist to conduct the repair is recommended.
How to Replace the Camera for Unihertz Jelly 2
How to Replace the Camera for Unihertz Jelly 2 Step by Step
 |
Step 1Remove the screw at the bottom of the phone |
 |
Step 2Use the sucker tool to remove the front panel component (Note: there are cables between the front panel component and the mainboard) |
 |
Step 3Remove the two screws and the fixing bracket from the connection between the motherboard and the front panel assembly |
 |
Step 4Disconnect the two cable interfaces connecting the front panel assembly and the motherboard |
 |
Step 5Remove the SIM card |
 |
Step 6Remove the 7 screws and fixing bracket from the motherboard Remove the three cable ports on the motherboard |
 |
Step 7Use a crowbar to open the motherboard from the direction of the volume key Remove the motherboard |
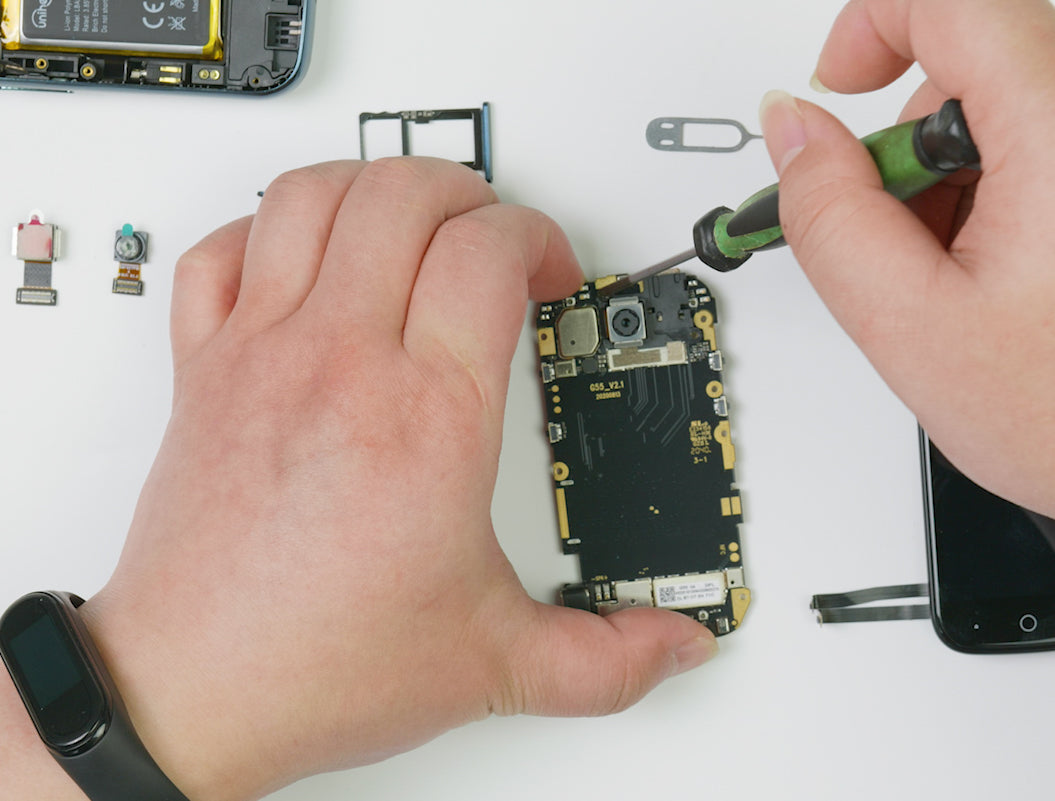 |
Step 8Remove the two screws on the back of the motherboard |
 |
Step 9Remove the camera module |
 |
Step 10Remove the front camera from the camera module and remove the conductive copper foil tape on the back of the front camera |
 |
Step 11Remove the rear camera from the camera module, and ensure that the conductive copper tape remains on the camera module |
 |
Step 12Attach a conductive copper tape to the front camera |
 |
Step 13Attach a conductive copper tape to the rear camera |
 |
Step 14Install the front camera |
 |
Step 15Install the rear camera |
 |
Step 16Install the 2 screws on the back of the motherboard |
 |
Step 17Tear off the lens protective film |
 |
Step 18Install the mainboard |
 |
Step 19Plug in the two cable ports on the mainboard Install mounting brackets and screws |
 |
Step 20Plug in the two cable ports between the front panel component and the mainboard, and check whether the camera works |
 |
Step 21Pass the cable through the gap in the front panel and install the keyboard |
 |
Step 22Install the front panel components |
 |
Step 23Install 1 screw on the bottom of the phone |