This tutorial will go through the process of replacing the Front Camera of Unihertz Atom Smartphone.
It is important that you read the entire guide and make sure you can complete all the steps before you start to replace the Front Camera of your Unihertz Atom smartphone. Otherwise, finding a local trained repair specialist to conduct the repair is recommended.
How to Replace the Front Camera of Unihertz Atom
How to Replace the Front Camera of Unihertz Atom Step by Step
 |
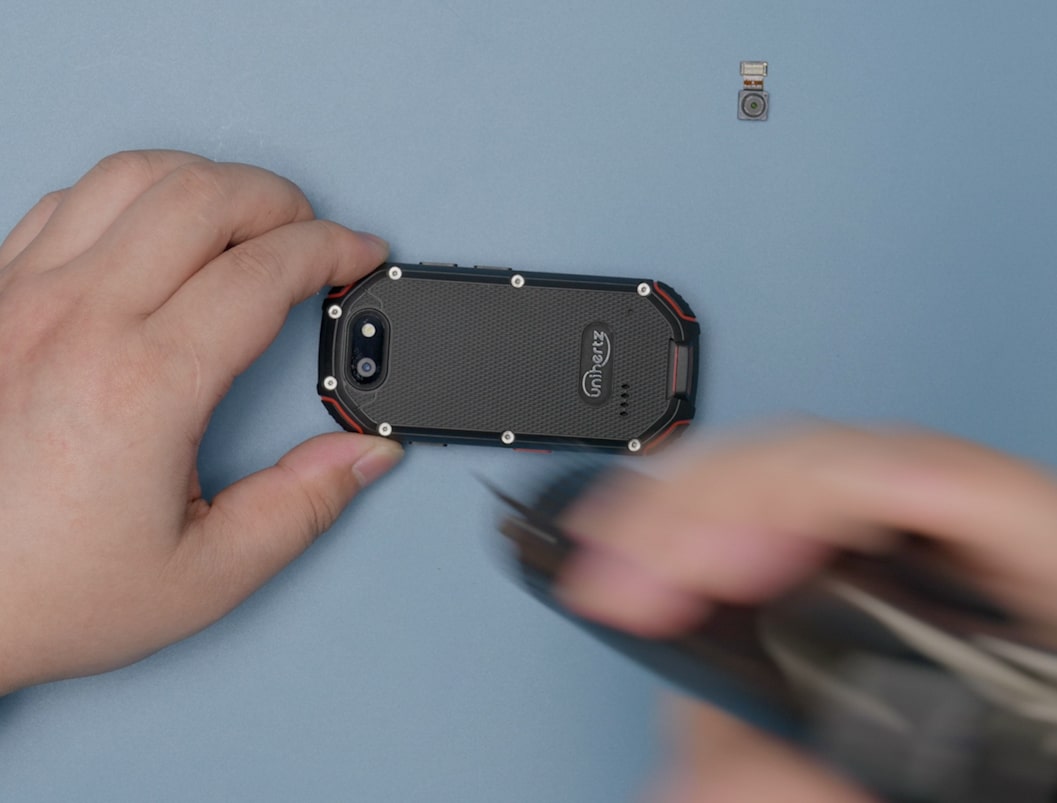
Step 01Remove the 8 screws on the back cover. |
 |
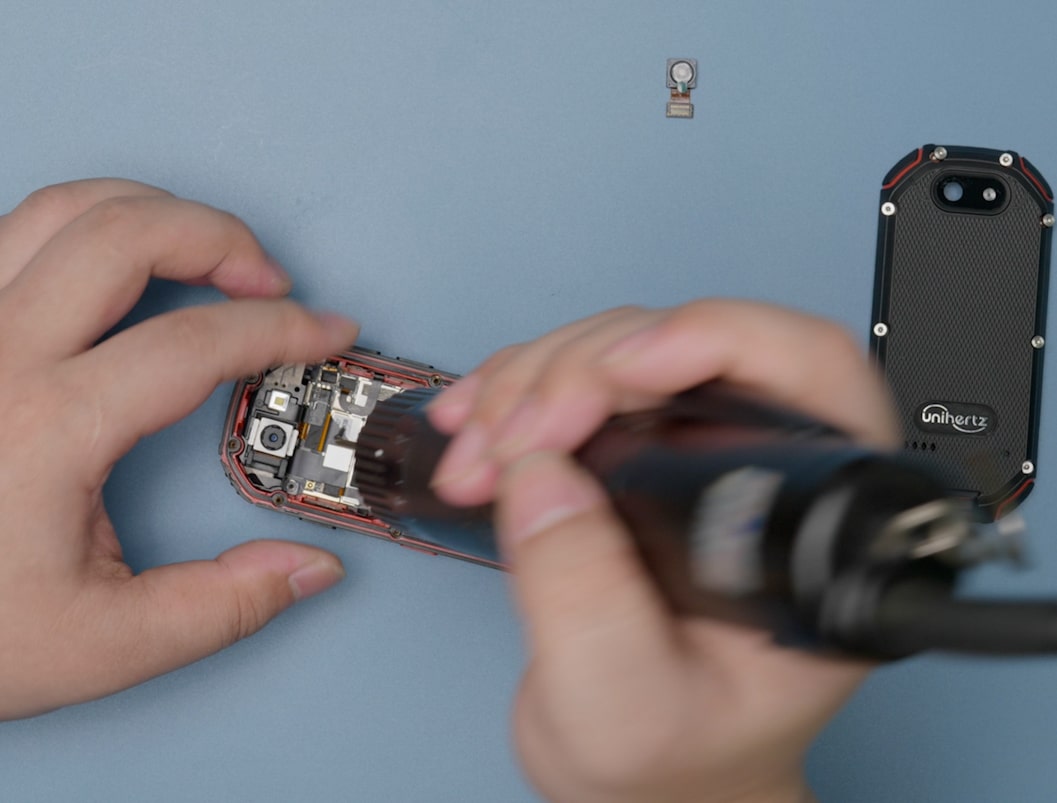
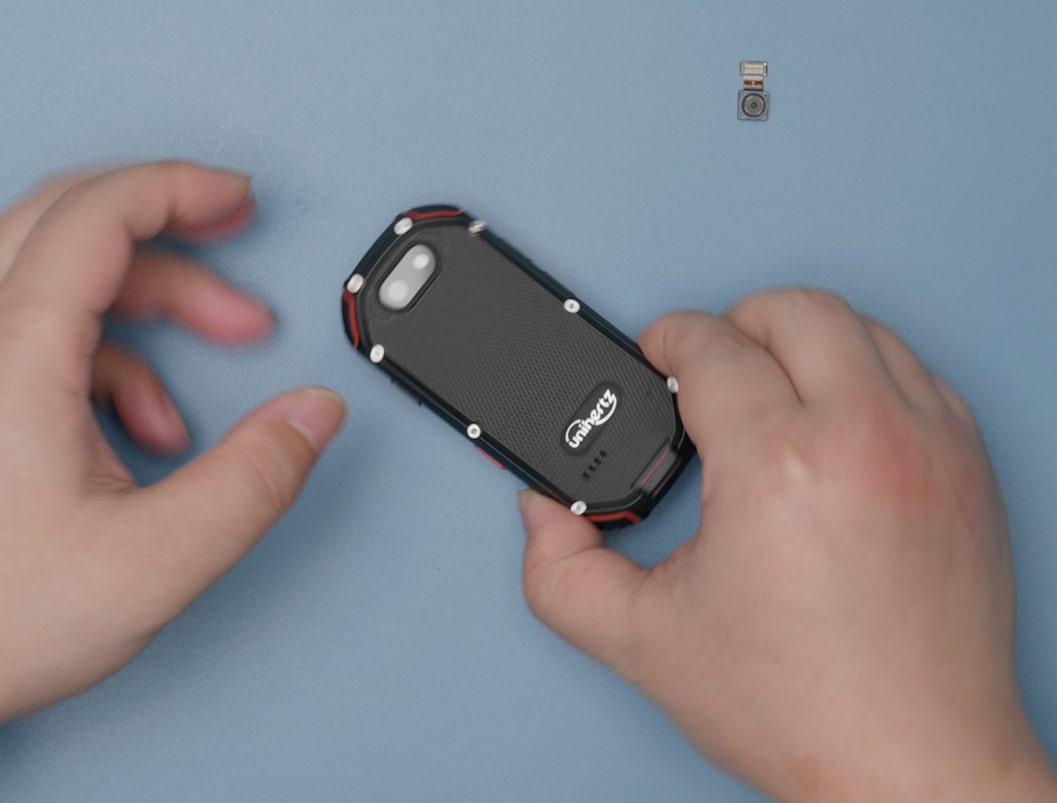
Step 02Take off the back cover. |
 |
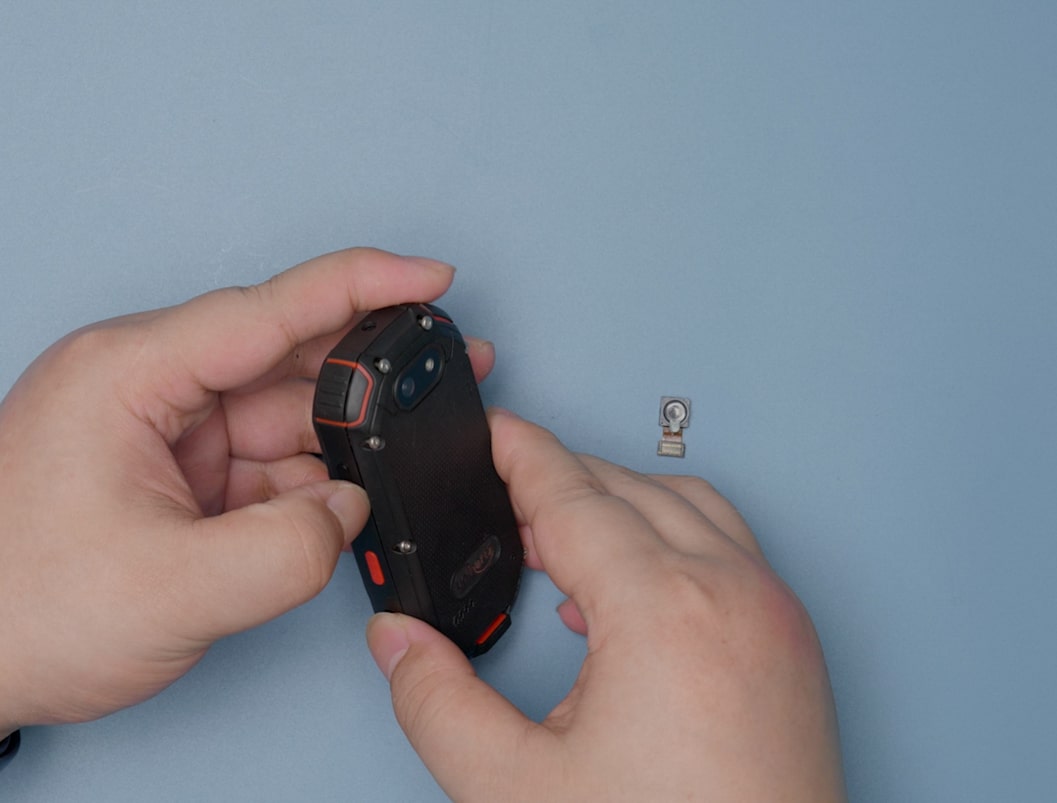
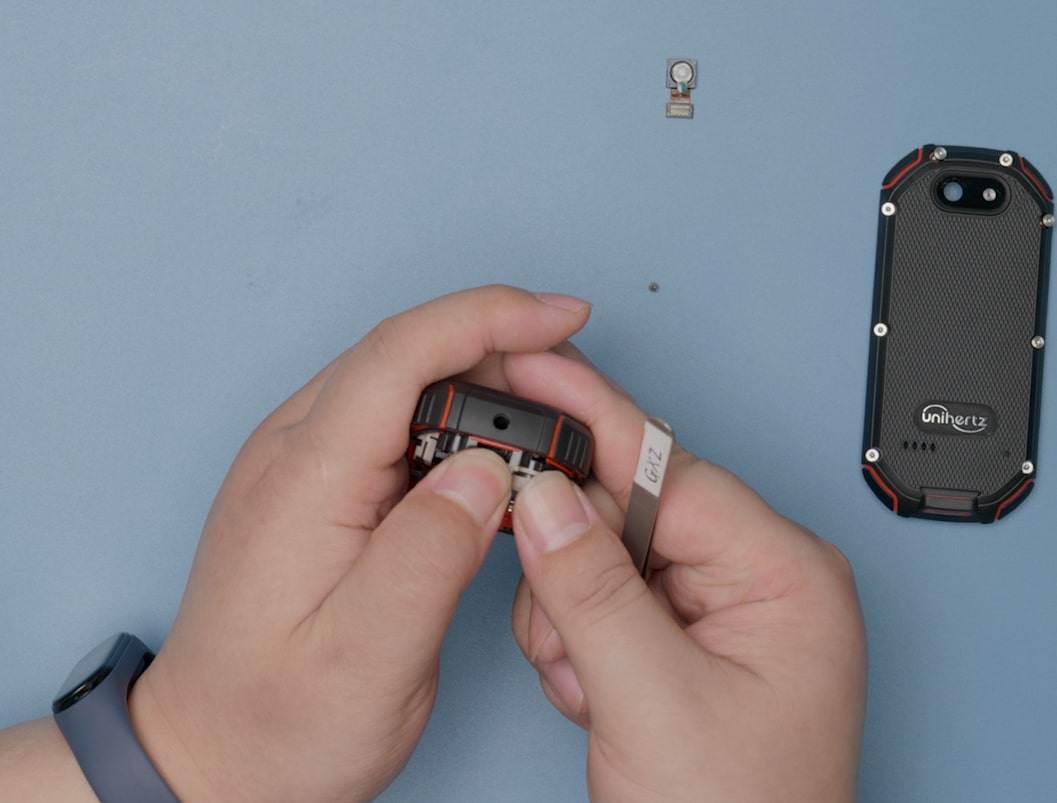
Step 03Remove the 2 screws on the antenna bracket. |
 |
Step 04Take off the antenna. |
 |
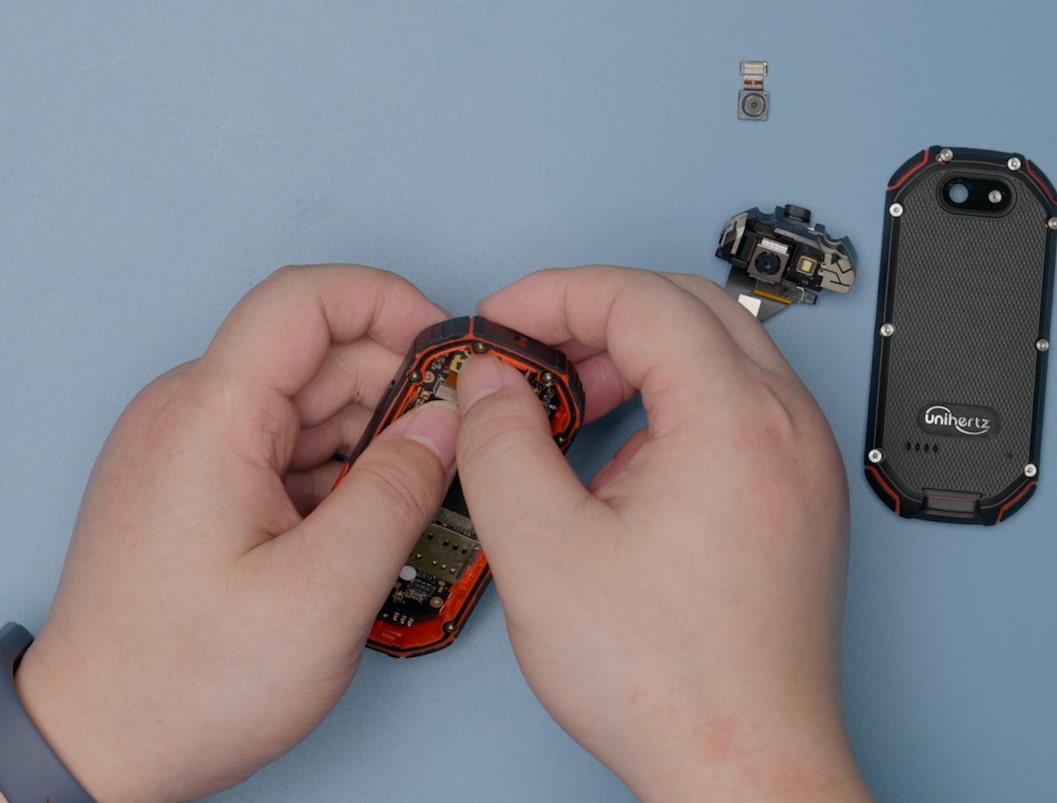
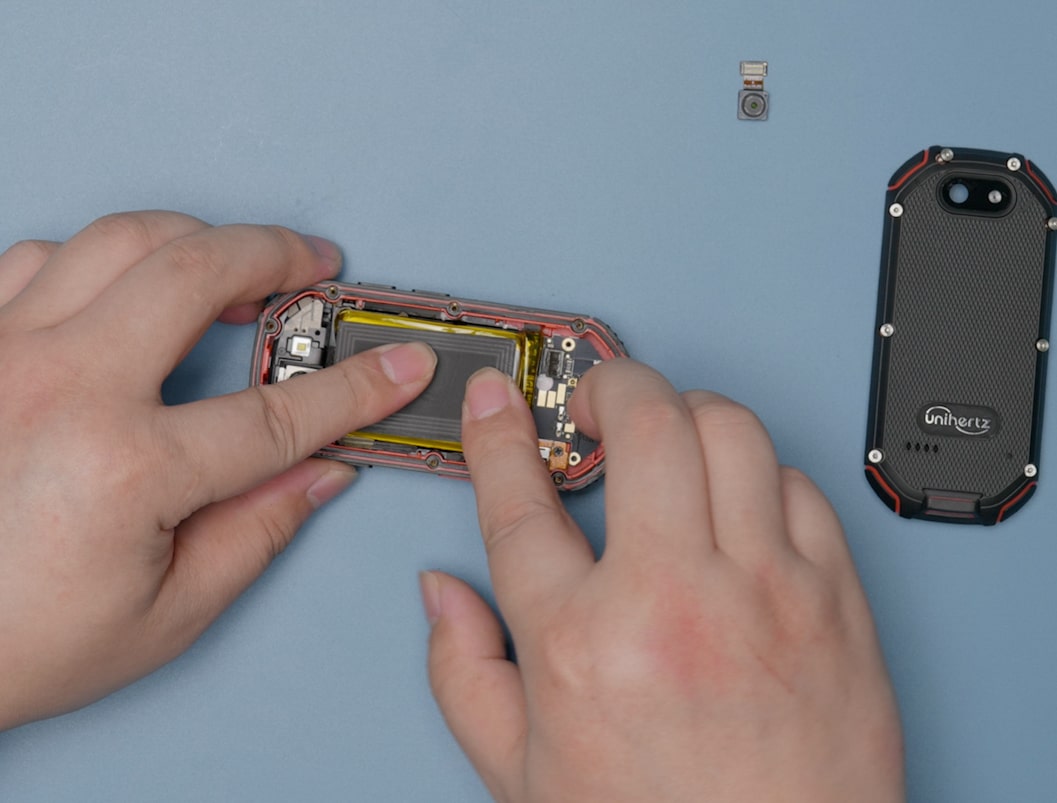
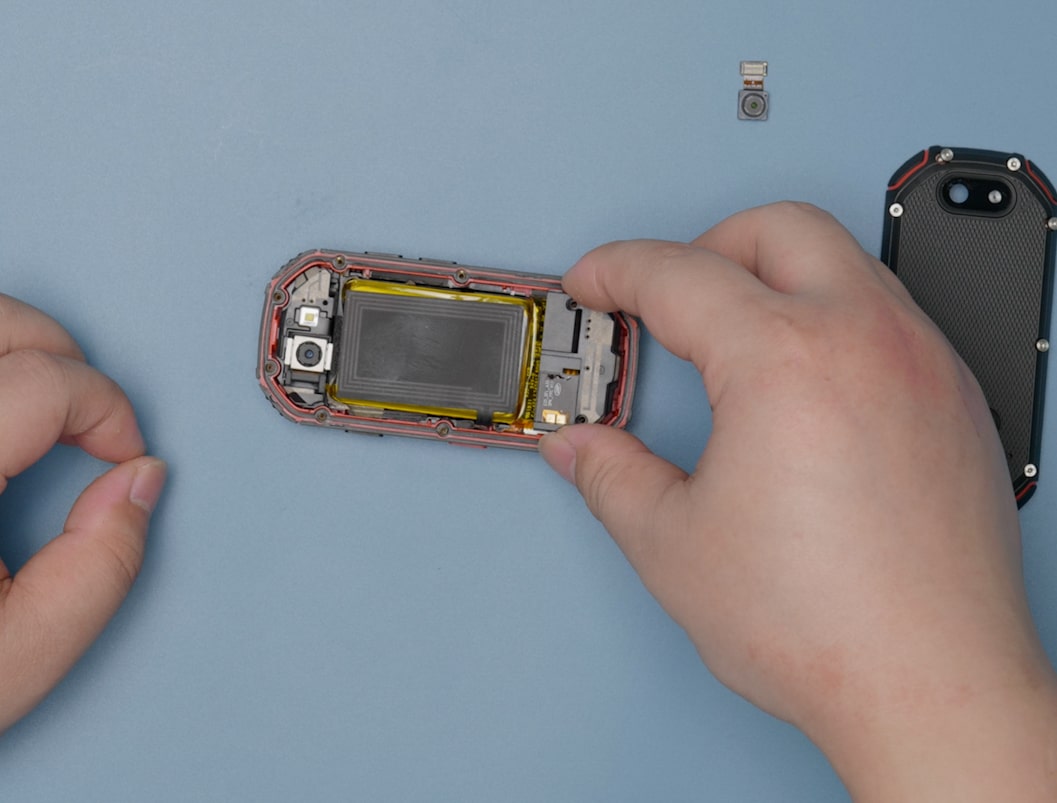
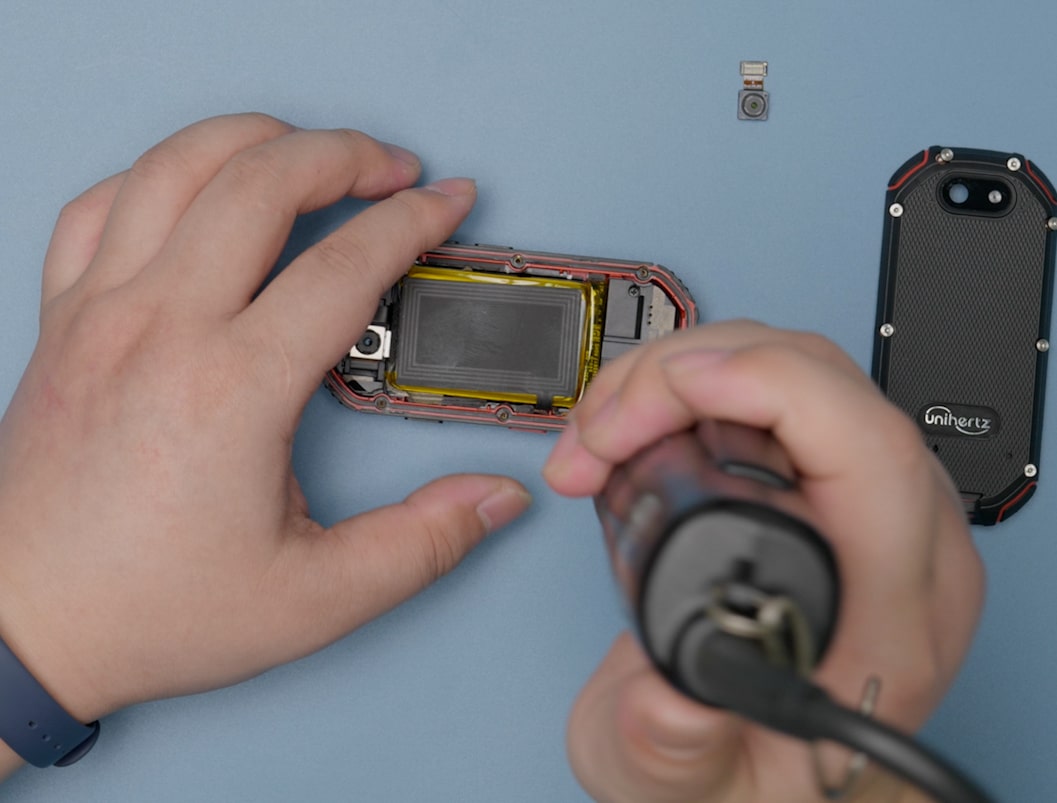
Step 05Disconnect the FPC interface between the battery and the motherboard, and remove the battery. |
 |
Step 06Remove the screw on the camera bracket. |
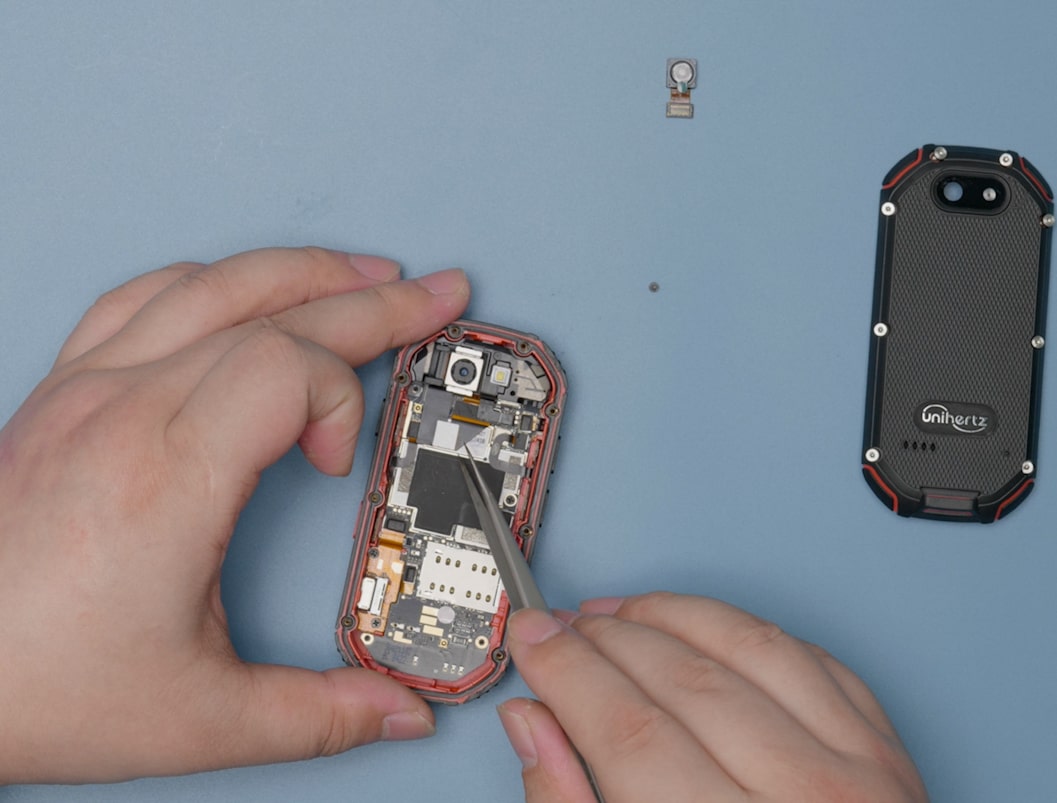 |
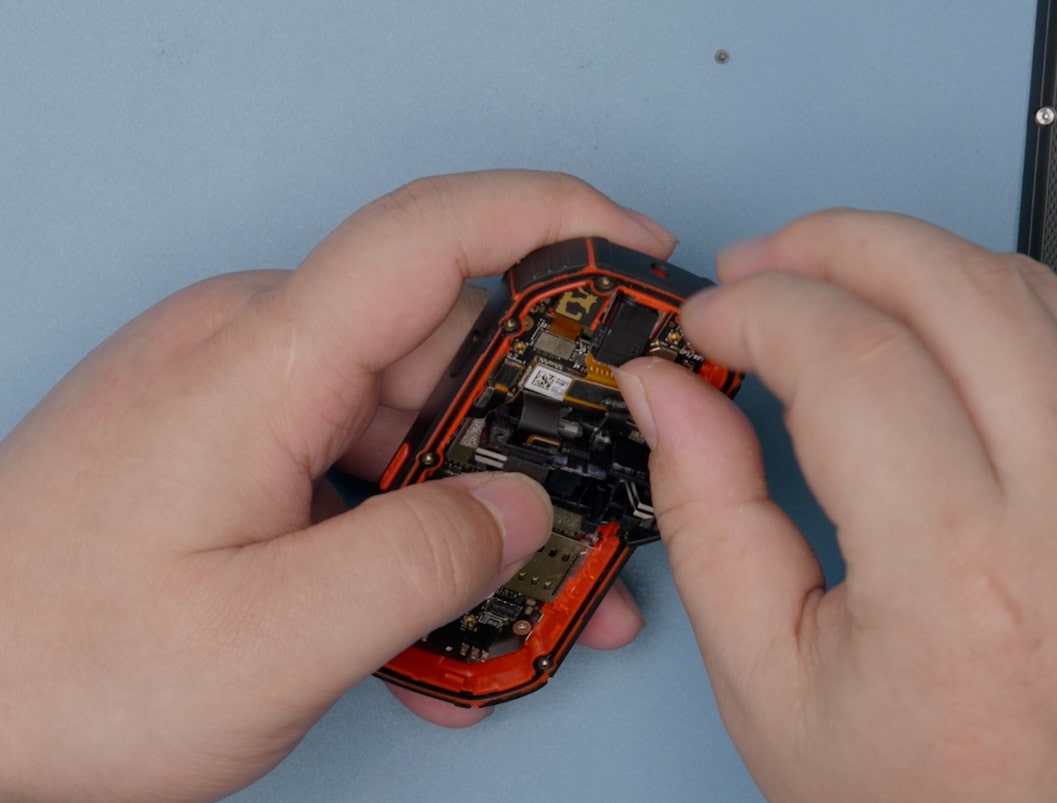
Step 07Disconnect the interface between the camera bracket and the motherboard. |
 |
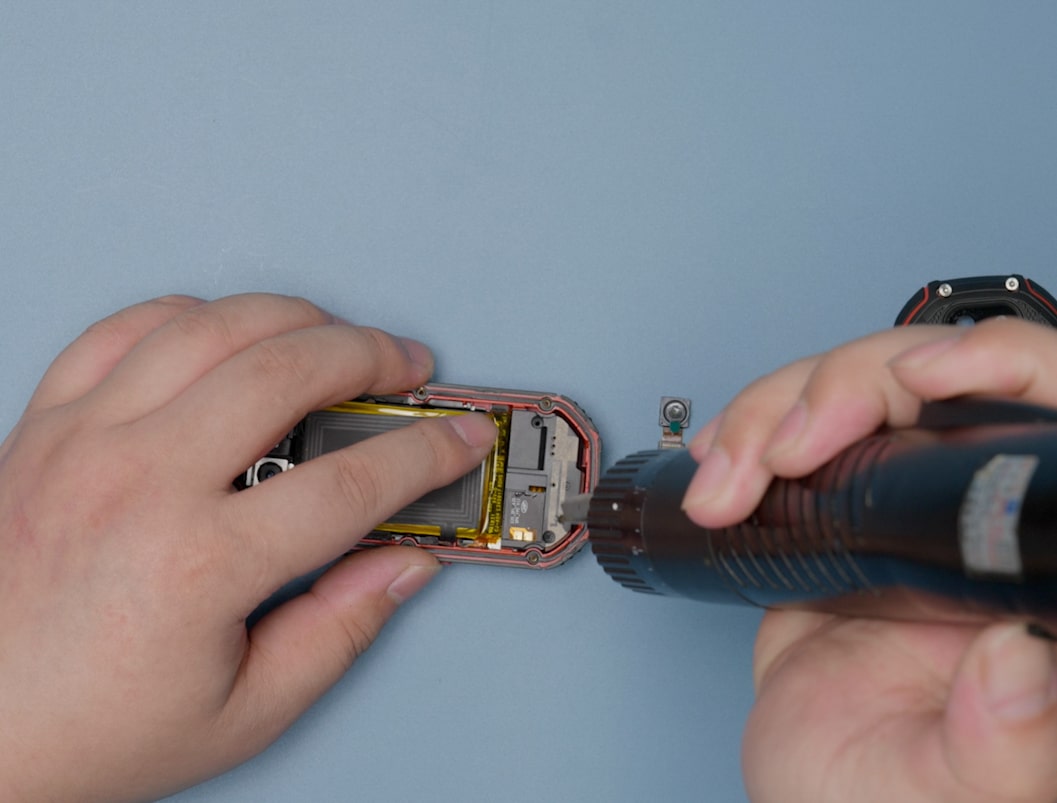
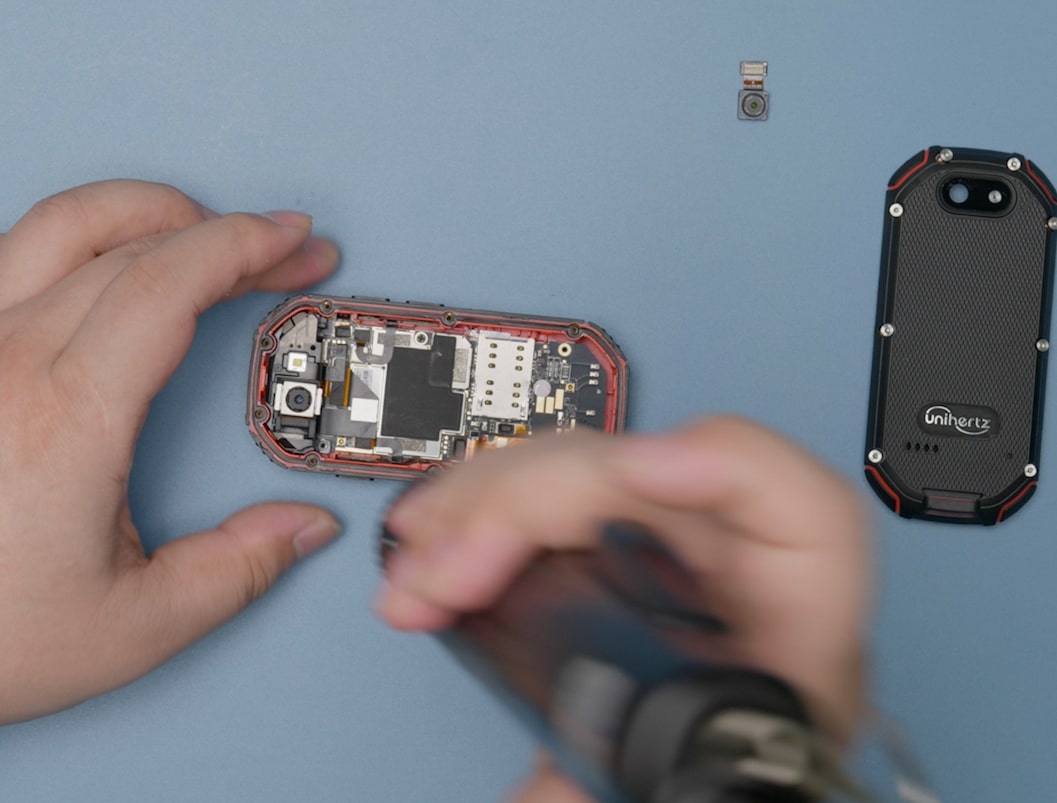
Step 08Remove the camera bracket and headphone jack. |
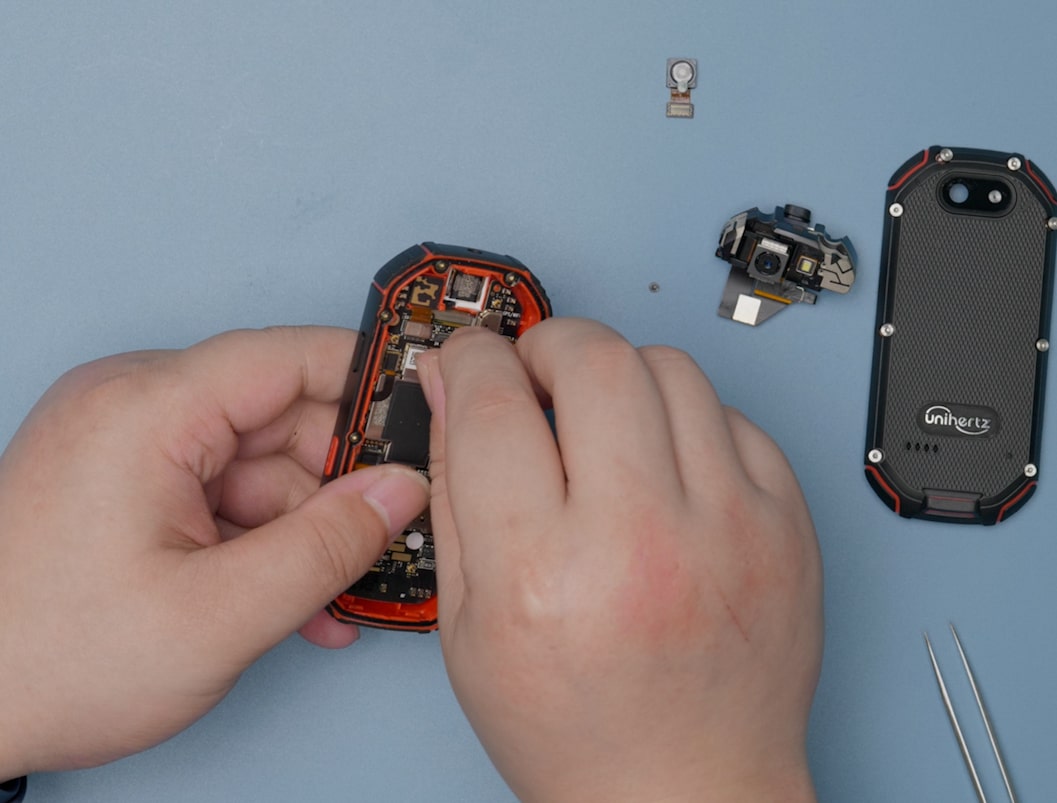 |
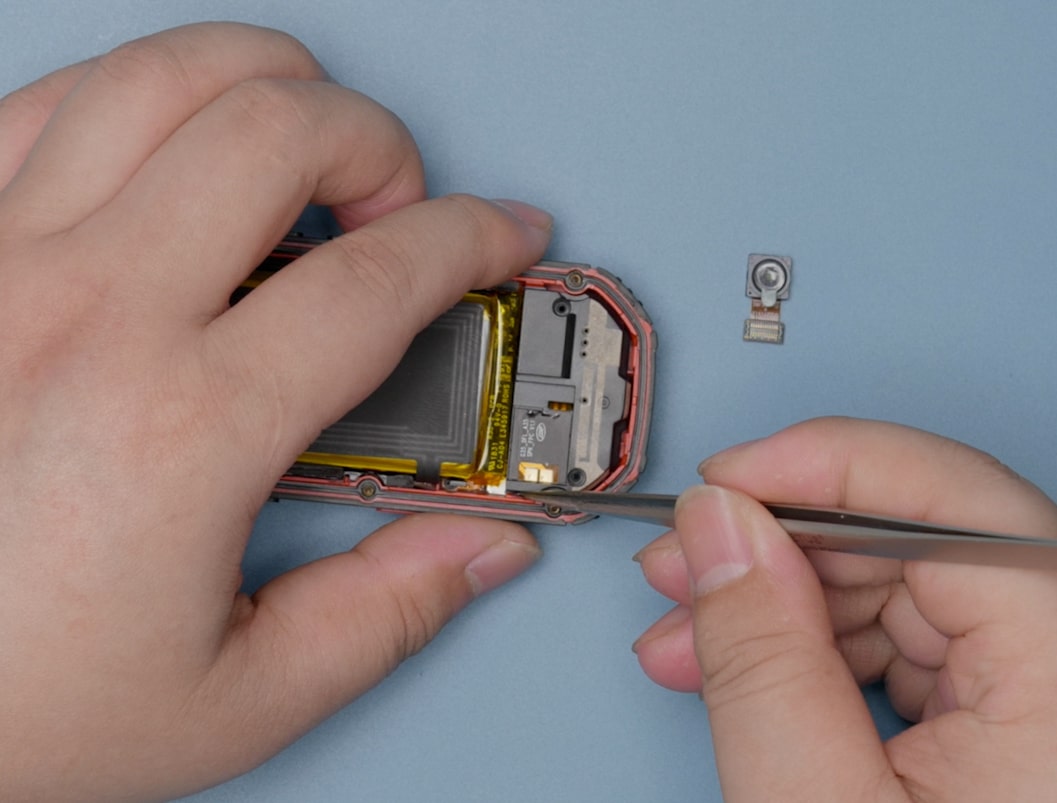
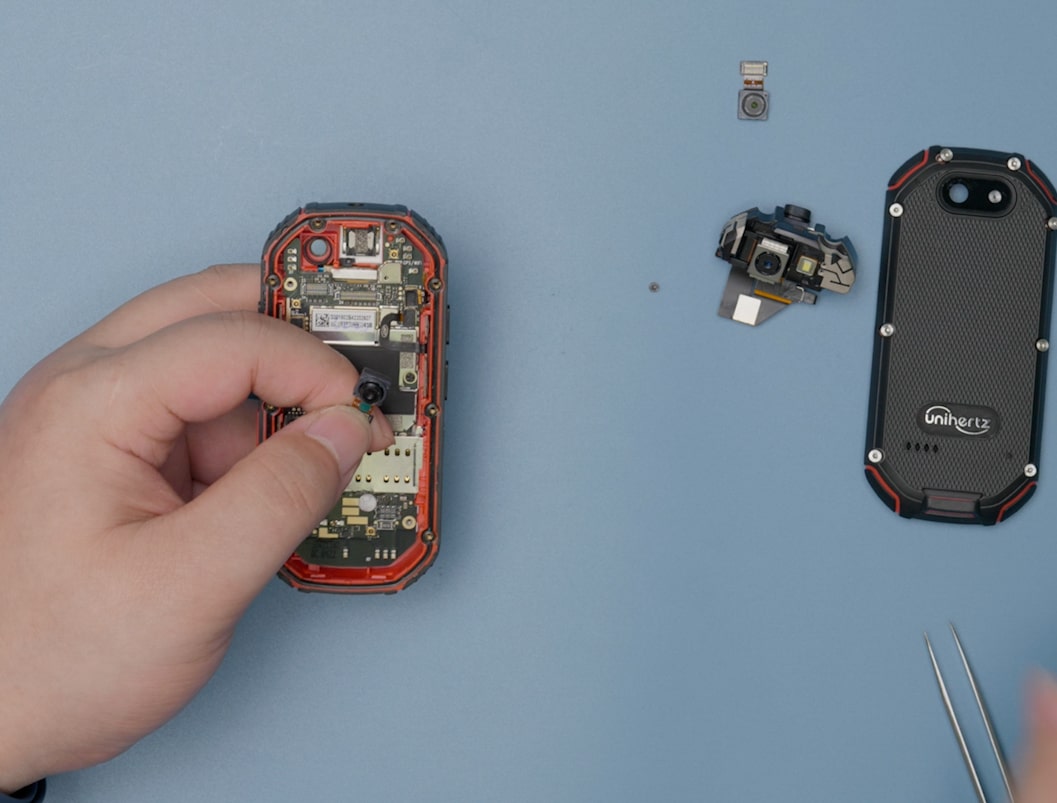
Step 09Disconnect the interface between the front camera and the motherboard, and then remove the front camera. |
 |
Step 10Take out the new front camera (please remove the lens protective film). |
 |
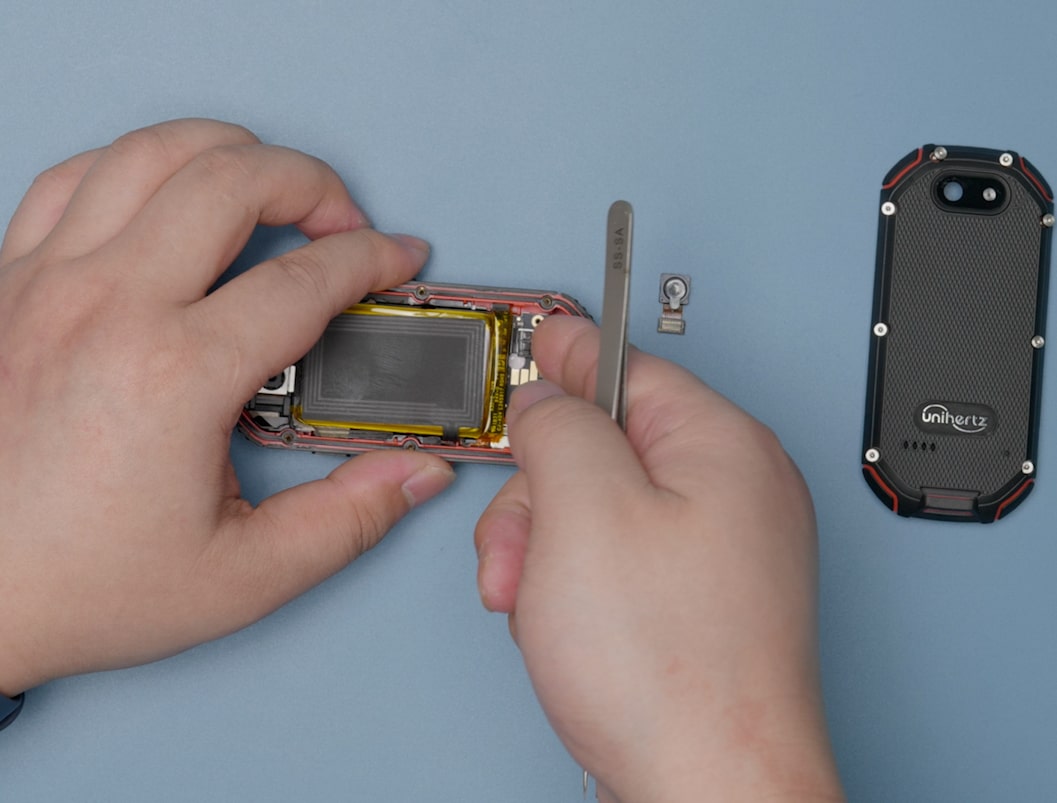
Step 11Install the camera and ensure the interface is properly connected. |
 |
Step 12Install the headphone jack and camera bracket, and ensure that the interfaces are properly connected. |
 |
Step 13Install the screw on the camera bracket. |
 |
Step 14Install the battery and connect the FPC interface between the battery and the motherboard. |
 |
Step 15Install the antenna. |
 |
Step 16Tighten the 2 screws to secure the antenna. |
 |
Step 17Arrange the waterproof gasket and fasten the back cover. |
 |
Step 18Tighten the 8 screws to secure the back cover. |