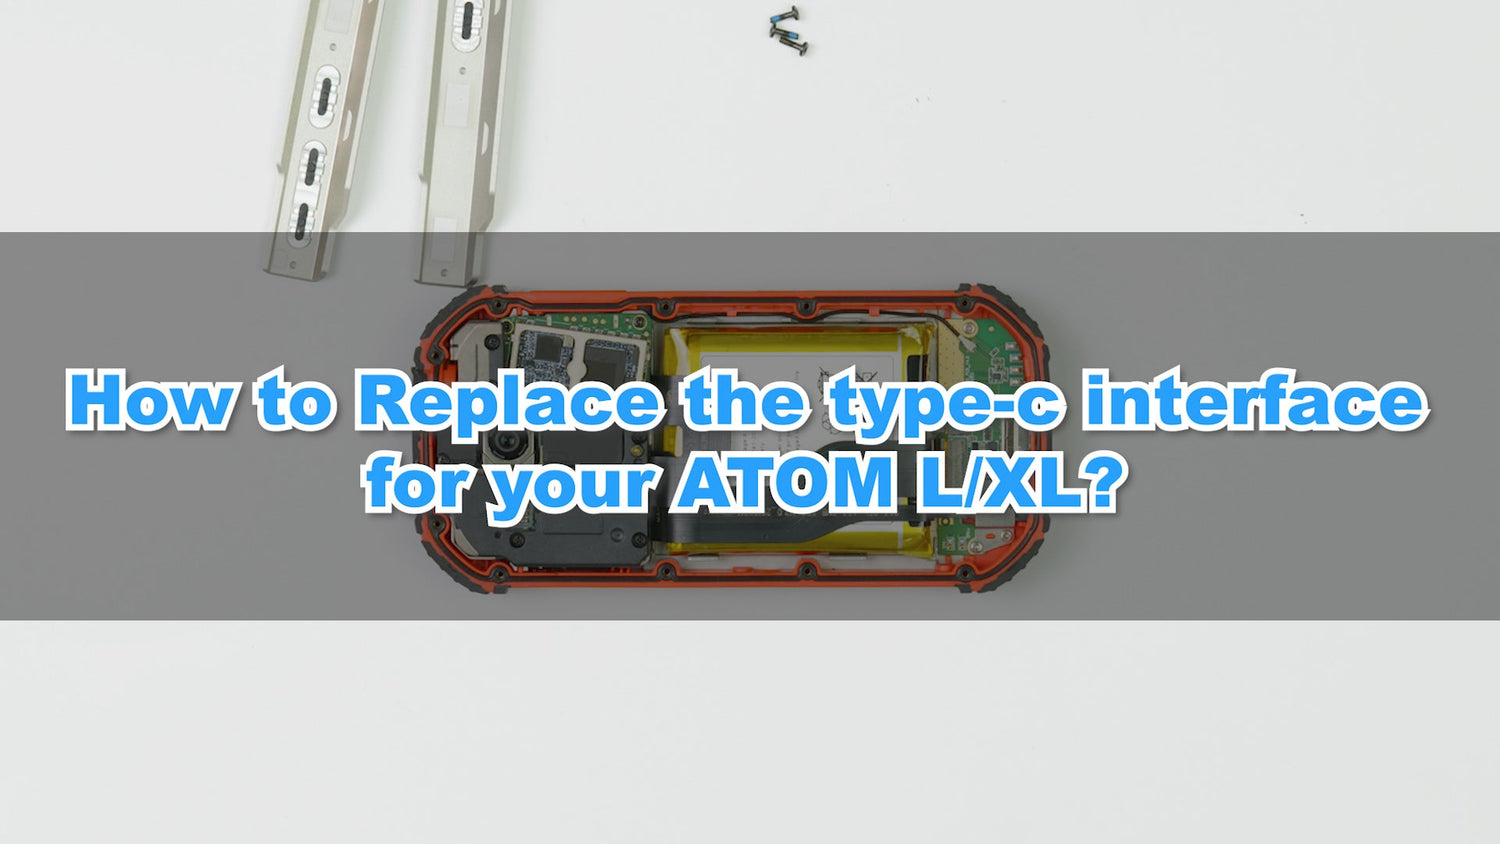

This tutorial will go through the process of replacing the type-C interface of Unihertz Atom L/XL smartphone.
It is important that you read the entire guide and make sure you can complete all the steps before you start to replace the type-C interface of your Unihertz Atom L/XL smartphone. Otherwise, finding a local trained repair specialist to conduct the repair is recommended.
How to Replace the Type-C Interface for Unihertz Atom L/XL
How to Replace the Type-C Interface for Unihertz Atom L/XL Step by Step
 |
Step 1Remove the 3 screws on the right side bar |
 |
Step 2Remove the right side strip |
 |
Step 3Remove the 3 screws on the left side bar |
 |
Step 4Remove the SIM card tray |
 |
Step 5Remove the left side strip |
 |
Step 6Remove the 10 screws on the rear shell |
 |
Step 7Remove the back shell Pay attention to the waterproof glue |
 |
Step 8Insert the 5 screws and fixing bracket on the type-c FPC |
 |
Step 9Remove the 3.5mm headphone jack Pry open the 3 cable interfaces on the type-c FPC |
 |
Step 10Remove the type-c FPC |
 |
Step 11Take out the new type-c FPC (Pay attention to check whether the purchased type-c FPC matches the mobile phone) |
 |
Step 12Install type-c FPC Connect the cable interface on the type-c FPC Fix the 3.5mm headphone jack |
 |
Step 13Install the 5 screws and fixing bracket on the type-c FPC |
 |
Step 14Install the rear case and 10 screws |
 |
Step 15Install the left side strip |
 |
Step 16Install the SIM card tray Install the 3 screws on the left side rail |
 |
Step 17Install the right side strip |
 |
Step 18Install the 3 screws on the right side bar |